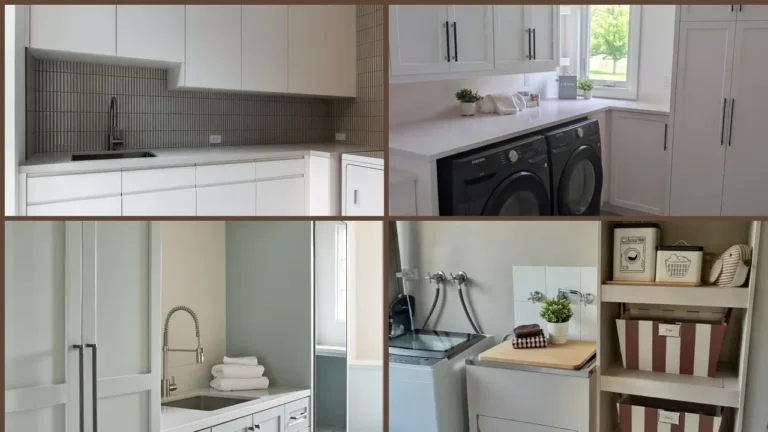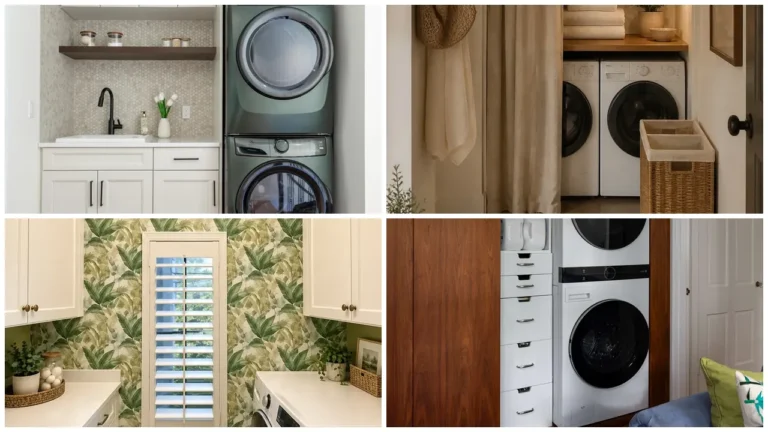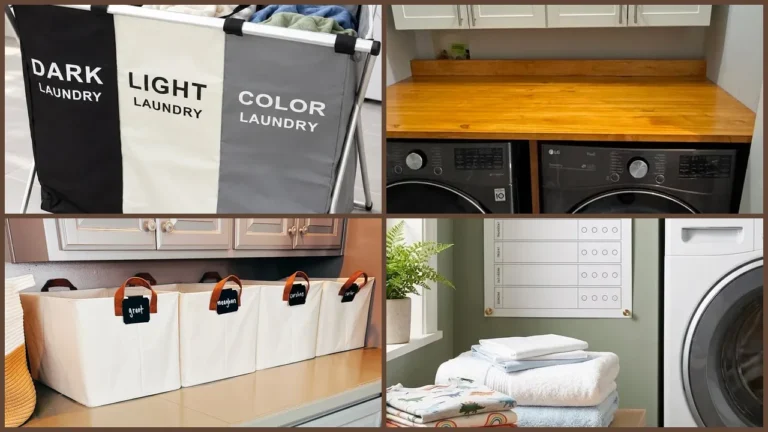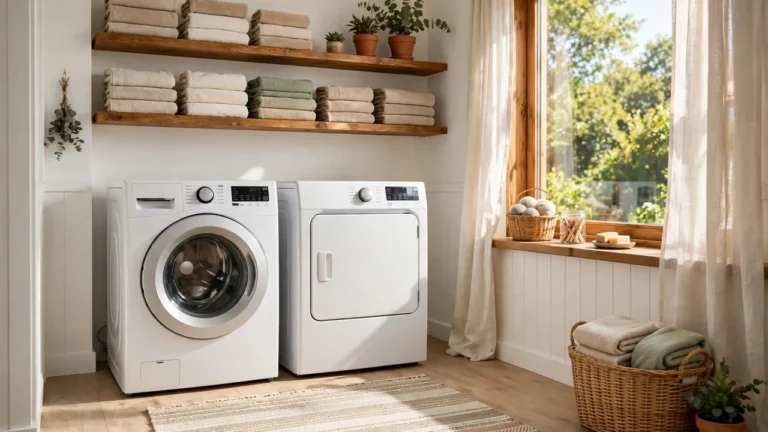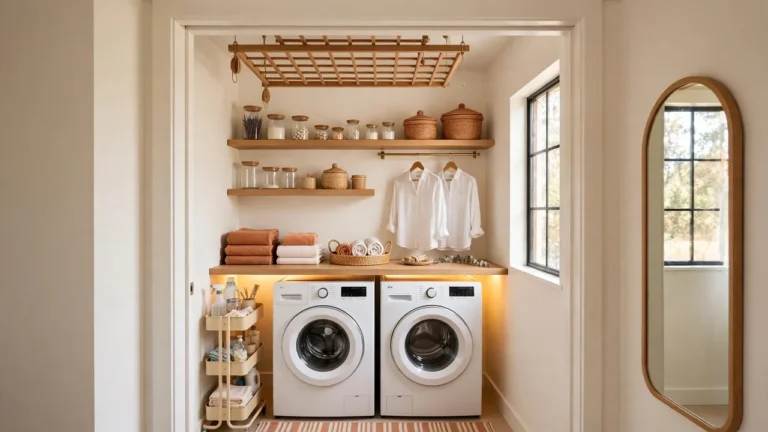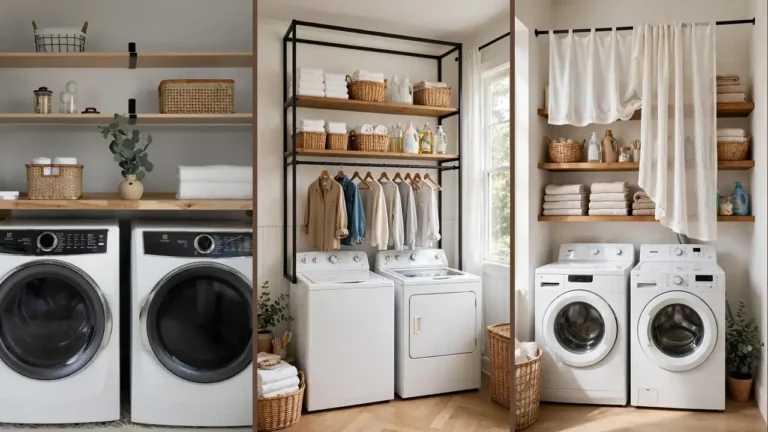
27 Laundry Room Ideas on a Budget That Look Expensive

Most laundry rooms get the leftovers. The washer goes in, the baskets pile up, and the walls stay whatever color the builder picked. Then you walk in with an armful of towels and wish the room felt a little better.
Here is the good news. You do not need a big budget to fix it. These laundry room ideas on a budget lean on paint, peel-and-stick sheets, simple wood boards, and small swaps that cost very little. Many take one afternoon. Some take a weekend. Most skip the contractor.
Inside you will find 27 ideas. Some change the look, like two-tone walls, brass pulls, patterned floor tile, and a woven pendant light. Others make the room work harder, like a floating shelf, a drying rod, a slim rolling cart, and a bench with hidden baskets. A few are tiny finishing touches that make everything feel planned.
Every idea comes with a quick visual so you can see the plan at a glance. Pick the ones that fit your space, start small, and build from there.
1. Two-Tone Walls Are the Cheapest Laundry Room Makeover You Can Finish in a Weekend
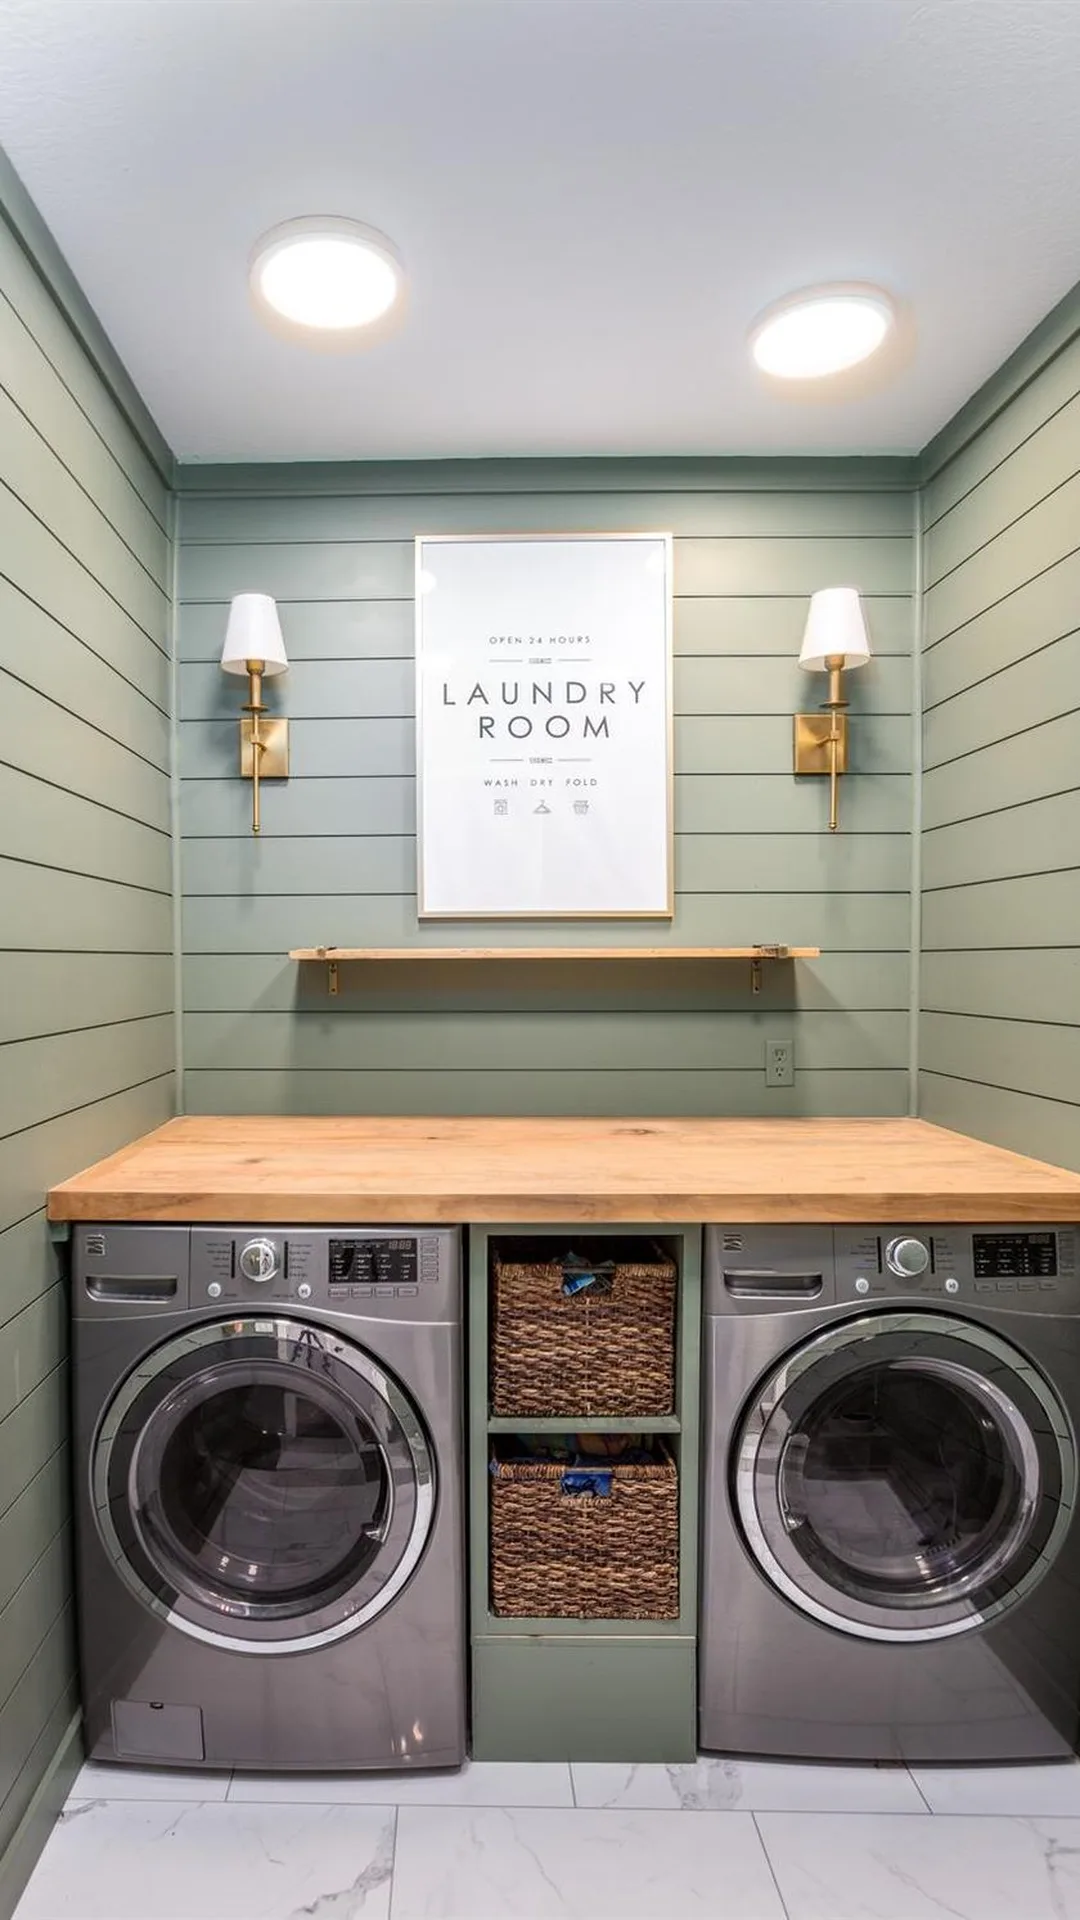
Pick one deep color for the lower half to two thirds of the wall and leave the top in a soft white. A can of paint and a roll of painter’s tape do most of the work. The line where the two colors meet is what makes it look custom, so keep it crisp.
Clay, forest green, or inky navy all hide scuffs from baskets and bumps.
Set the line a little above the washer so the machines sit inside the dark color.
Use satin paint on the lower section. Detergent drips wipe right off.
Pull the tape while the paint is still slightly wet for a clean edge.
2. Brass Pulls on Plain Cabinets Make the Whole Wall Look Custom
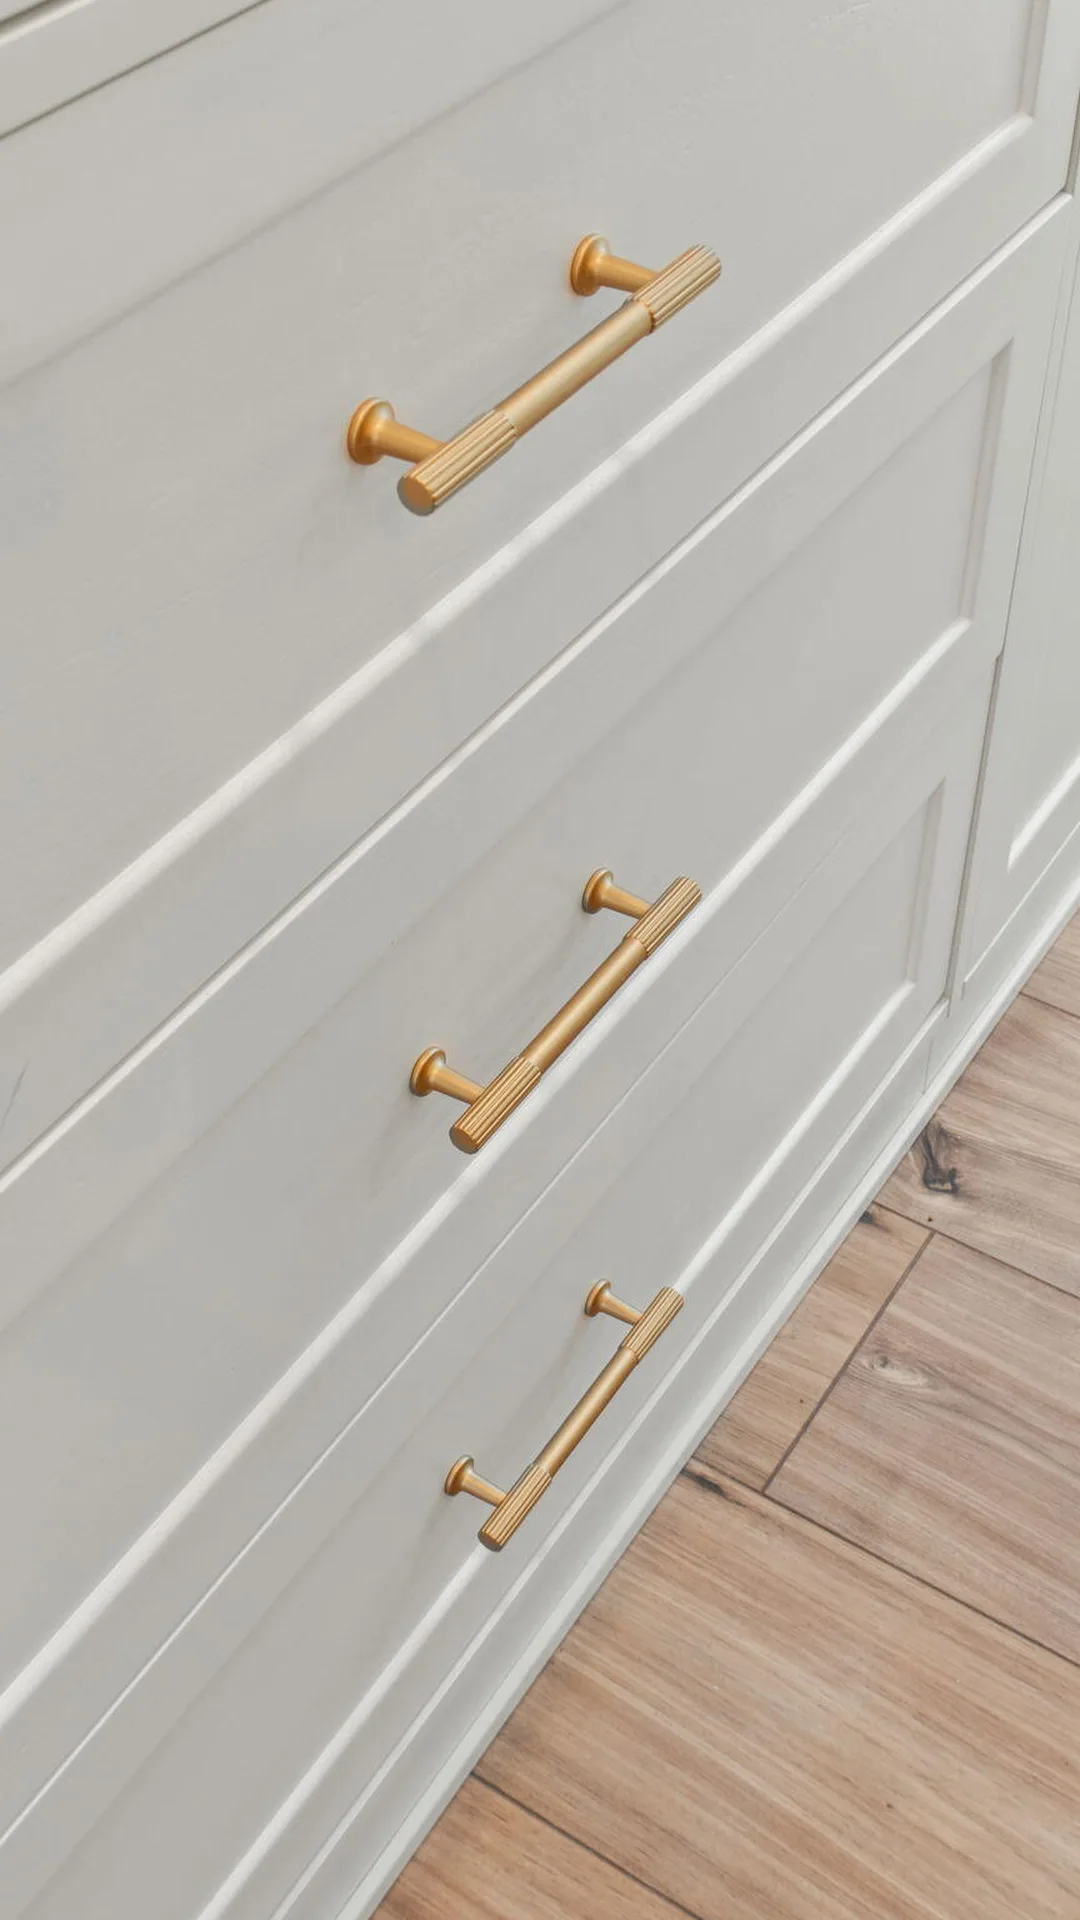
Builder cabinets look basic for one reason. The knobs are tiny and silver. Changing them takes a screwdriver and a few minutes per door.
Two easy routes work well. Warm brass gives a boutique hotel feel. Matte black gives a clean, modern edge. Both beat the stock hardware by a mile.
Measure the hole spacing on one door before you shop so the new pulls fit the old holes. That skips the filling and redrilling.
| Compare | 🟡 Warm Brass | ⚫ Matte Black |
|---|---|---|
| Feels | Warm and classic | Crisp and modern |
| Pairs with | Cream, green, or navy cabinets | White, gray, or wood cabinets |
| Cost | Low | Low |
3. Float a Simple Wood Shelf Above the Washer With Two Brackets
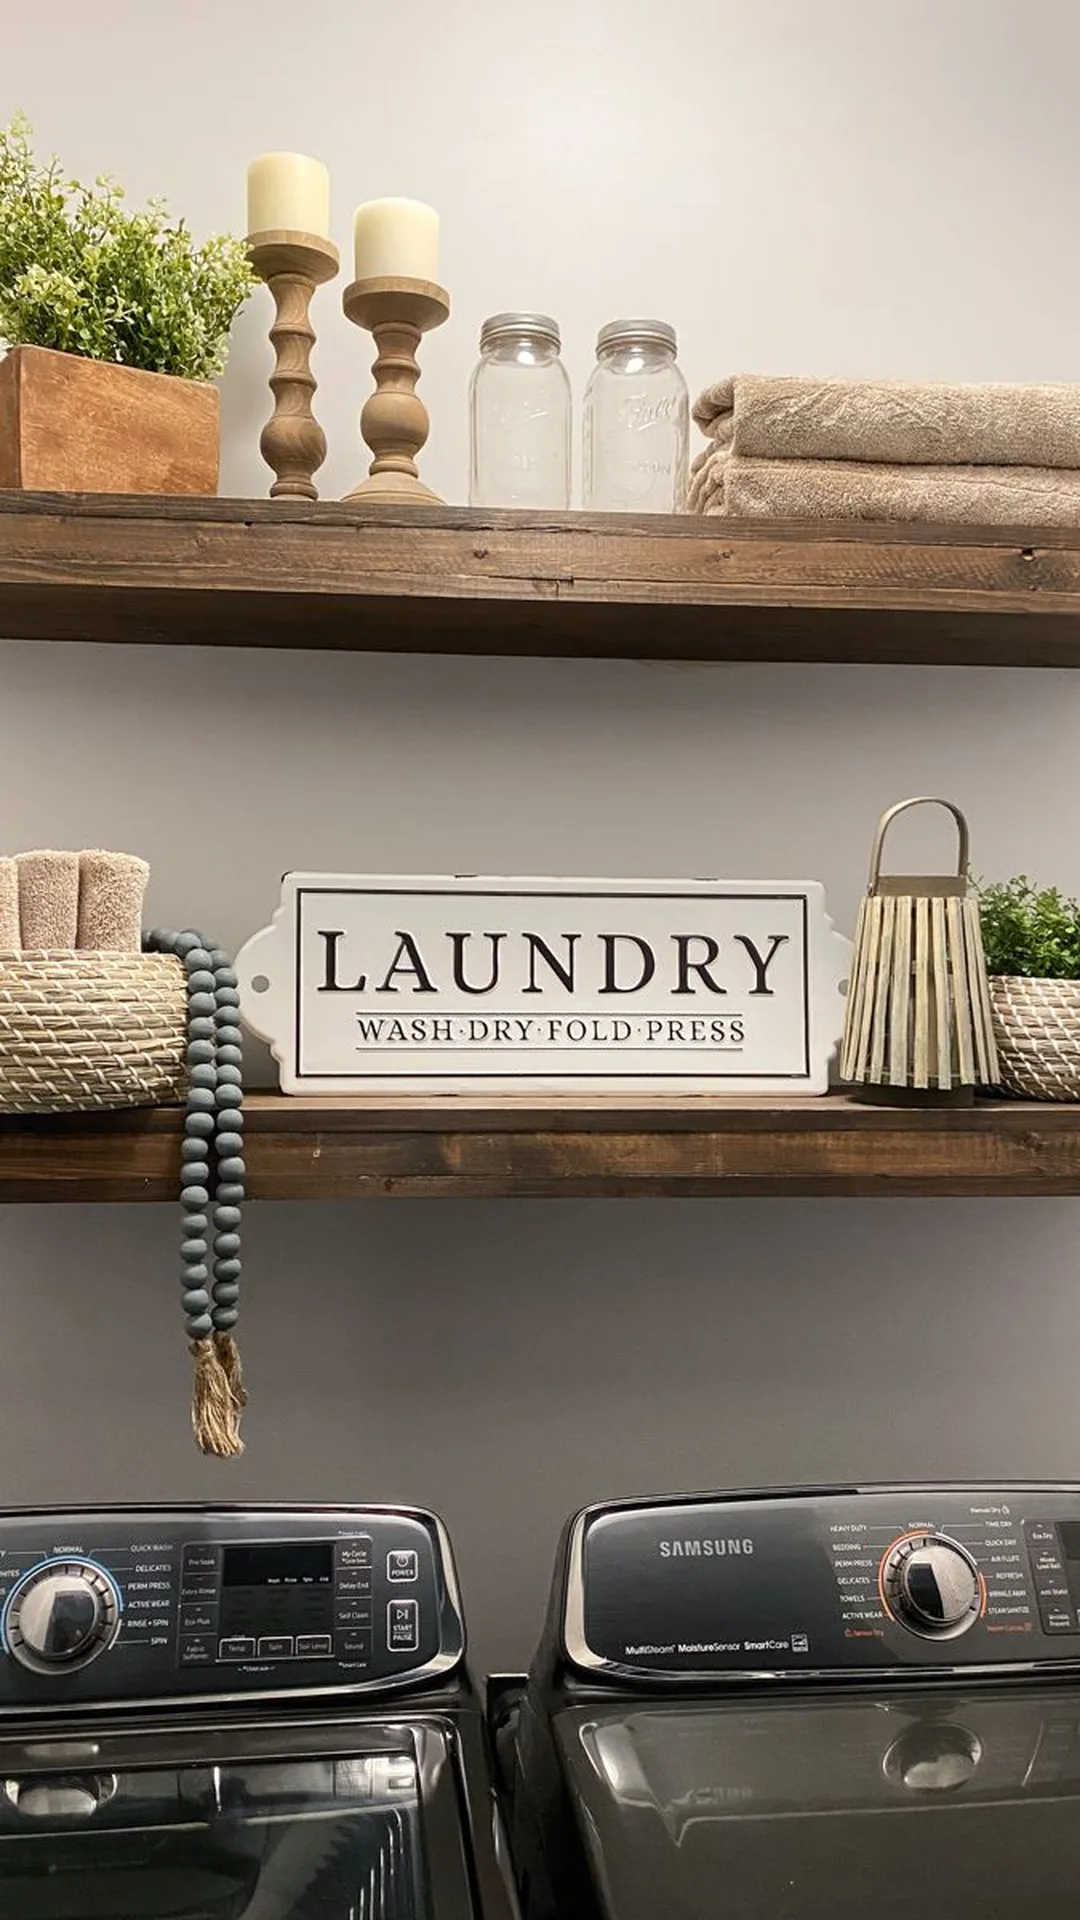
The wall above the machines is wasted in most laundry rooms. A plain wood board on two sturdy brackets fixes that fast, and it looks custom once it is stained or painted to match the room.
Keep the shelf styled, not stuffed. A jar of detergent, one stack of folded towels, and a small plant or framed print is plenty. Three or four things is enough.
Small warning: find the wall studs or use the right anchors. Laundry products are heavier than they look.
Choose the board
Pick a board a little wider than the washer so the shelf looks planned.
Sand and finish
Smooth the edges, then stain it or paint it to match the room.
Mount the brackets
Mark a level line, then fix the brackets into studs or proper wall anchors.
Set and style
Rest the board on the brackets, then add only a few well chosen items.
4. Peel-and-Stick Tile That Passes for Real Patterned Cement
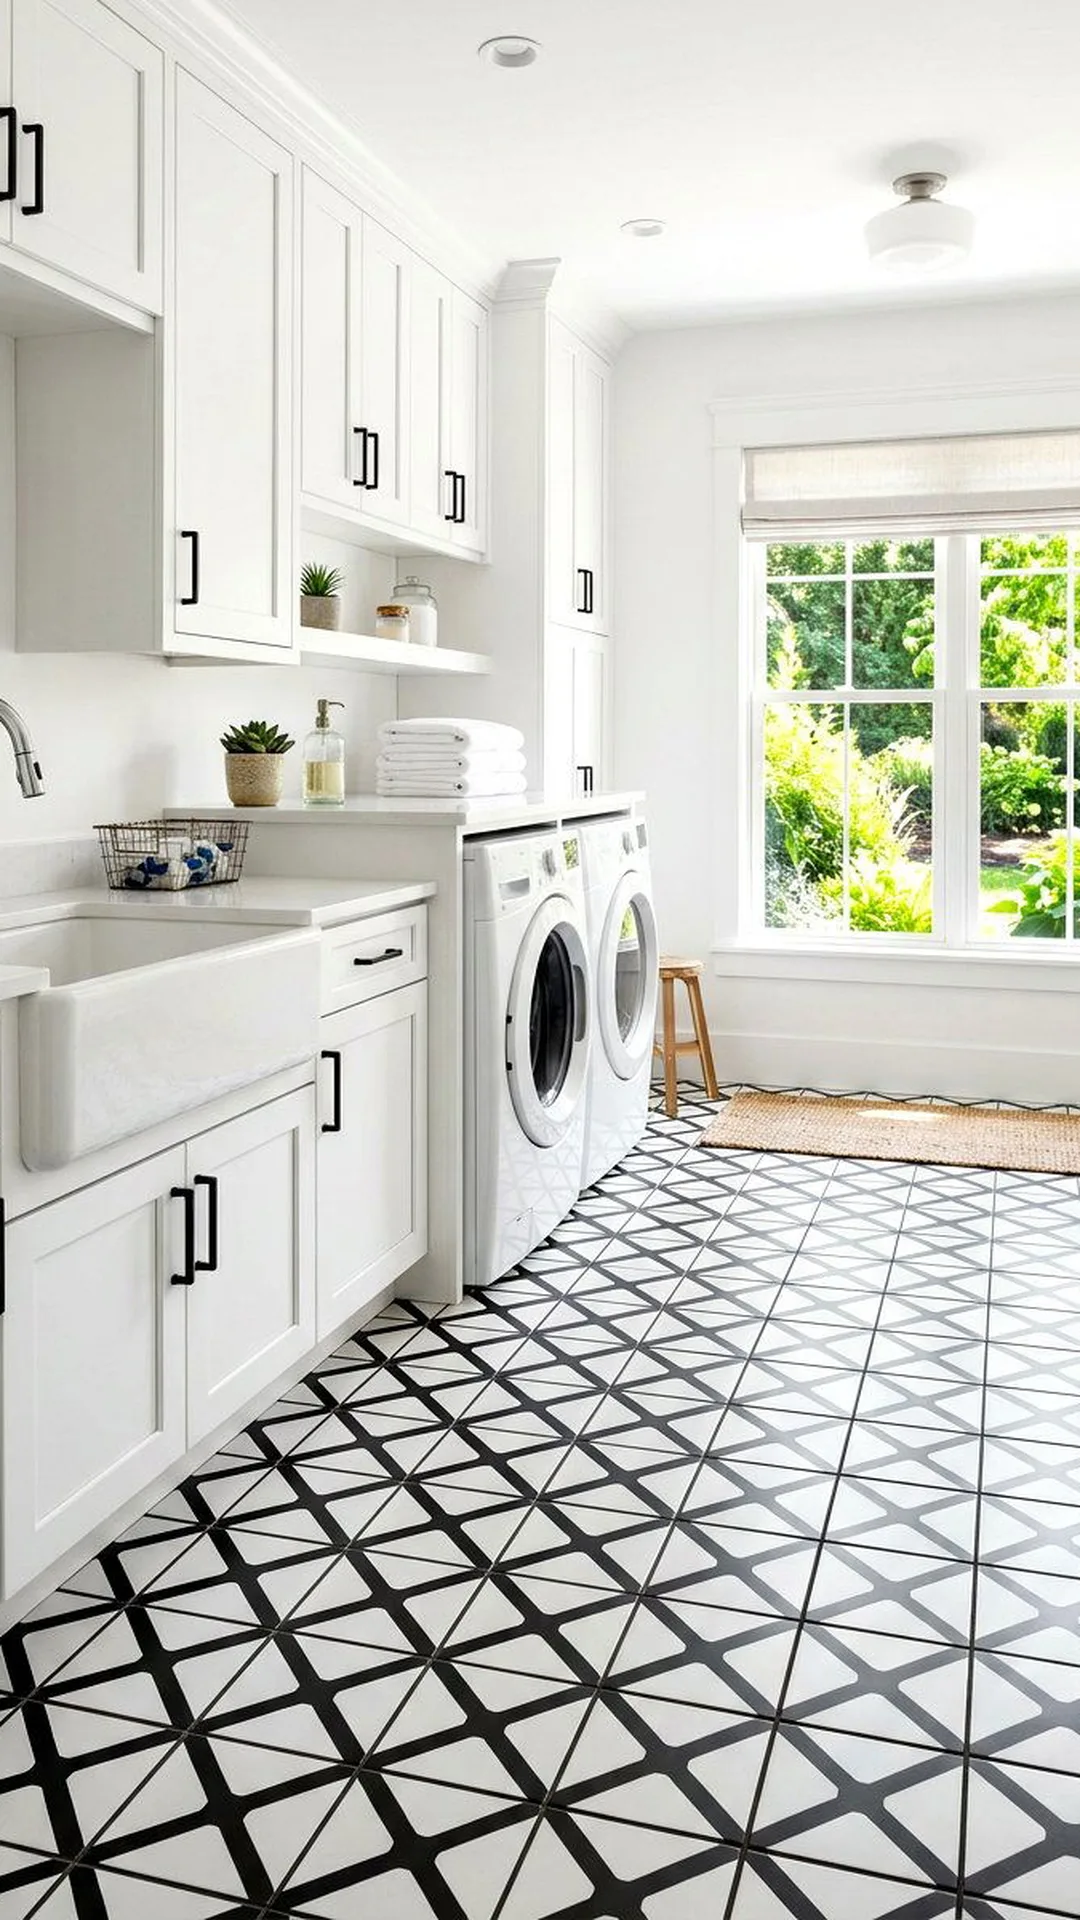
Floors do the heavy lifting in a small room. Choose the pattern with care:
A black and white geometric print reads like classic cement tile.
A soft sand or gray pattern is calmer if the room is tiny.
Vinyl peel-and-stick tiles cost far less than real tile and come up later if you rent.
Order a few extra pieces for mistakes and tricky corners.
Real tile look, fake tile effort. Nobody bends down to check.
✅ Do
Clean and dry the floor first.
Start laying from the center of the room.
Press each tile down firmly, edges included.
Cut edge pieces last, with a sharp blade.
❌ Don’t
Lay tile over a dusty or damp floor.
Start from a wall that is not straight.
Trap air bubbles under the tile.
Rush the cuts near the door.
5. A Wall-Mounted Drying Rod Gives Hang-Dry Clothes a Real Home
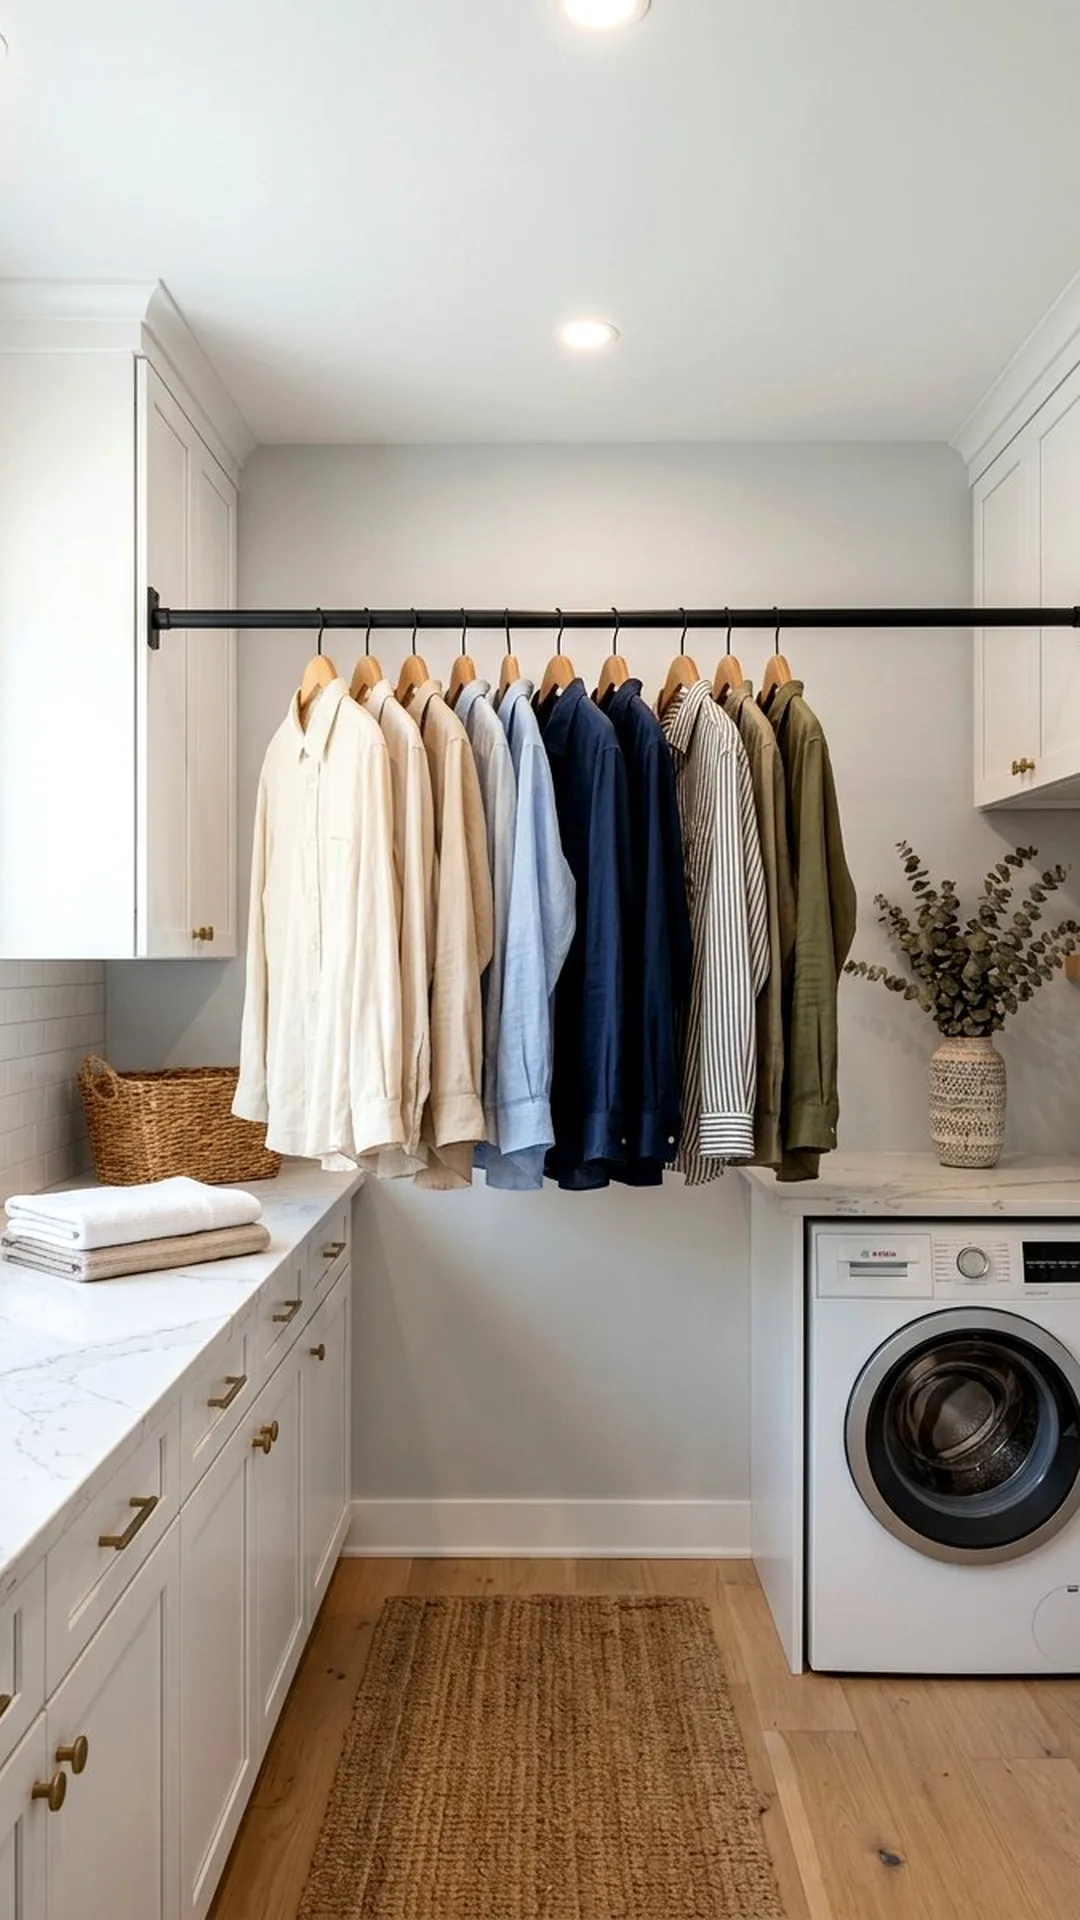
Hang-dry clothes usually end up draped over the dryer door. A slim rod mounted above a sink or washer fixes that. Choose a plain wood dowel or a thin metal bar, and mount it on two brackets.
When nothing is drying, a few matching wood hangers and one linen shirt keep the rod looking styled instead of empty. It becomes part of the wall, not a chore corner.
Here is what to gather before you start.
🧺 Drying Rod Shopping List
☐ A wood dowel or slim metal rod
☐ Two sturdy brackets
☐ Screws and wall anchors
☐ A small level
☐ A few matching wood hangers
6. Move Your Detergent Into Matching Glass Jars
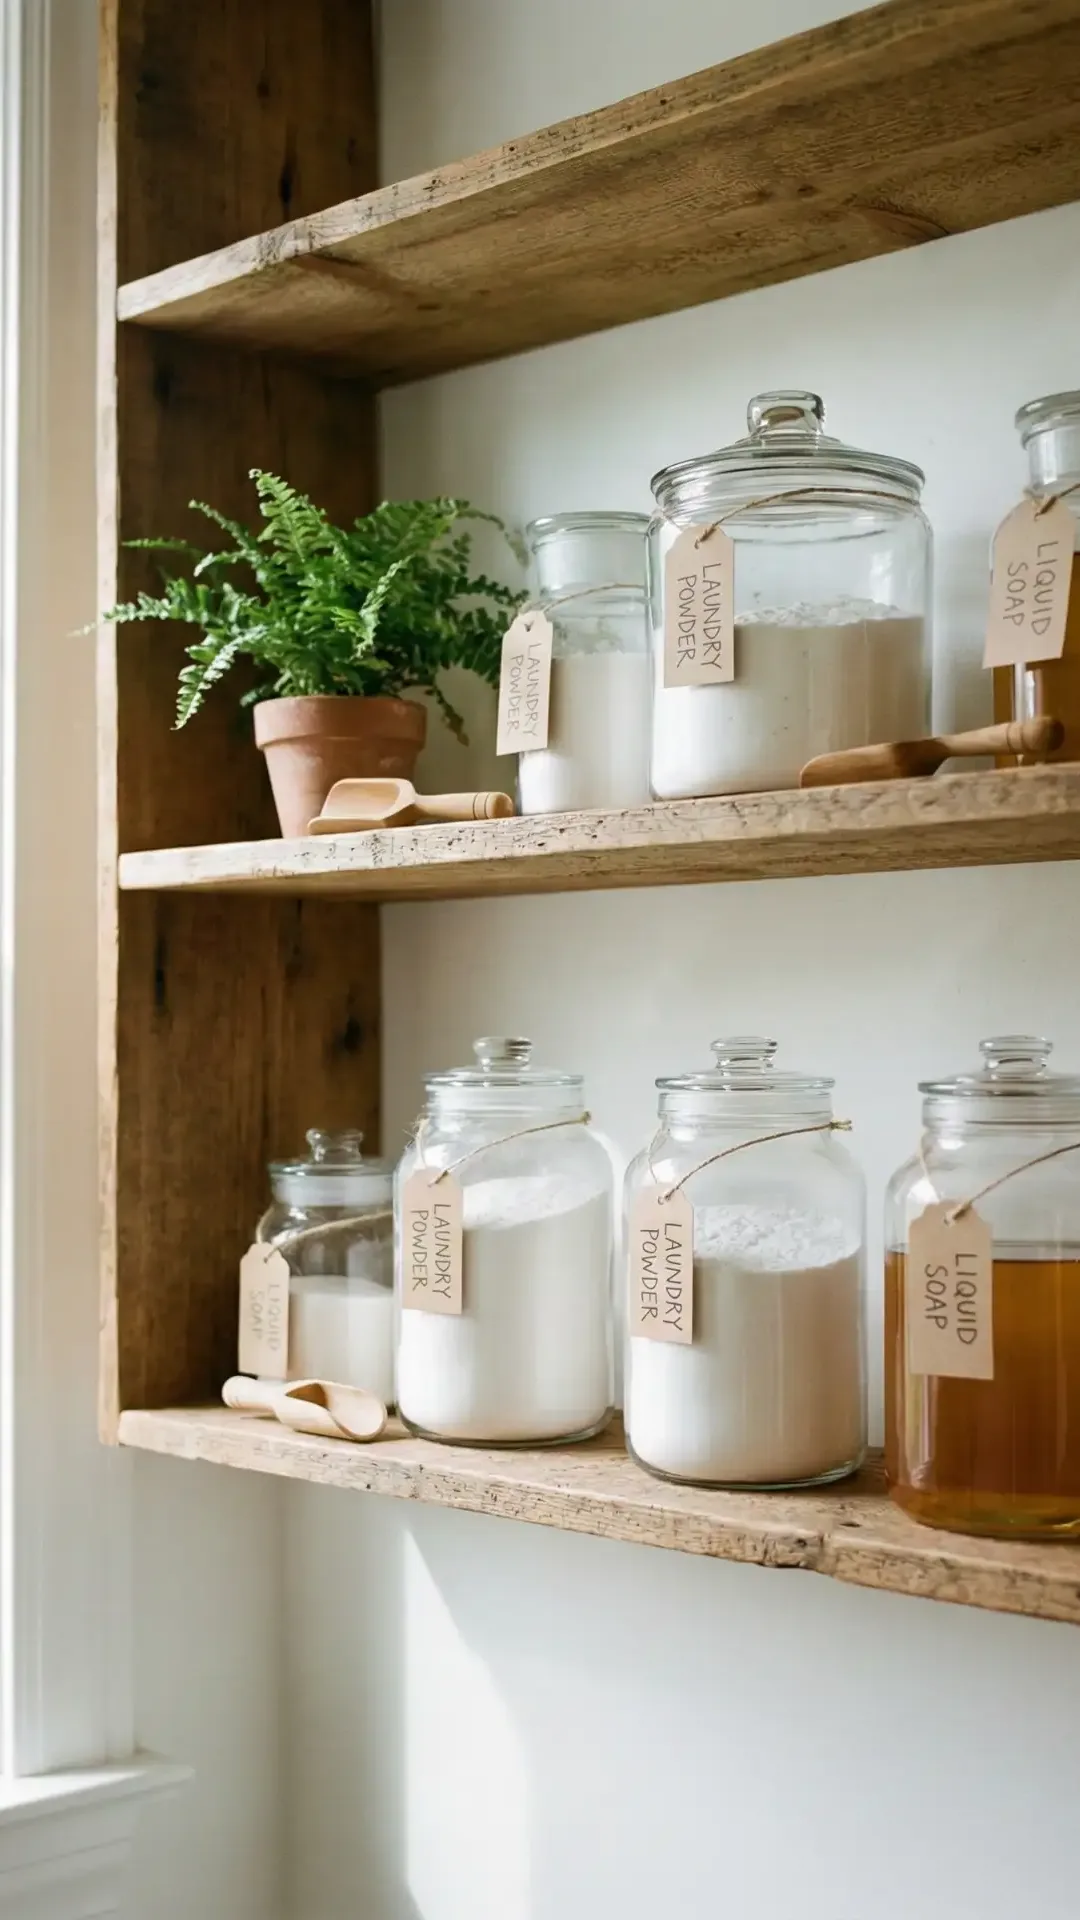
Bright plastic bottles are the loudest thing in a laundry room. Hide them in plain sight.
Buy two or three matching jars with lids, wide enough to scoop from.
Fill one with powder or pods, one with dryer balls, and one with clothespins.
Add a simple label with a marker or a strip of tape.
Wipe the jars fully dry before filling, or powder clumps. Keep liquid detergent in its own bottle under the sink, since dry goods work best in jars.
🫙
Container
Clear glass with wood or metal lids
🧺
What goes inside
Powder, pods, dryer balls, clothespins
🏷️
Labels
Handwritten tags or tape strips
💰
Cost
Low, and effort is quick
7. Swap the Flat Ceiling Dome for a Woven Pendant Light
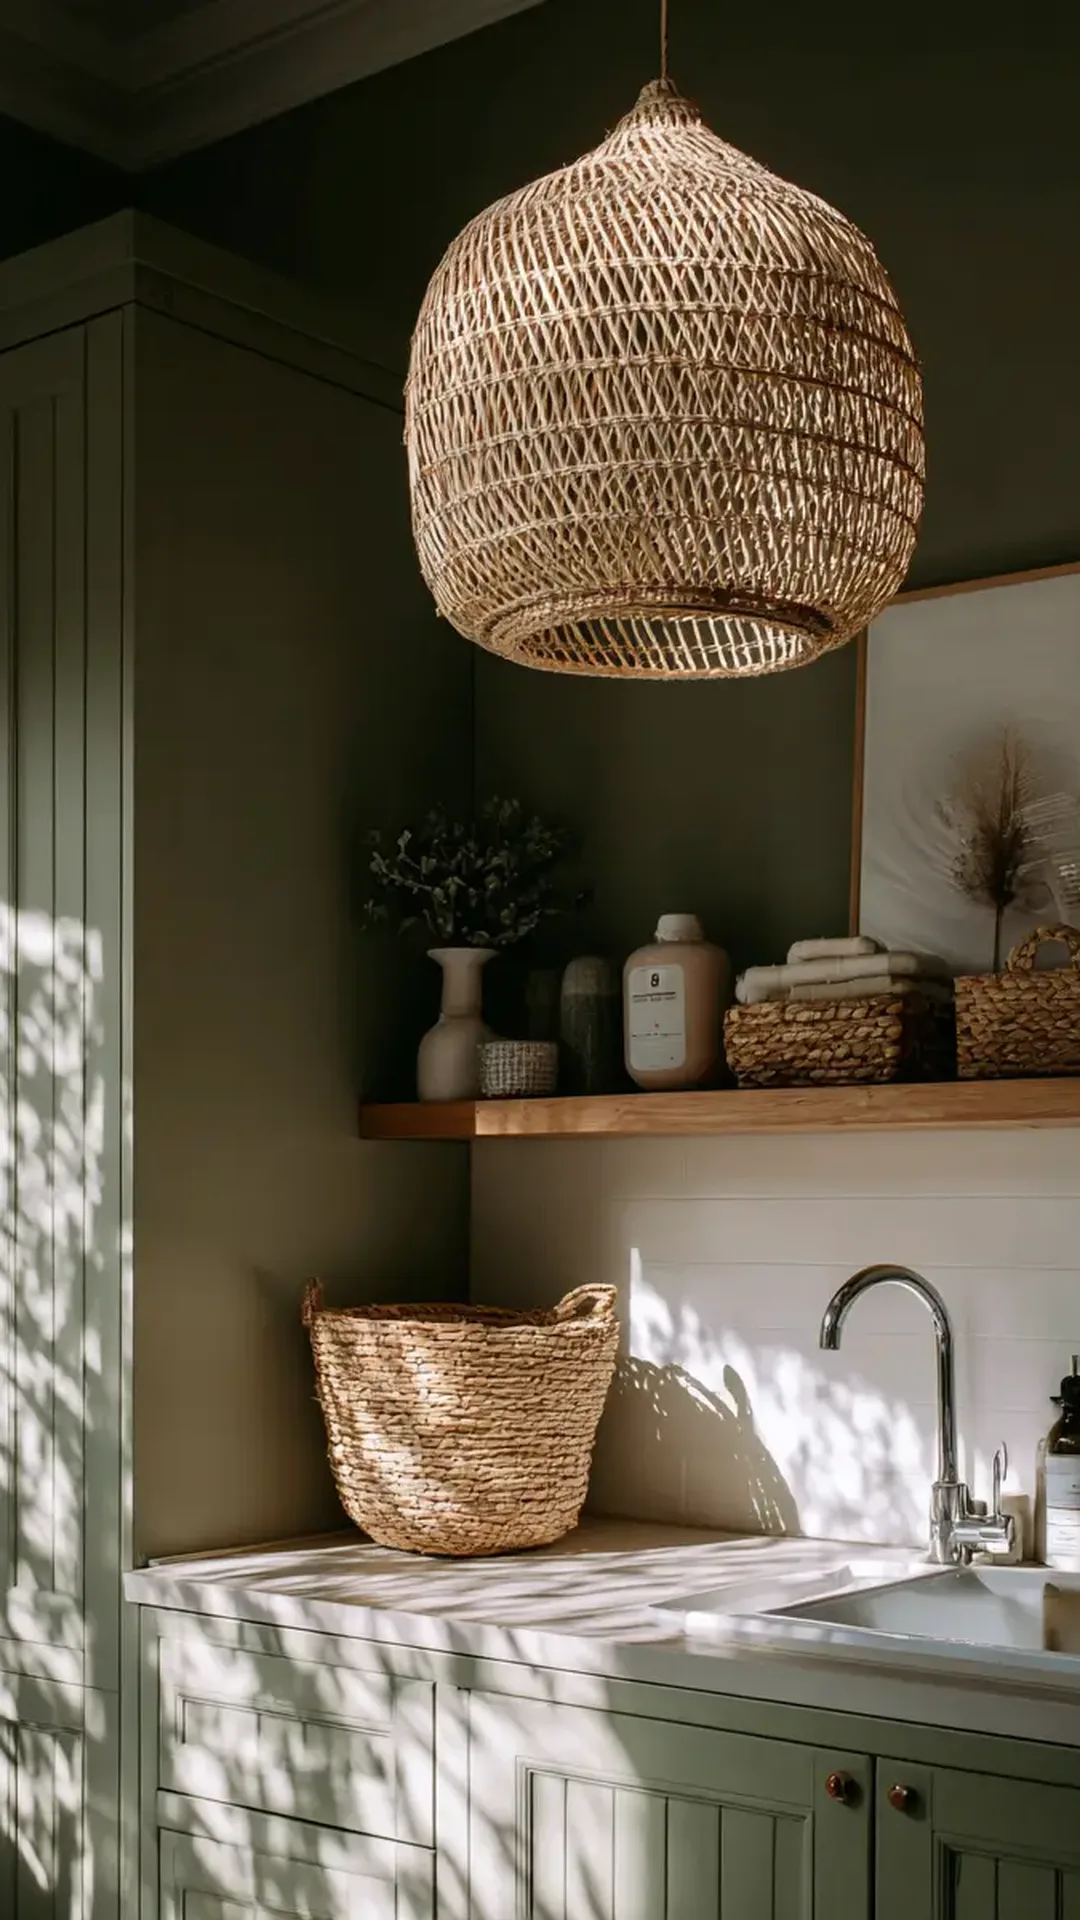
The overhead light in a laundry room is almost always a flat white dome. It lights the room and does nothing else.
A woven basket shade or a simple globe changes the whole mood. The room feels like a place someone chose, not a place left over.
Turn off the power at the breaker before you touch any fixture. If wiring is new to you, hire an electrician for this one.
💡 Quick Tip
Choose a warm white bulb. It makes wood tones and painted walls look rich instead of gray.
8. Peel-and-Stick Subway Tile Behind the Sink Looks Like a Real Backsplash
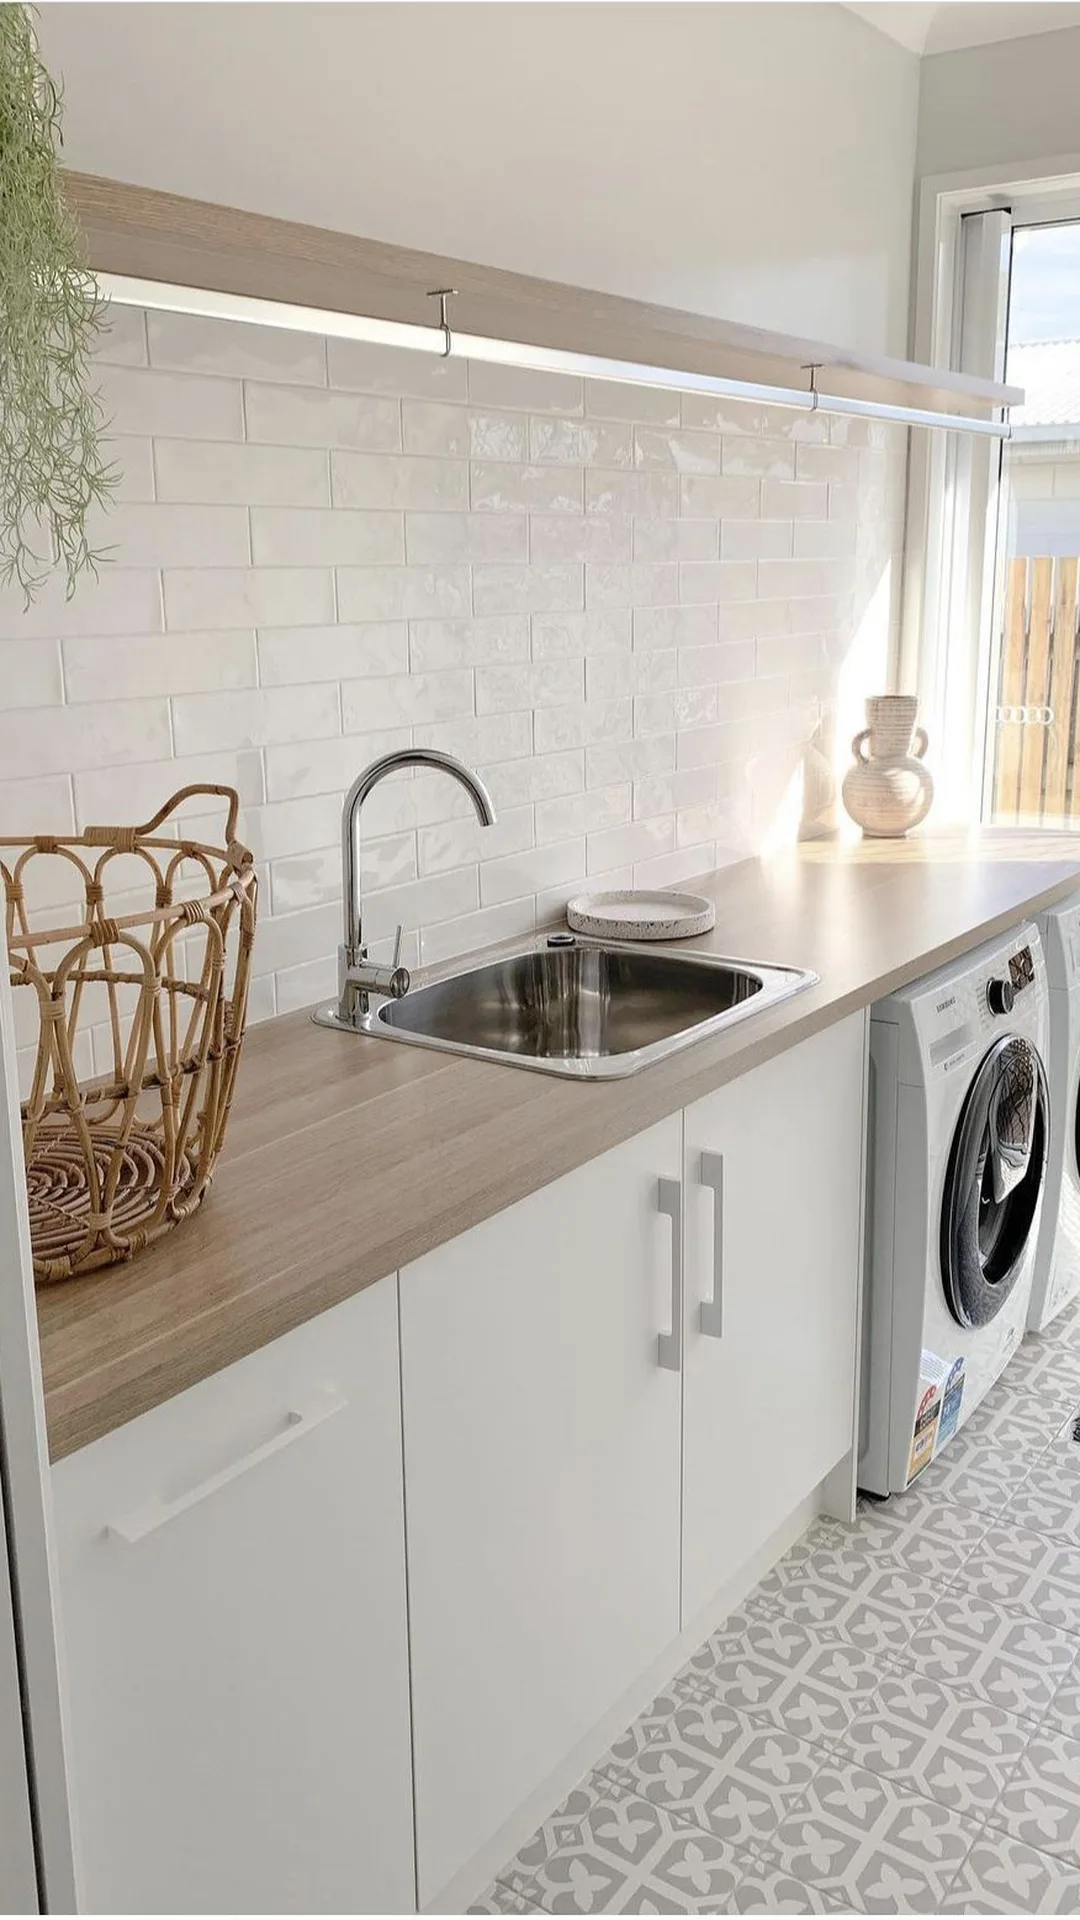
Water splashes and detergent spots make the wall behind a utility sink look tired fast.
Glossy white subway style tiles give the clean, classic look.
Pick sheets with the grout line already printed in, so the wall reads as real tile.
Stop at a natural edge, like the end of the sink or a window frame.
Wipe the wall clean and dry first, or the sheets will not hold.
A small wall, a big change.
BEFORE
🔹 Bare painted wall
🔹 Water spots and splashes
🔹 Looks unfinished
AFTER
✨ Clean white tile look
✨ Wipes dry in seconds
✨ Looks like a real finish
9. A Plywood Counter Over the Machines Becomes Your Folding Station
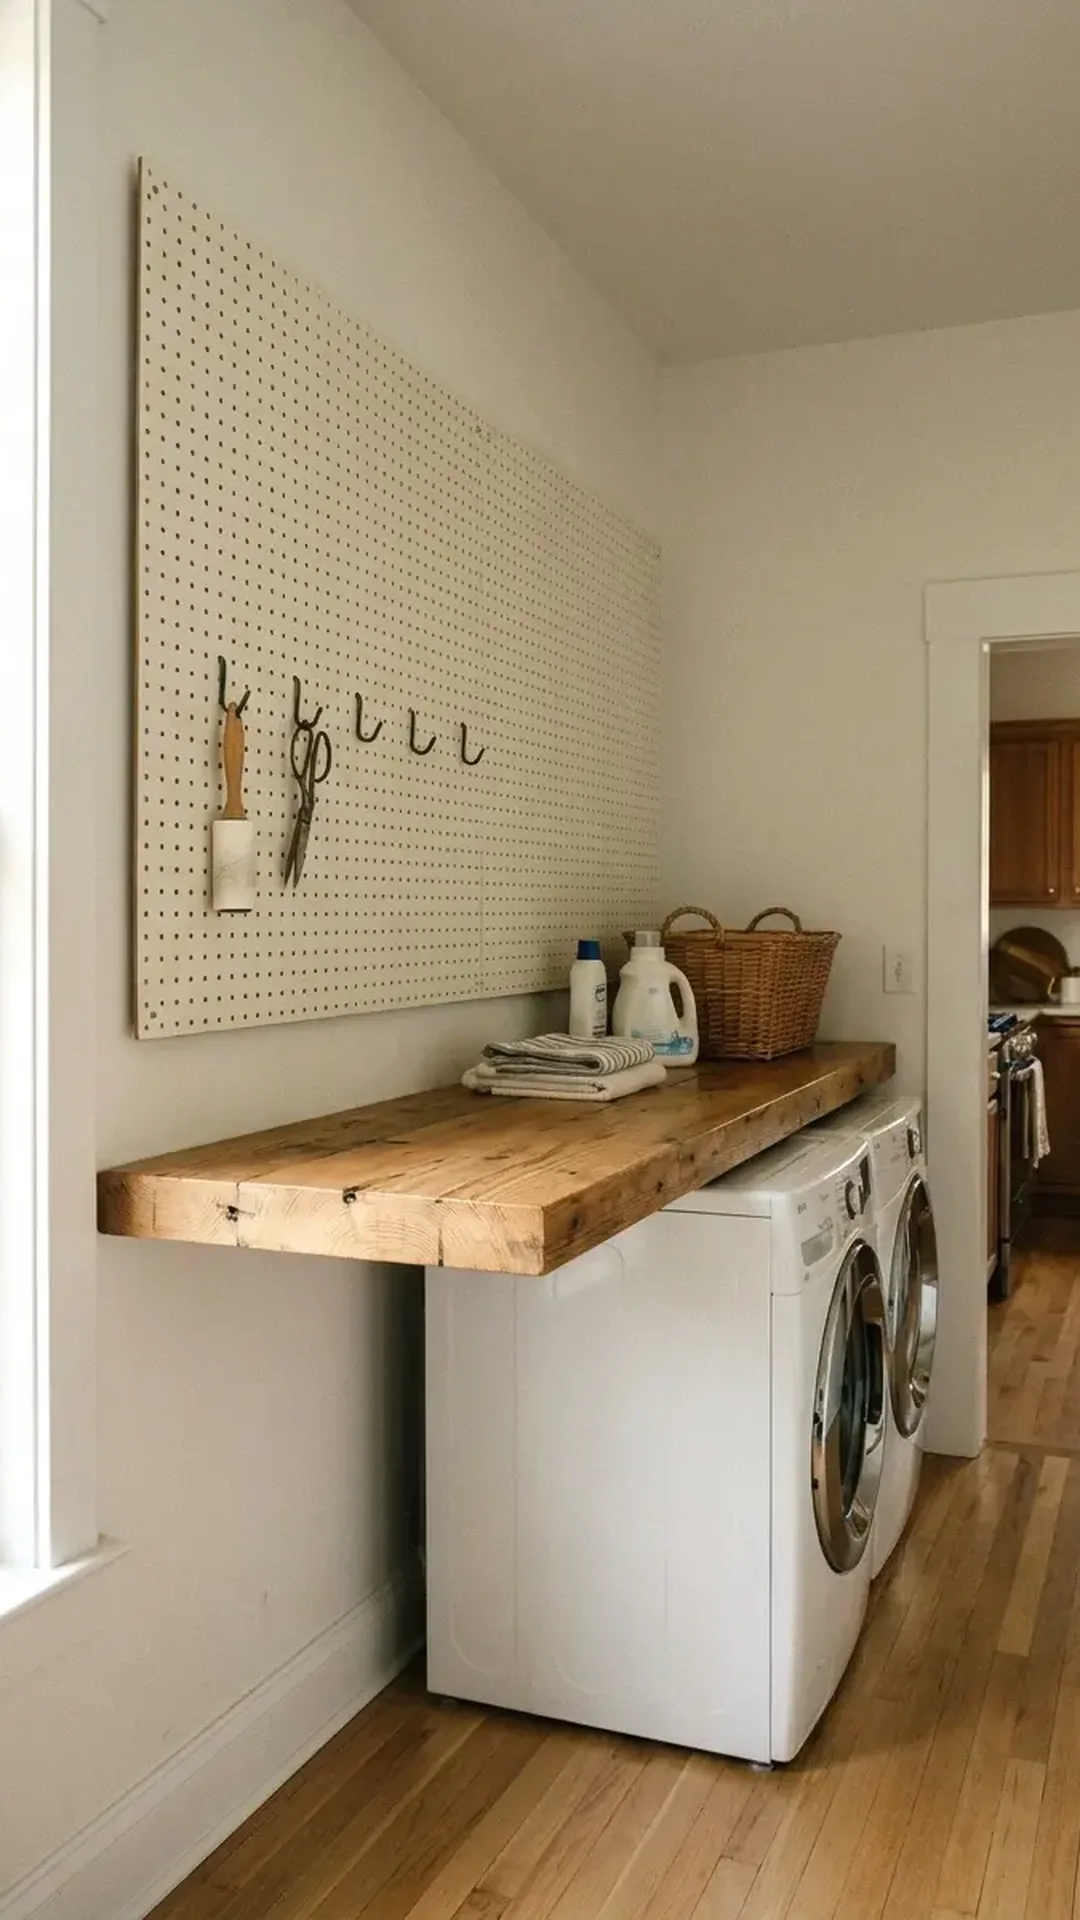
Front-load machines have flat tops, so one board can cover both. A sanded and sealed wood board gives you a folding surface in a day. Check your machine manual first, because some should not carry a load, and make sure the board sits flat and does not rock.
Measure the width and depth across both machines.
Cut or order a board to that size, with a slight overhang.
Sand it and seal it so spills do not stain.
Set it in place on non-slip grip pads, and leave a small gap at the back for vents and hoses.
Key Takeaway
Folding on a counter beats folding on the bed. Same room, more usable space.
10. Hide the Clutter Under the Counter With a Fabric Curtain
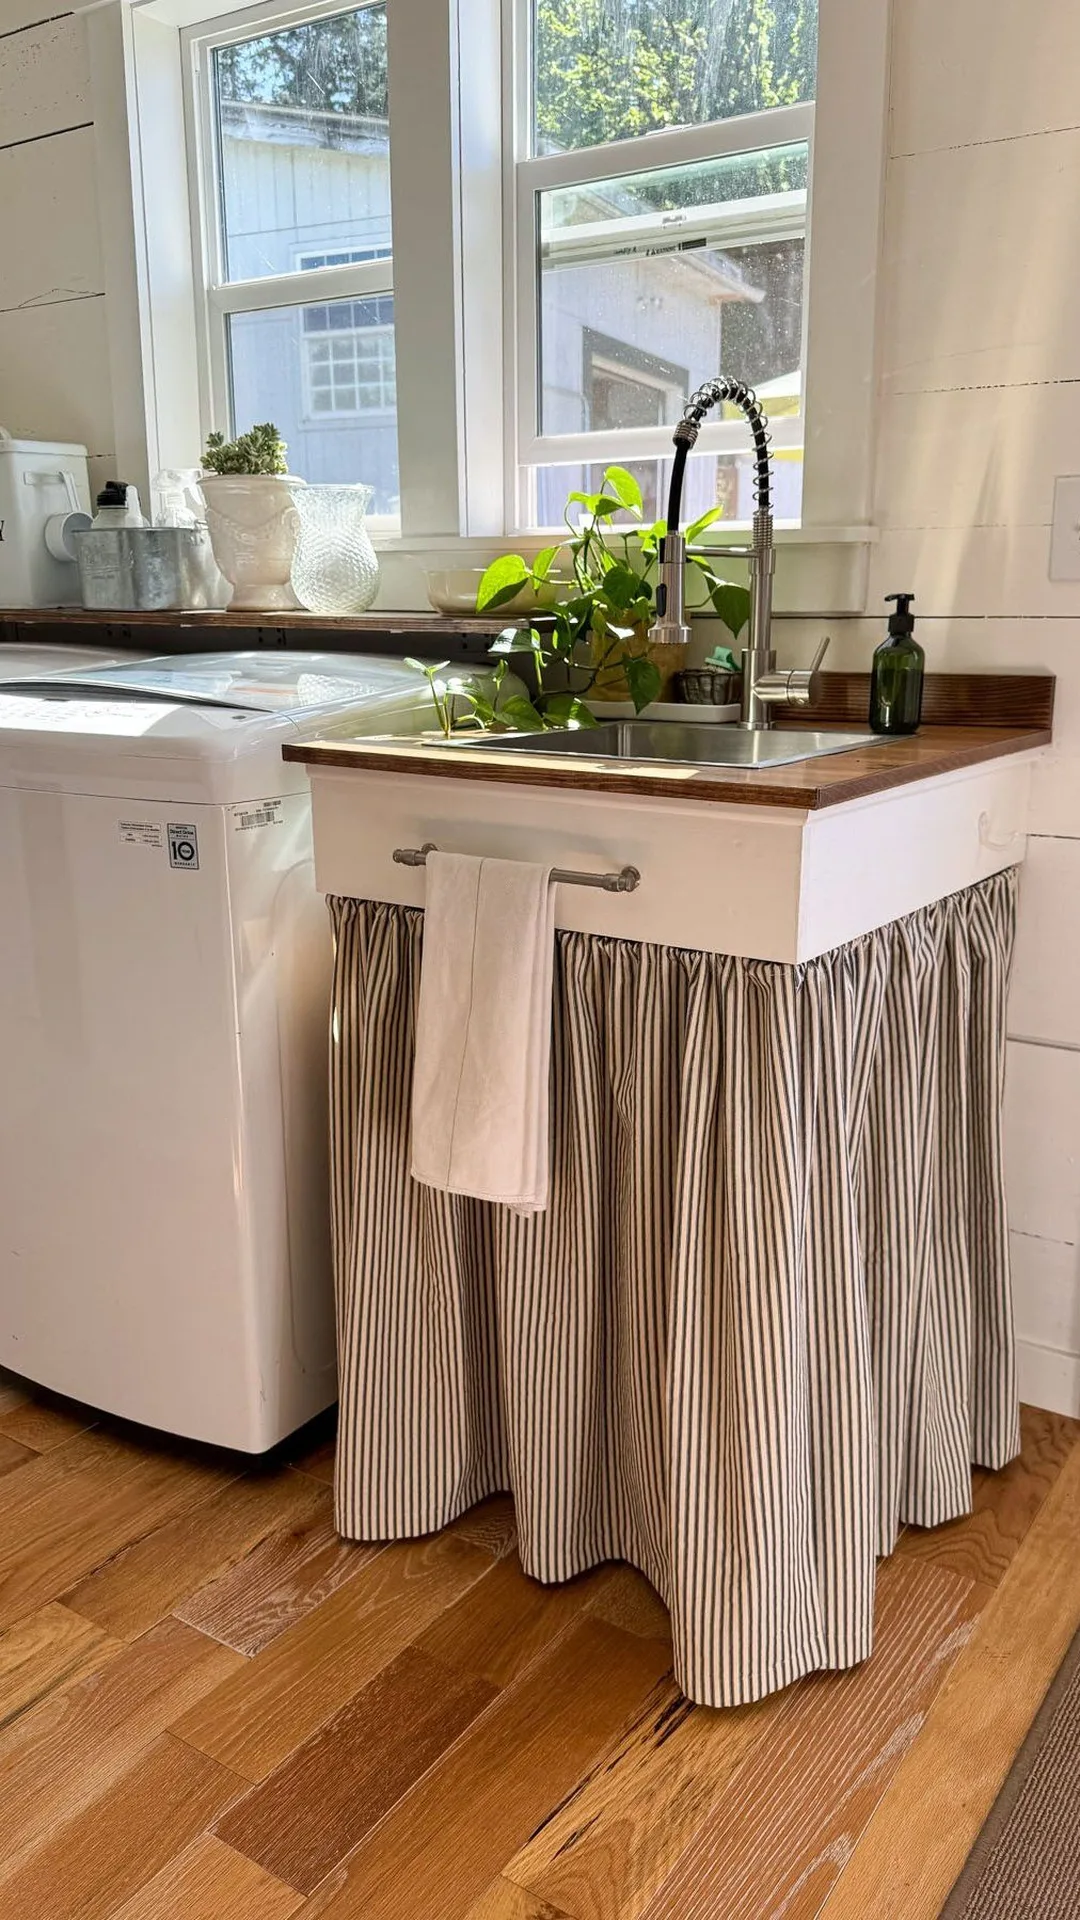
An open space below a counter or sink collects bottles, buckets, and baskets. Cover it with fabric and the mess disappears.
No-sew route: a tension rod and a linen panel, hung in minutes.
Sewn route: a gathered skirt attached with hook-and-loop tape, which looks more built in.
Pick the tension rod if you rent or do not sew. Pick the skirt if the cabinet is staying put. Choose a washable fabric either way, since laundry rooms get humid and dusty.
🧵 Fabrics That Hold Up Here
🌿 Linen blend for a soft, relaxed drape
🌿 Cotton ticking stripe for a farmhouse feel
🌿 Washable gingham for a bright, cheerful look
🌿 Plain solid cotton for a quiet, clean look
11. Hang a Small Gallery Wall of Framed Prints Above the Dryer
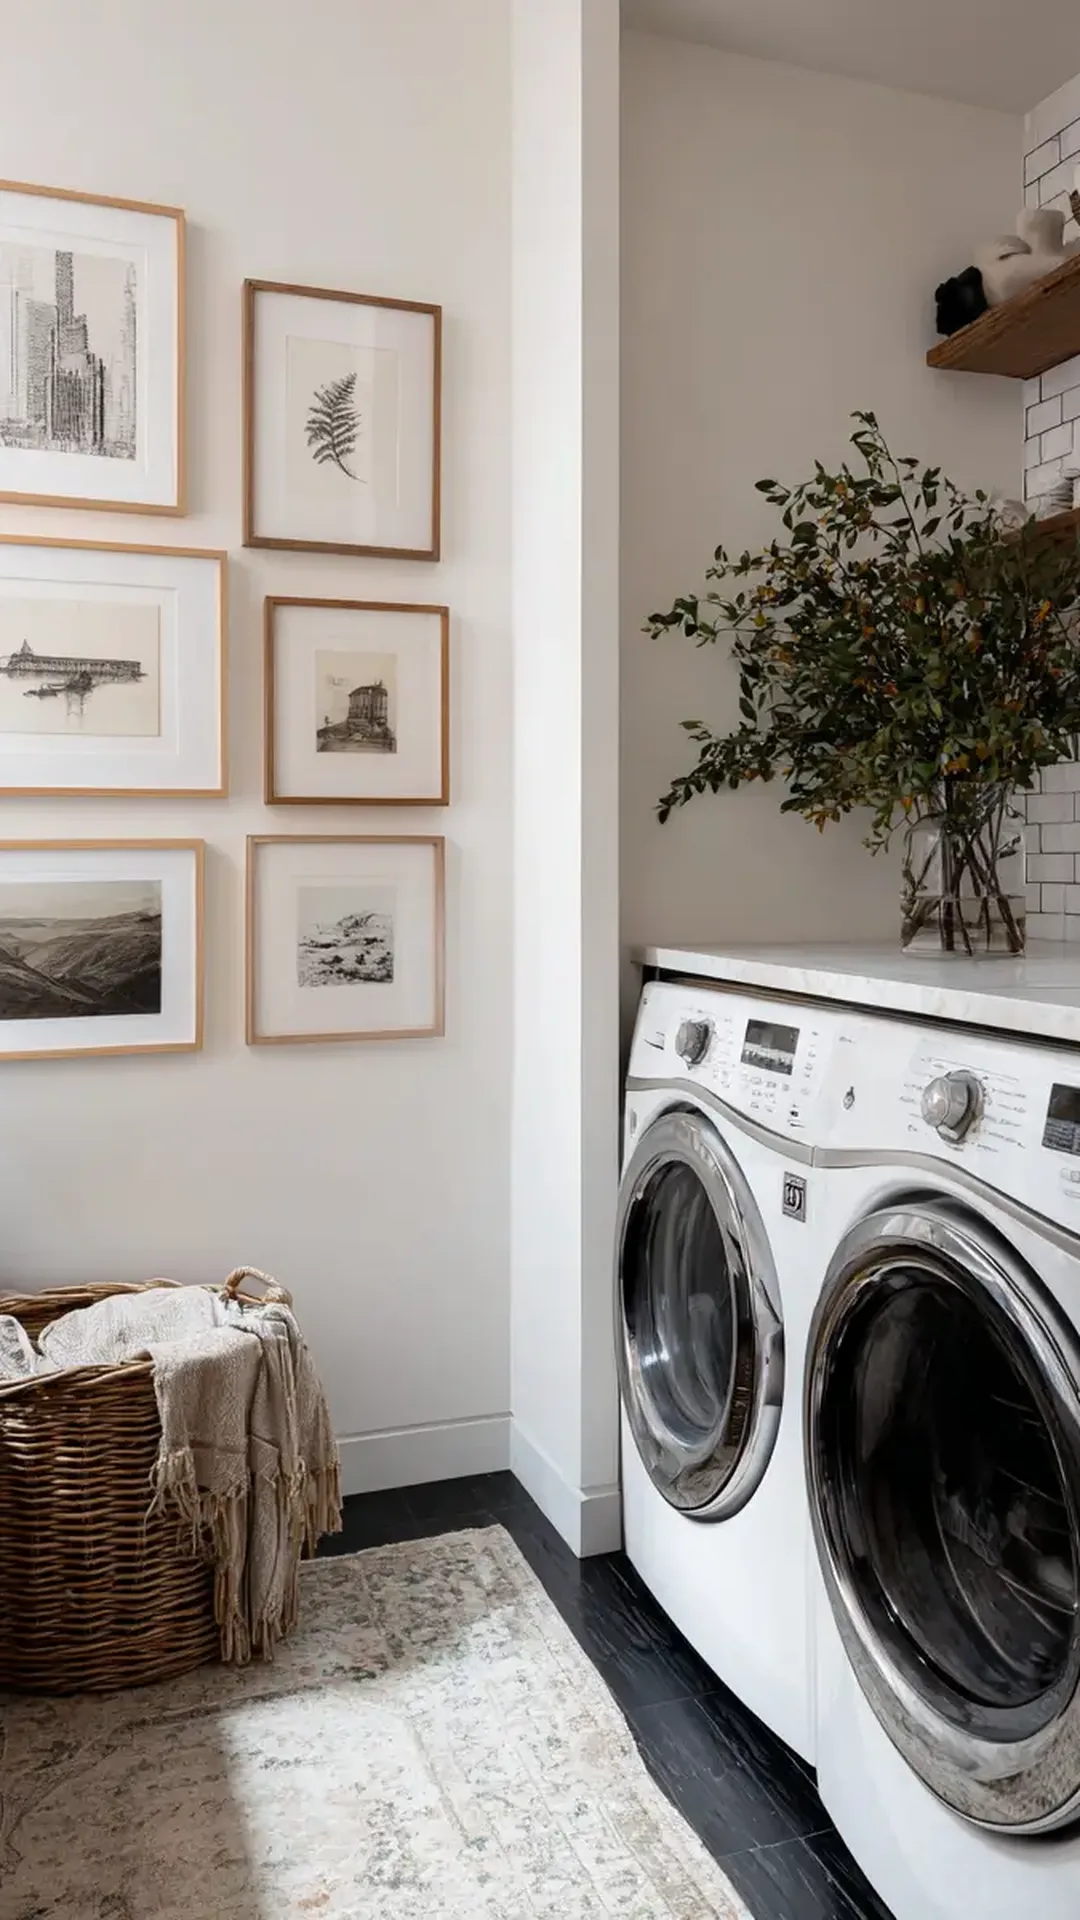
Laundry rooms rarely get art, which is exactly why one wall of frames stands out. Use inexpensive matching frames and prints you make at home. Botanicals, simple line drawings, and soft landscapes all work well here.
Lay the frames on the floor first and move them around until the gaps look even. Then hang them. Keep the gaps small and the frames in one or two colors so the group feels calm.
Cheap frames, careful spacing, big payoff.
🖼️ Simple Layout Idea
Match the frame color and keep the gaps even.
12. Sort Laundry Into Woven Baskets Before It Reaches the Machine
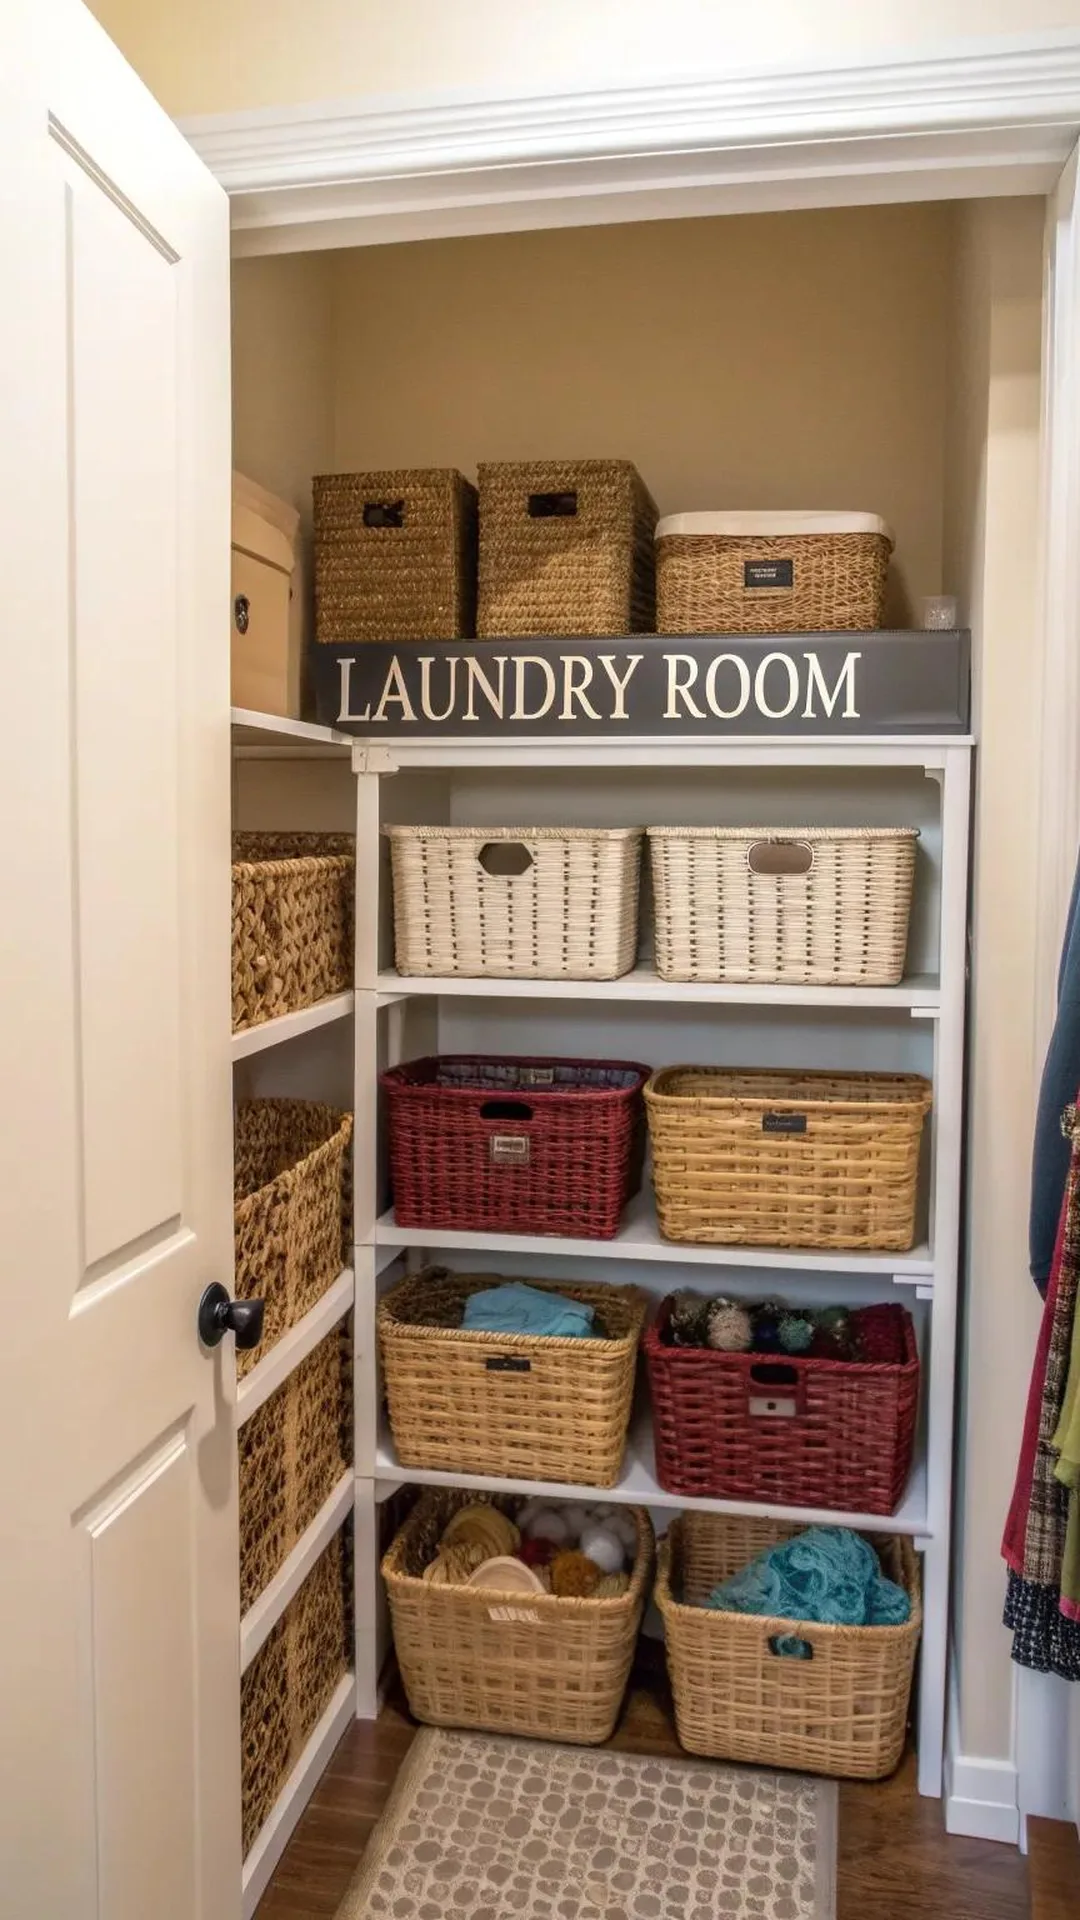
Sorting is the sneaky chore in laundry, and baskets make it easy to start. Line up two to four on the floor or on a low shelf and give each one a job.
Natural fibers like seagrass or rope look good and hide wear.
Lids or liners keep lint out of sight.
Same shape and size make the row look planned, not random.
Drop clothes in as they come off, then wash by basket.
⚪ Lights
Whites and pale colors
⚫ Darks
Dark and bold colors
🌸 Delicates
Gentle cycle and hand wash
🧺 Towels
Towels and bedding
13. A Wooden Peg Rail Gives Brooms, Totes, and Aprons a Spot
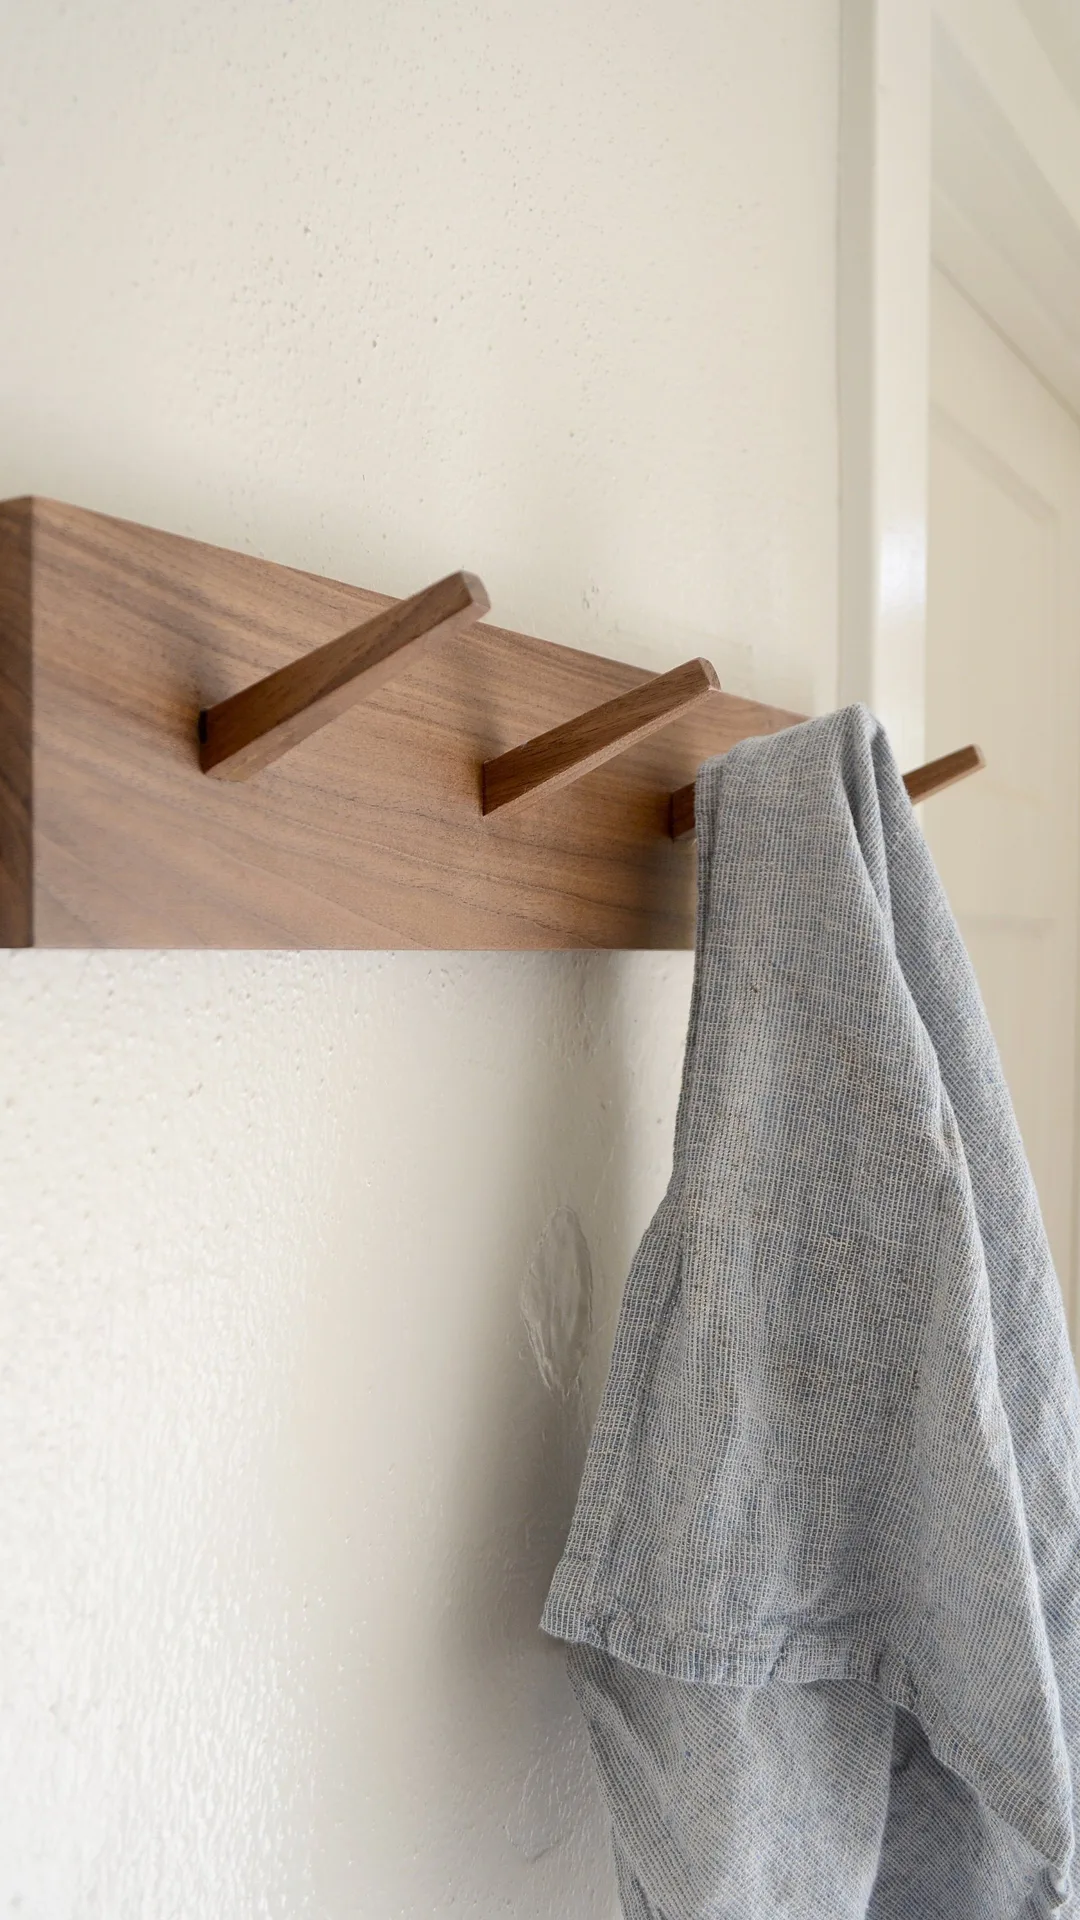
Brooms, tote bags, and lint brushes pile up in a corner fast. A long wood peg rail keeps all of it off the floor and in sight, and it gives the room a tidy mudroom feel.
Paint the rail the same color as the wall so it blends in, or stain it for contrast. Hang heavy things on the end pegs and light things in the middle.
Warning: screw into studs for anything heavy, like a full bucket or a loaded bag.
⚠️ Heads Up
Weigh the load before you hang it. A peg is only as strong as the wall behind it.
14. A Washable Runner Rug Makes a Narrow Laundry Room Feel Finished

A bare floor makes a laundry room feel like a hallway no one decorated. A long, flat rug softens it and warms it up. Pick a flat weave so the dryer door can open over it.
Measure the floor between the machines and the wall.
Choose a rug that leaves a few inches of floor showing at each end.
Add a non-slip pad underneath.
Check the label before you wash it.
🛒 Before You Buy
☐ Flat, low weave
☐ Washable care label
☐ Stripe or soft neutral pattern
☐ Rubber backing or a separate pad
☐ Runner shape that fits the room
15. One Peel-and-Stick Wallpaper Wall Gives the Room a Designer Look
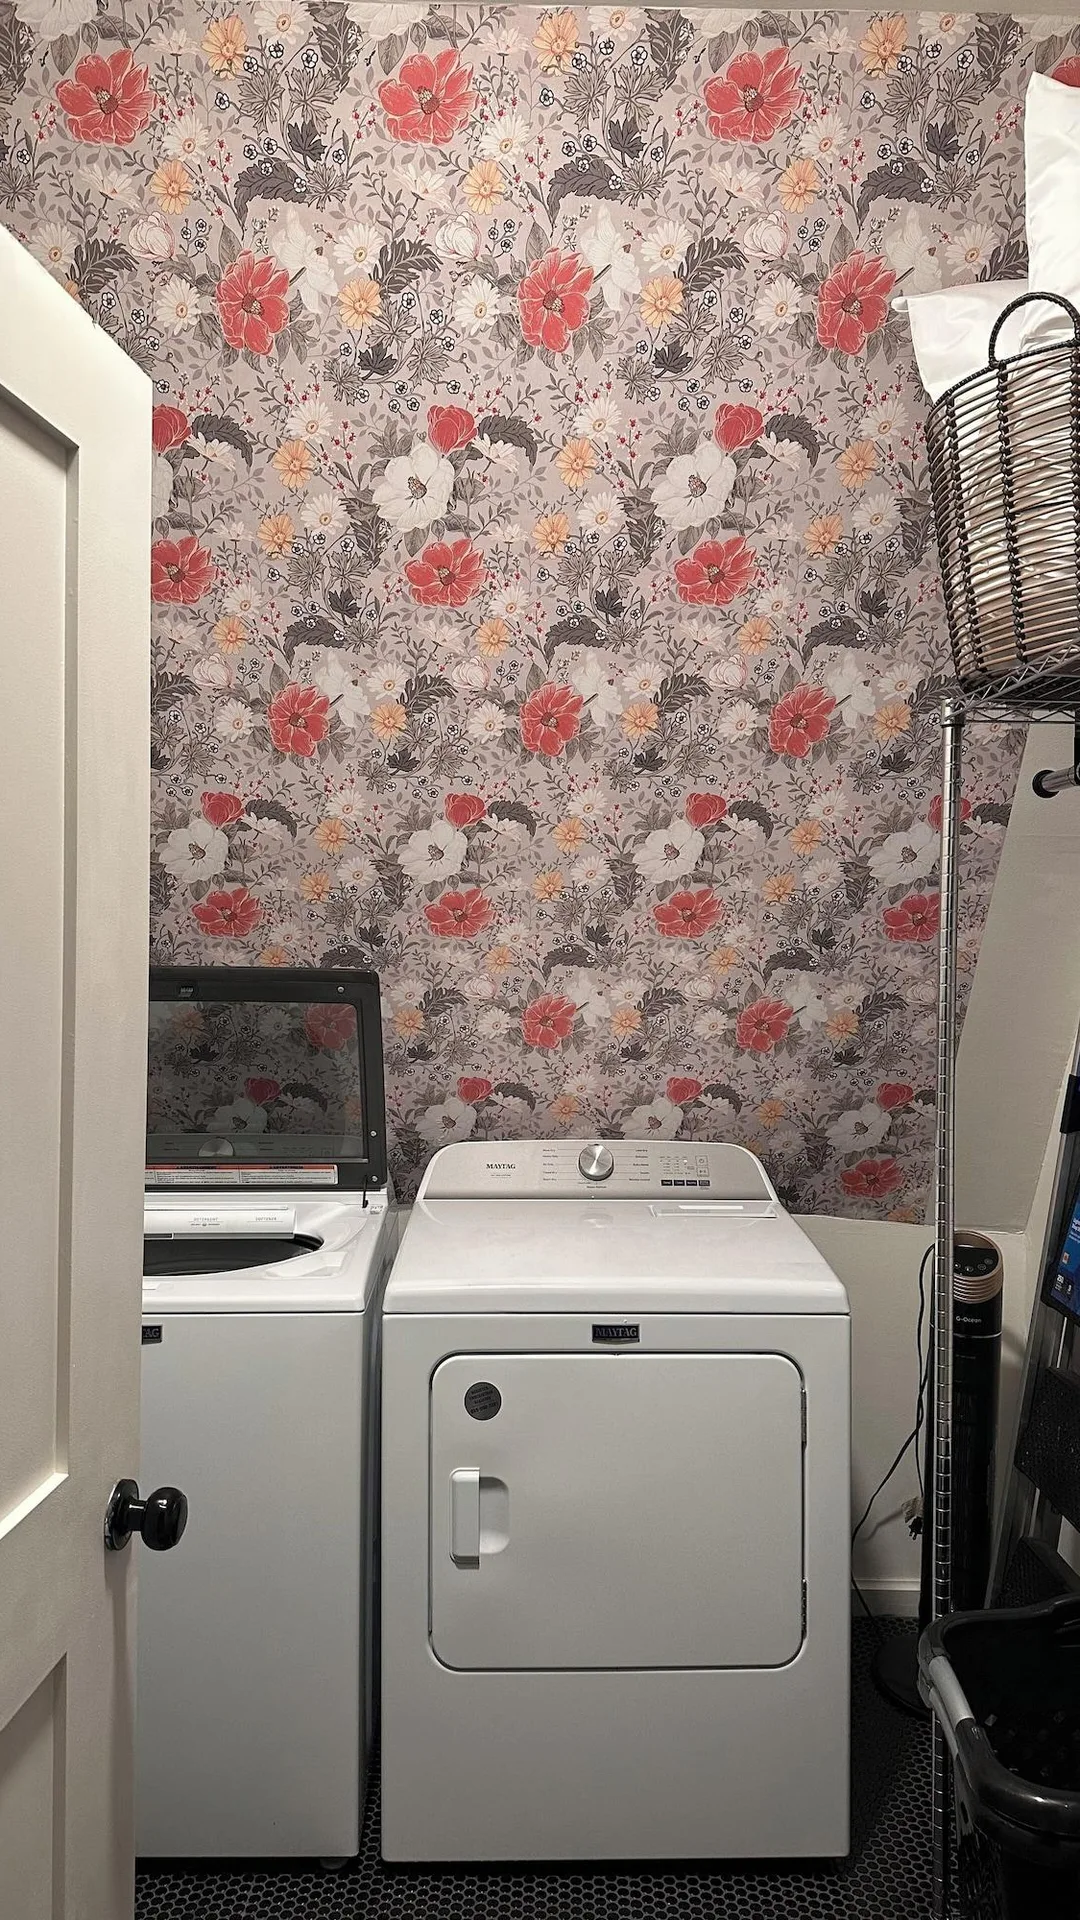
Wallpaper on a single wall is plenty. Hang peel-and-stick paper on the wall that faces the door and leave the rest painted. Soft botanicals, thin stripes, or a small repeat in cream and green feel calm. A bold print also works in a tiny room, since you only see it in small doses.
Smooth each strip from the top down with a flat card, and match the pattern at every seam.
Small warning: press a test strip on a hidden spot first. Some paint finishes peel off along with the paper.
16. Natural Fiber Window Shades Soften a Plain Laundry Room Window
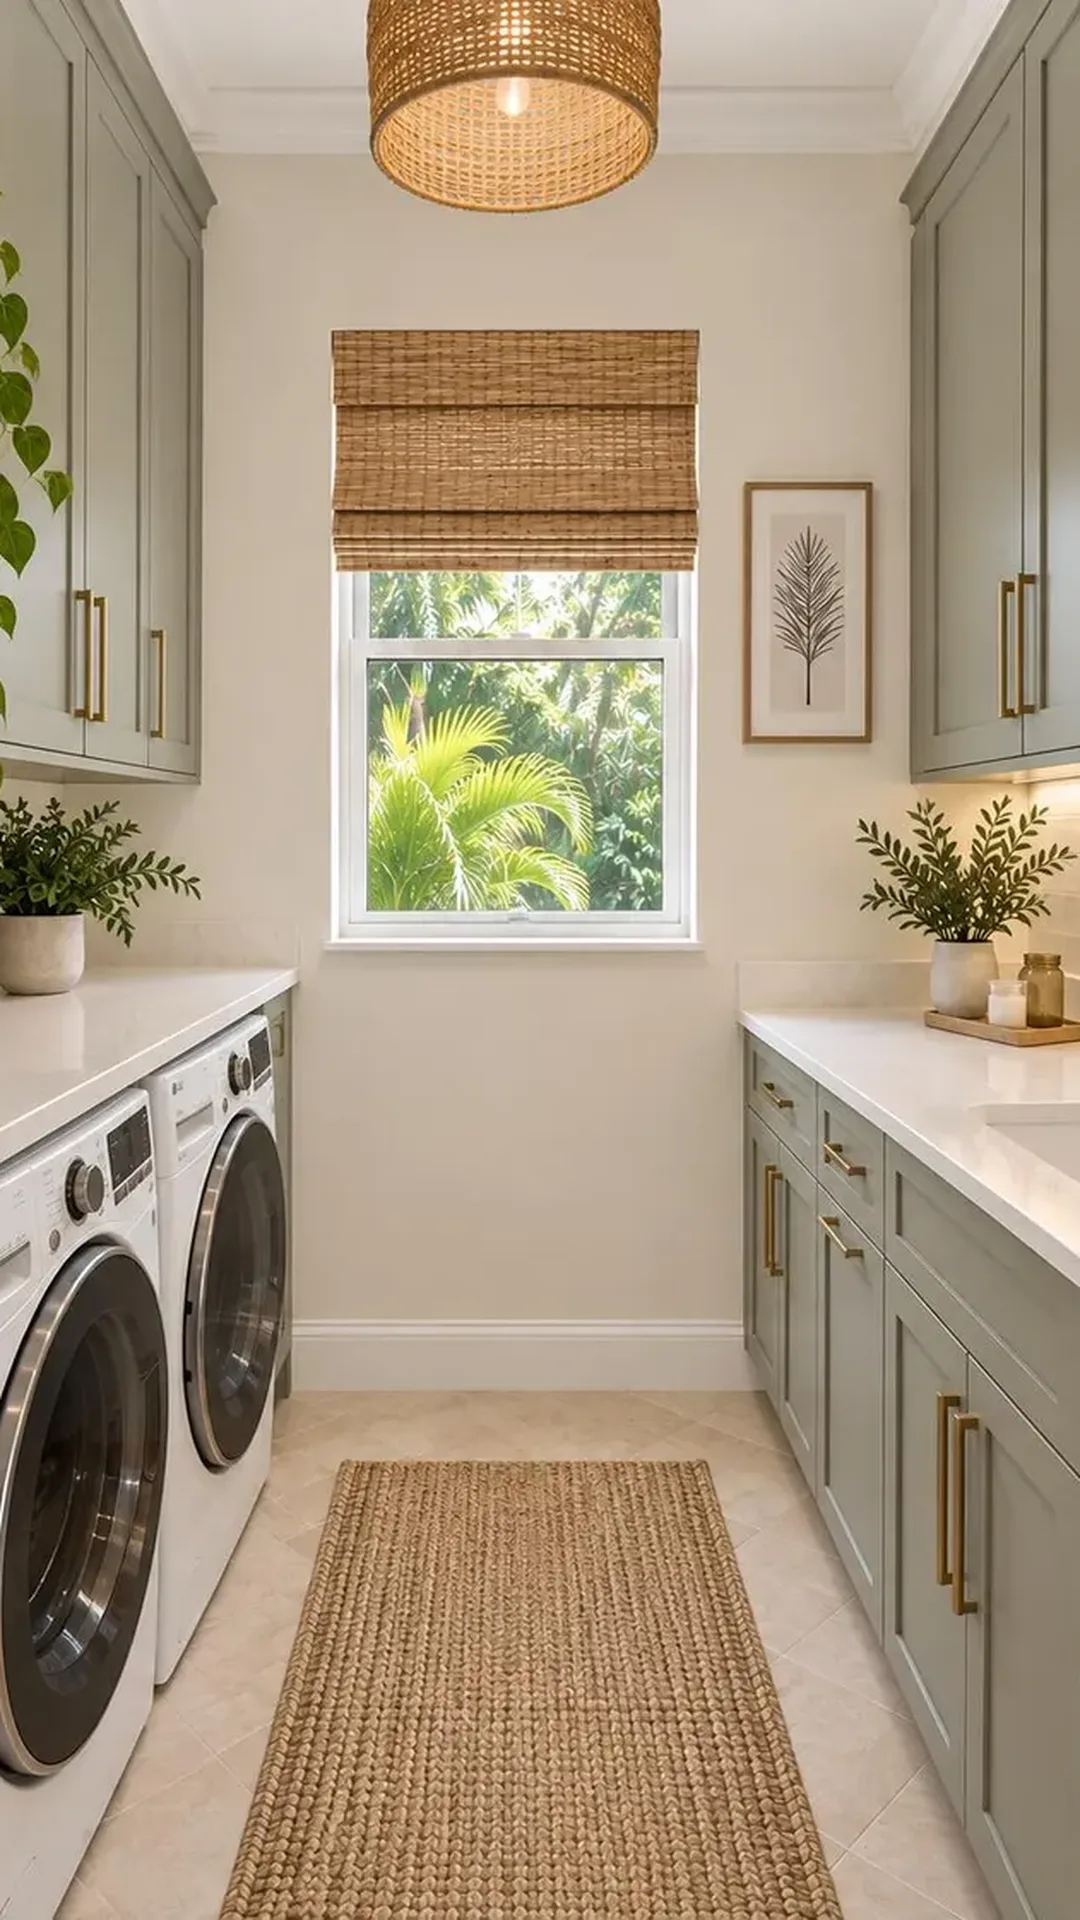
Bare windows make a laundry room feel like a garage. A simple covering fixes that.
Woven bamboo or jute shades filter the light and add texture.
Sheer white panels cut glare and keep the room private.
A café curtain covers the lower half and lets daylight in above.
Inside the frame looks neat, while outside the frame hides uneven edges.
Light stays, the window finally looks finished.
Measure the frame
Check the width and height inside the window opening.
Pick the shade
Choose a width that fits the opening with no gaps at the sides.
Mount the brackets
Mark both ends with a pencil, then screw the brackets in level.
Clip in and test
Snap the shade in place, then raise and lower it a few times.
17. Real or Faux, a Few Plants Make a Laundry Room Feel Alive
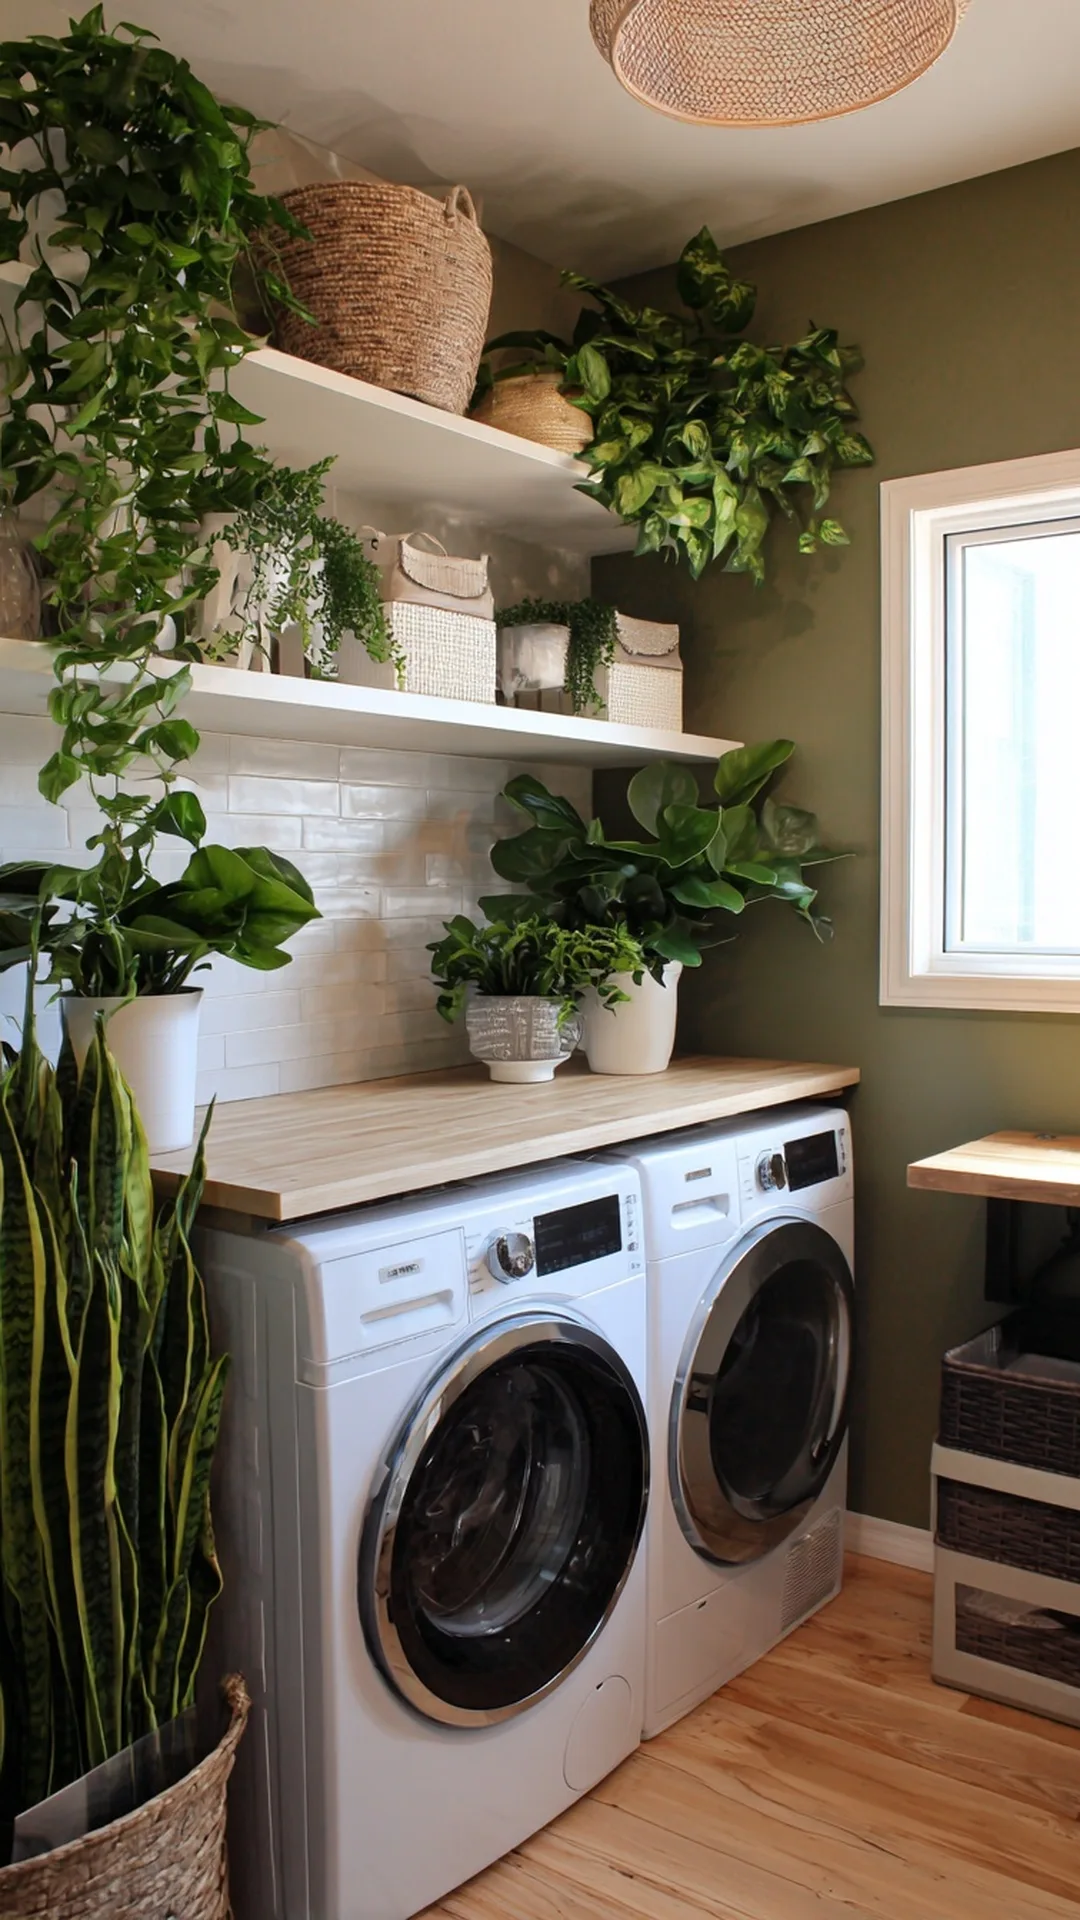
Real plants bring life, and faux ones bring zero upkeep. Both can work here.
Real plants: pothos, snake plant, and ZZ plant handle low light well and do fine in warm, damp air.
Faux plants: choose matte leaves, never shiny plastic, and dust them now and then.
Pick real if the room has a window. Pick faux if it is dark. Some plants are not safe for pets, so check before you buy.
🌱
Pothos
Trails nicely from a shelf or the top of a cabinet
🪴
Snake plant
Stands tall in a floor corner
🍃
ZZ plant
Handles dim light and forgetful watering
🌾
Faux stems
Best for windowless rooms
18. The Back of the Laundry Room Door Is Free Storage
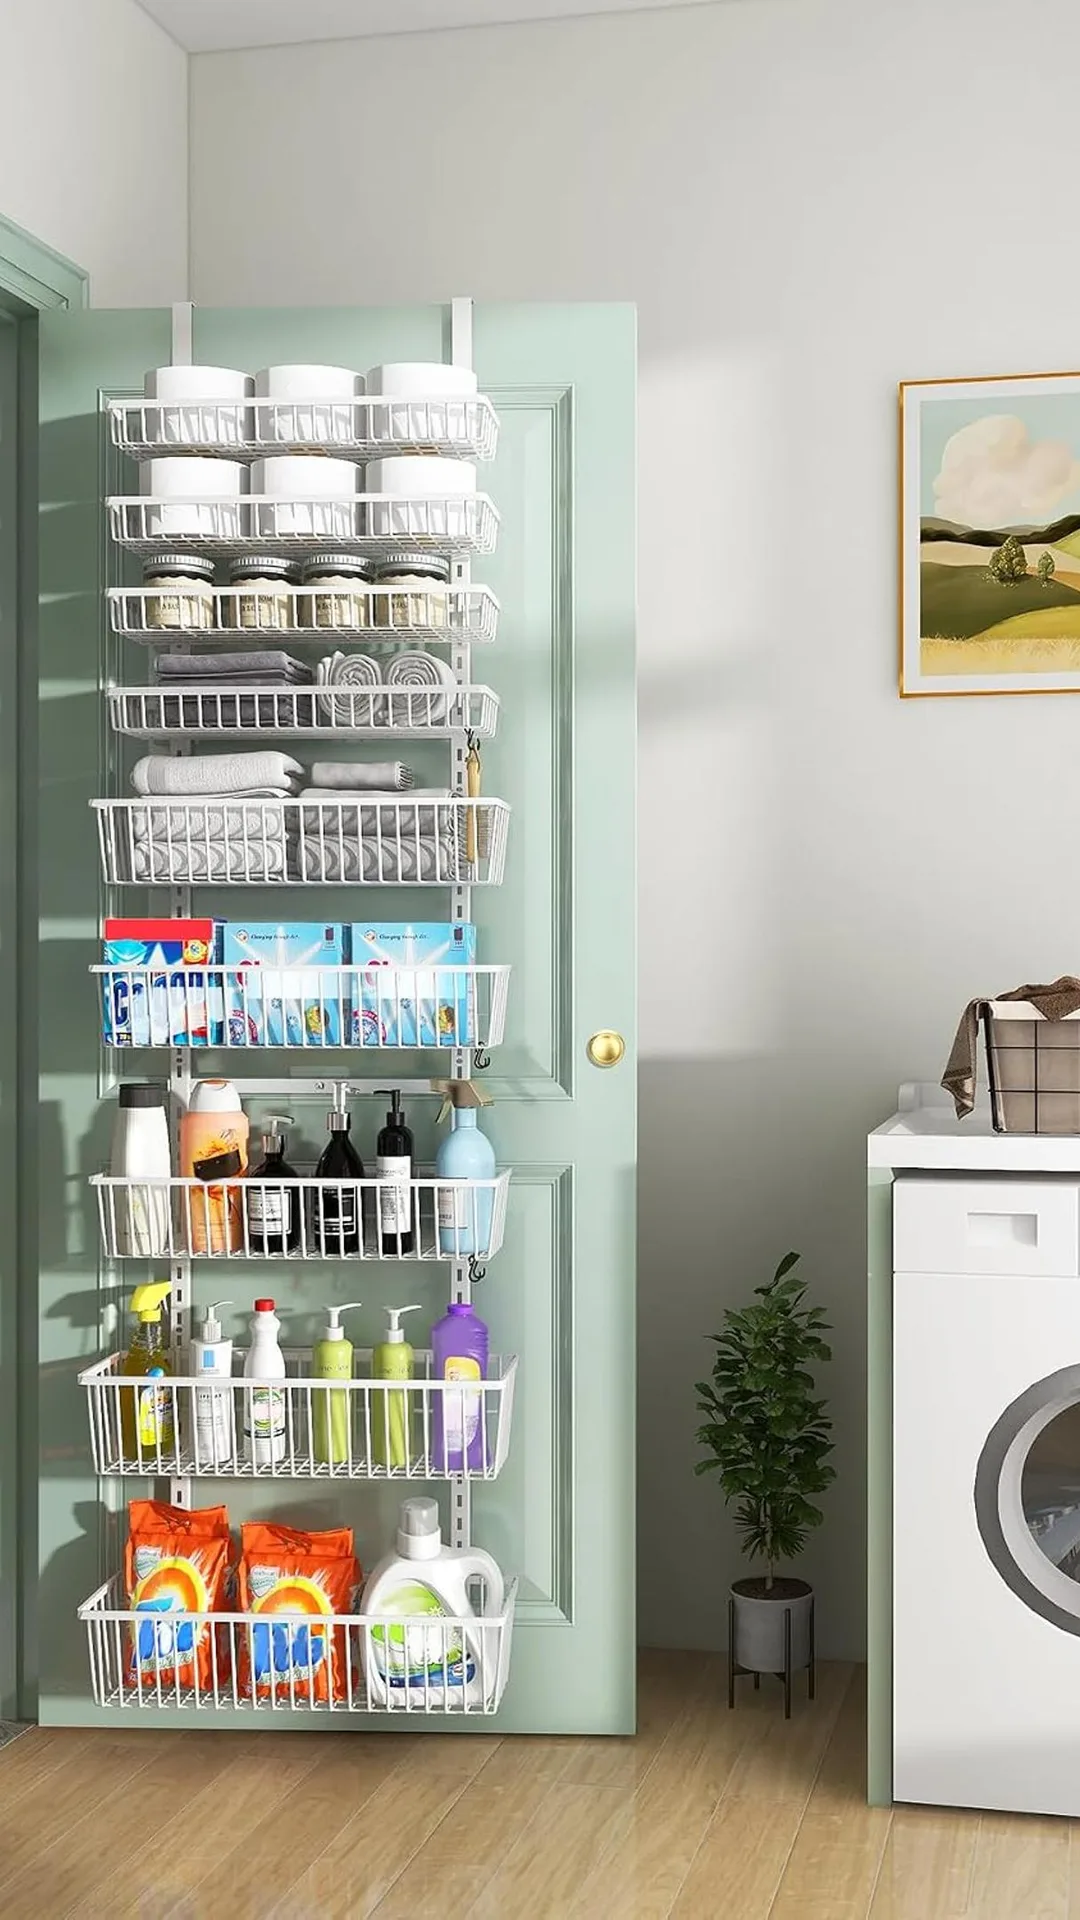
Most laundry rooms have a door, and nobody uses the back of it. Hang an over-the-door hook for the ironing board and add a fabric pocket organizer for stain sticks, lint rollers, and spare buttons. Everything stays flat and out of the walkway.
Check that the door still closes smoothly with the load on it. A few felt pads on the hooks keep the wood from getting scuffed.
💡 Quick Tip
Put the things you grab most at eye level. Heavier or rarely used items go low or up high.
19. Repaint Dated Cabinets Instead of Replacing Them
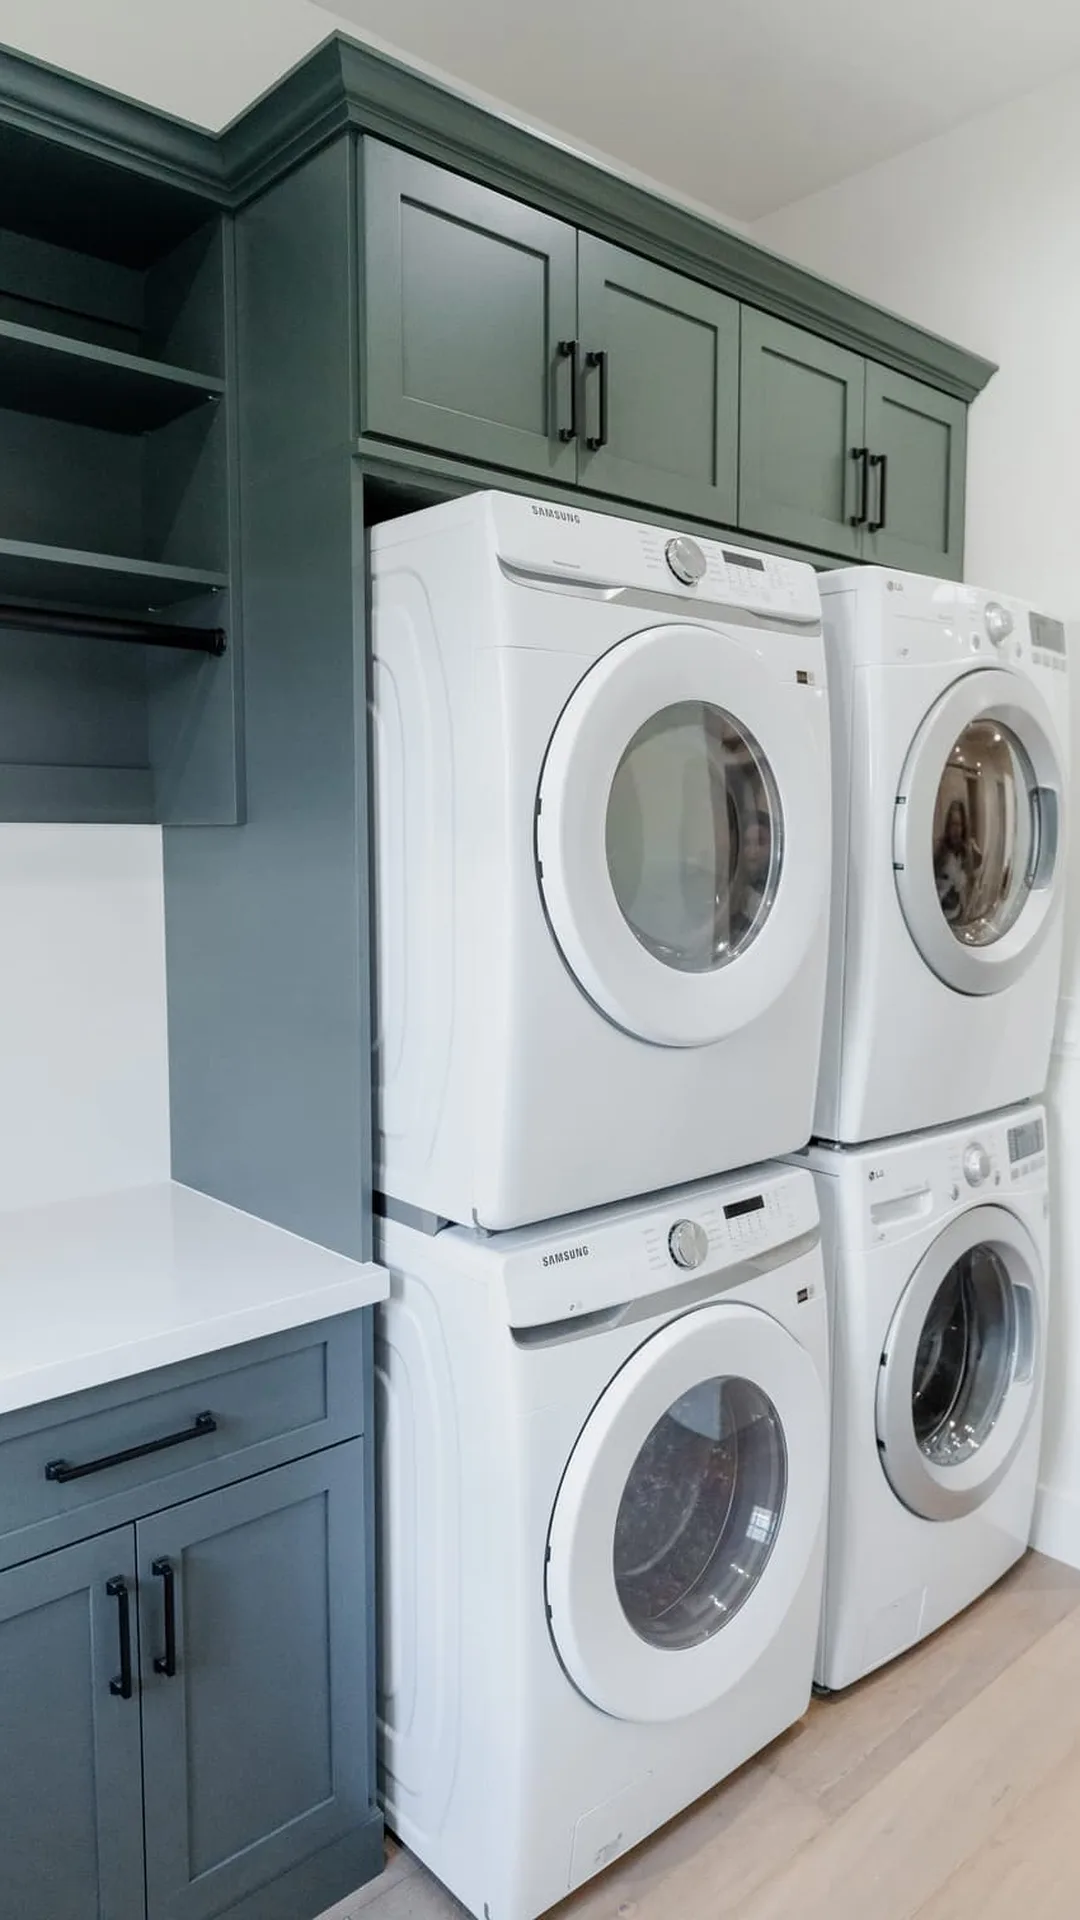
Paint is the cheapest cabinet upgrade there is. Yellowed oak or worn laminate can look new with the right prep.
Take off the doors and hardware, and label each door.
Clean with degreaser, then sand lightly.
Prime with a bonding primer.
Roll on thin coats of cabinet paint, and let each coat dry.
Thin coats beat one thick coat every time.
| Color | Mood | Pairs with |
|---|---|---|
| ⚪ Soft white | Bright and clean | Brass or black pulls |
| 🟢 Sage green | Calm and earthy | Warm wood and brass |
| 🔵 Deep navy | Bold and classic | White walls and brass |
| 🟤 Warm greige | Soft and easy | Matte black pulls |
20. Slide a Slim Rolling Cart Into the Gap Beside the Washer
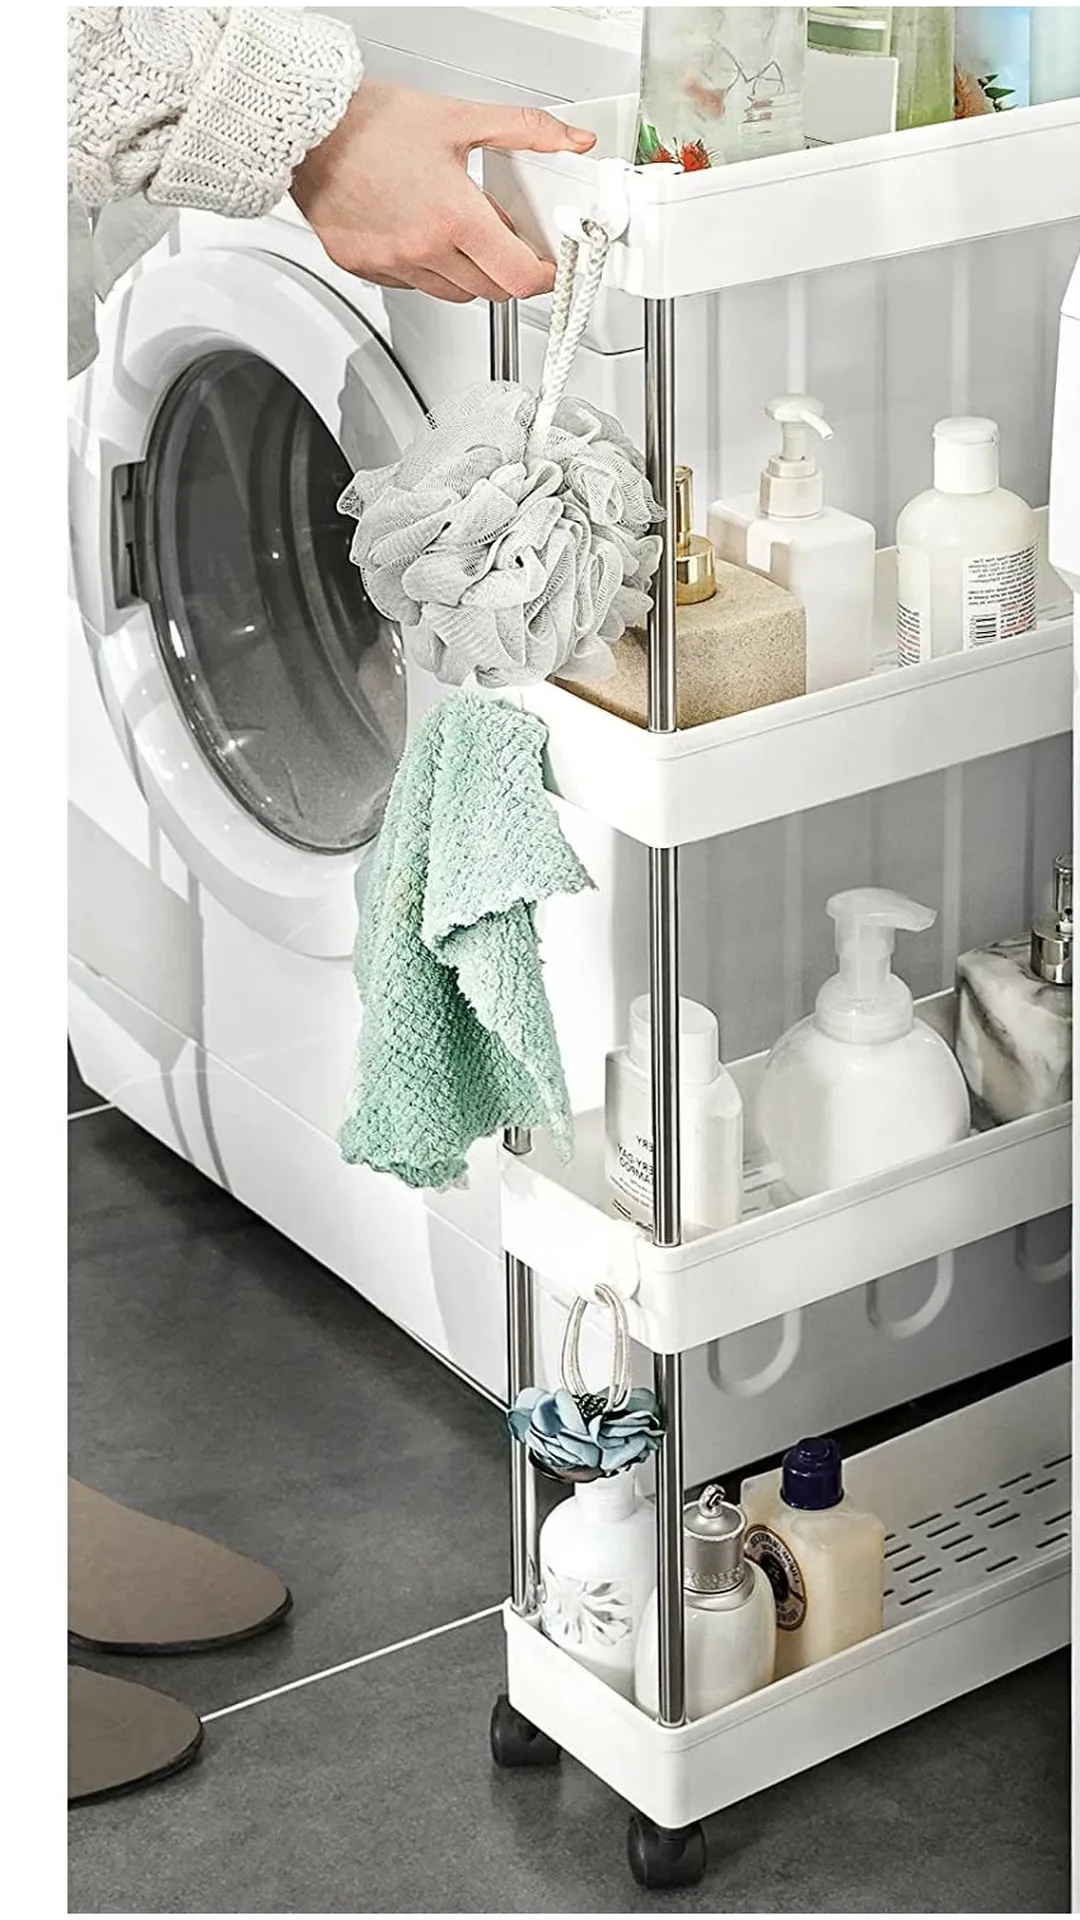
That thin gap beside the machines usually collects dust and one lost sock. A narrow rolling cart turns it into storage, and it rolls out when you need to reach behind it.
Top shelf: detergent and stain remover.
Middle shelf: dryer sheets, a lint brush, and spare hangers.
Bottom shelf: a small basket for odd socks.
Measure the gap first. Carts are sold by width, and nobody enjoys a return trip. Lock the wheels once it is in place.
Key Takeaway
A dead gap is storage in disguise. Measure it, then fill it with wheels.
21. Board and Batten Makes a Plain Wall Look Built In
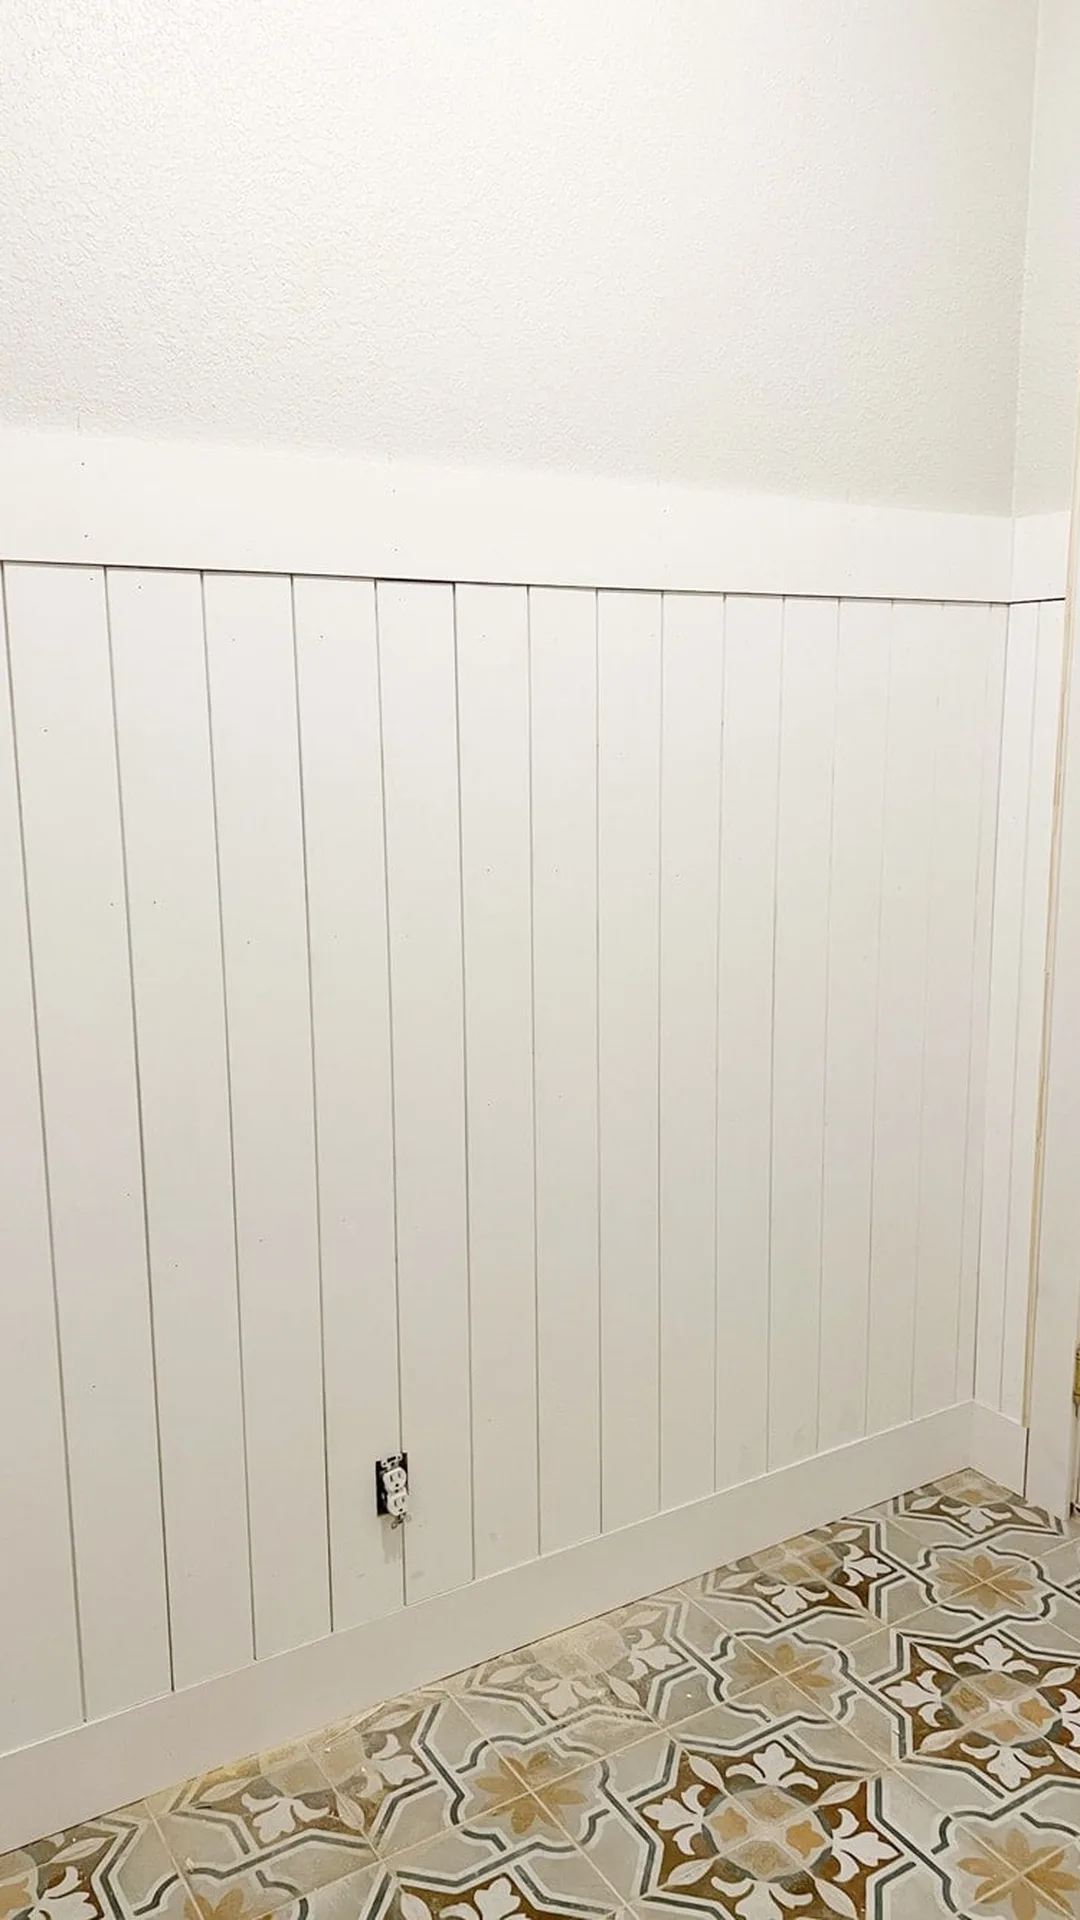
Flat wood strips on a painted wall create the look of custom paneling for very little. Space thin vertical strips evenly, then paint the strips and the wall in one color. The shadows between them add depth, so the wall looks like it was part of the house from the start.
Run it halfway up the wall, or to just above the washer. Caulk the seams before painting, since that is what hides the joins.
Straight lines, one color, done.
✅ Do
Use a level for every strip.
Space the strips evenly.
Caulk every seam before painting.
Paint the wall and strips the same color.
❌ Don’t
Guess the spacing by eye.
Skip primer on bare wood.
Leave visible gaps at the corners.
Mix glossy and flat paint.
22. A Cube Shelf Plus a Cushion Fakes a Built-In Bench

Built-ins cost a lot. A cube storage unit costs far less and nearly passes for one.
Set the unit against the wall and fill each cube with a basket.
Anchor it to the wall so it cannot tip.
Add a wood top cut to size, running flat from edge to edge.
Paint the whole piece the same color as the wall.
Top it with a long cushion in a washable cover.
Tack baseboard trim along the bottom so it looks attached to the room.
The bench gives you a seat for sorting, folding, or pulling on shoes.
| Compare | 📦 Ready-Made Cube Unit | 🔨 Simple DIY Frame |
|---|---|---|
| Effort | Low | Medium |
| Look | Neat and modular | Custom and solid |
| Cost | Low | Low to medium |
| Best for | Renters | Owners |
23. Stick-On Lights Under the Shelf Make the Counter Glow
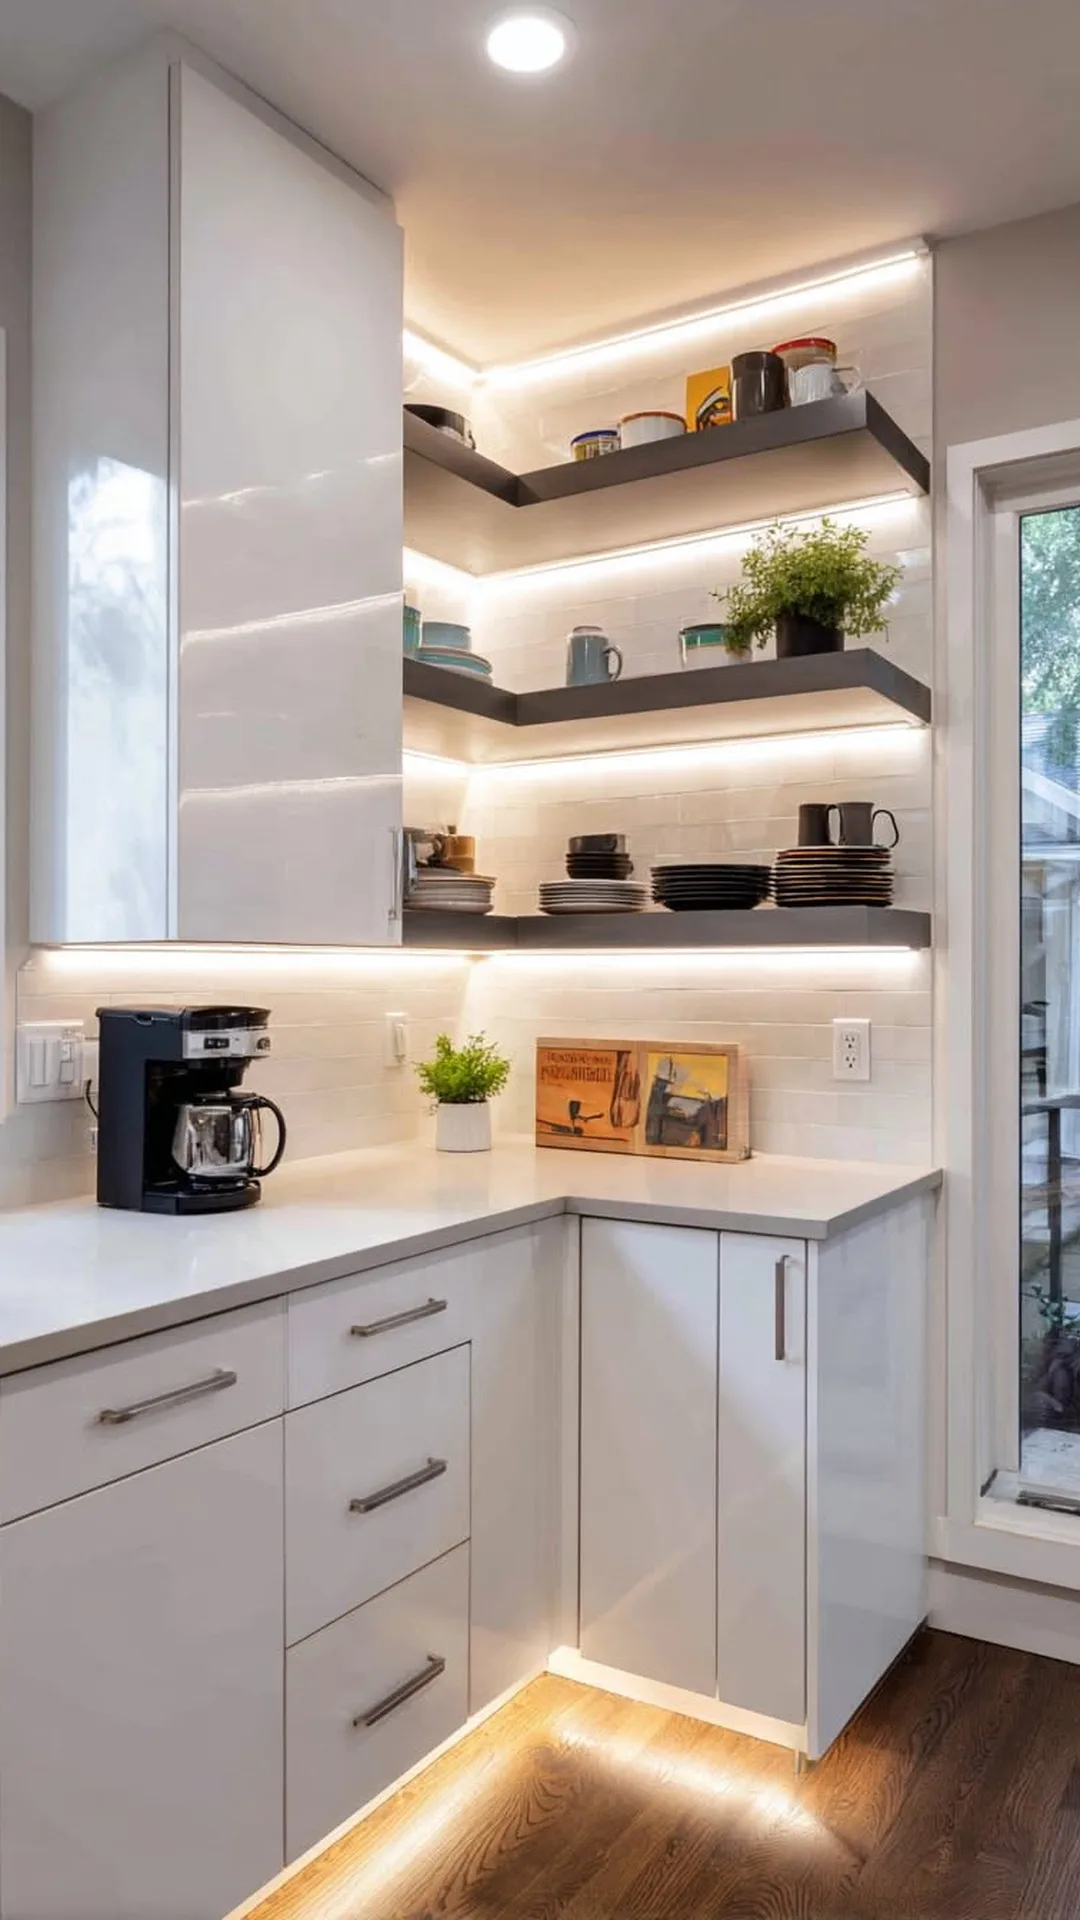
Dark corners make a laundry room feel like a basement. A light strip under a shelf fixes that in minutes and washes the counter in a soft glow.
Choose warm white, not cool blue. It flatters paint and wood. Mount the strip along the front edge of the shelf, tucked up out of sight, so you see the light and never the strip. Tape the cord flat to the wall or paint over it.
One stick-on strip, and the room goes from utility to cozy.
💡 Quick Tip
Test before you stick. Hold the strip in place and switch it on in the evening. If it shines in your eyes, move it back toward the wall.
24. A Lidded Bin Keeps Lint and Dryer Sheets Out of Sight
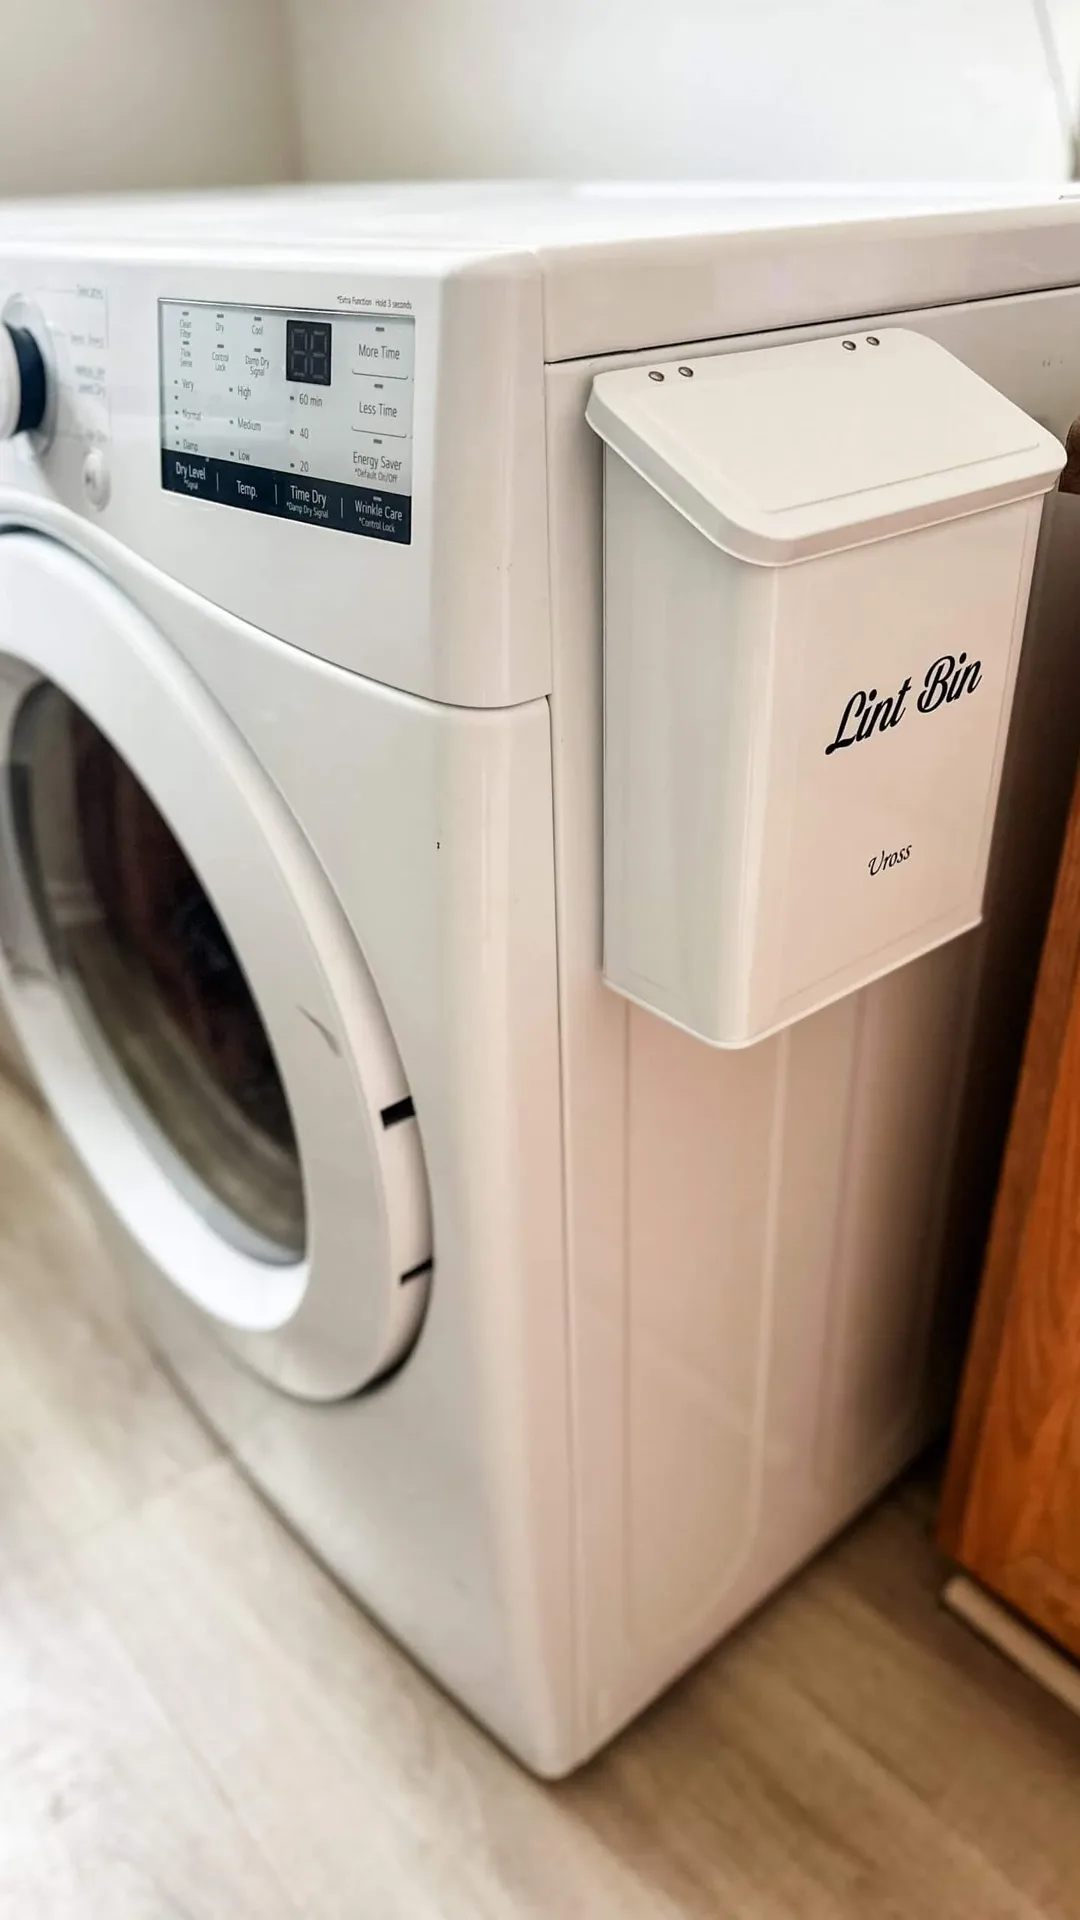
Lint, used sheets, and empty bottles pile up fast. Two bins can handle it.
Lidded bin by the dryer: hides everything and is easy to empty. Choose a slim shape that fits the gap.
Open basket with a liner: quicker to toss into, but you see the contents. Best behind a closed cabinet door.
Pick the lidded bin if it sits out in the open. Clear the dryer lint trap after every load. It keeps the dryer working well and it is safer.
🗑️ Bin Setup Checklist
☐ Slim lidded bin in a matching color
☐ Small liner bags
☐ A spot within arm’s reach of the dryer
☐ A small brush hung nearby for the lint trap
25. Finish With Scent and One Small Tray of Pretty Things
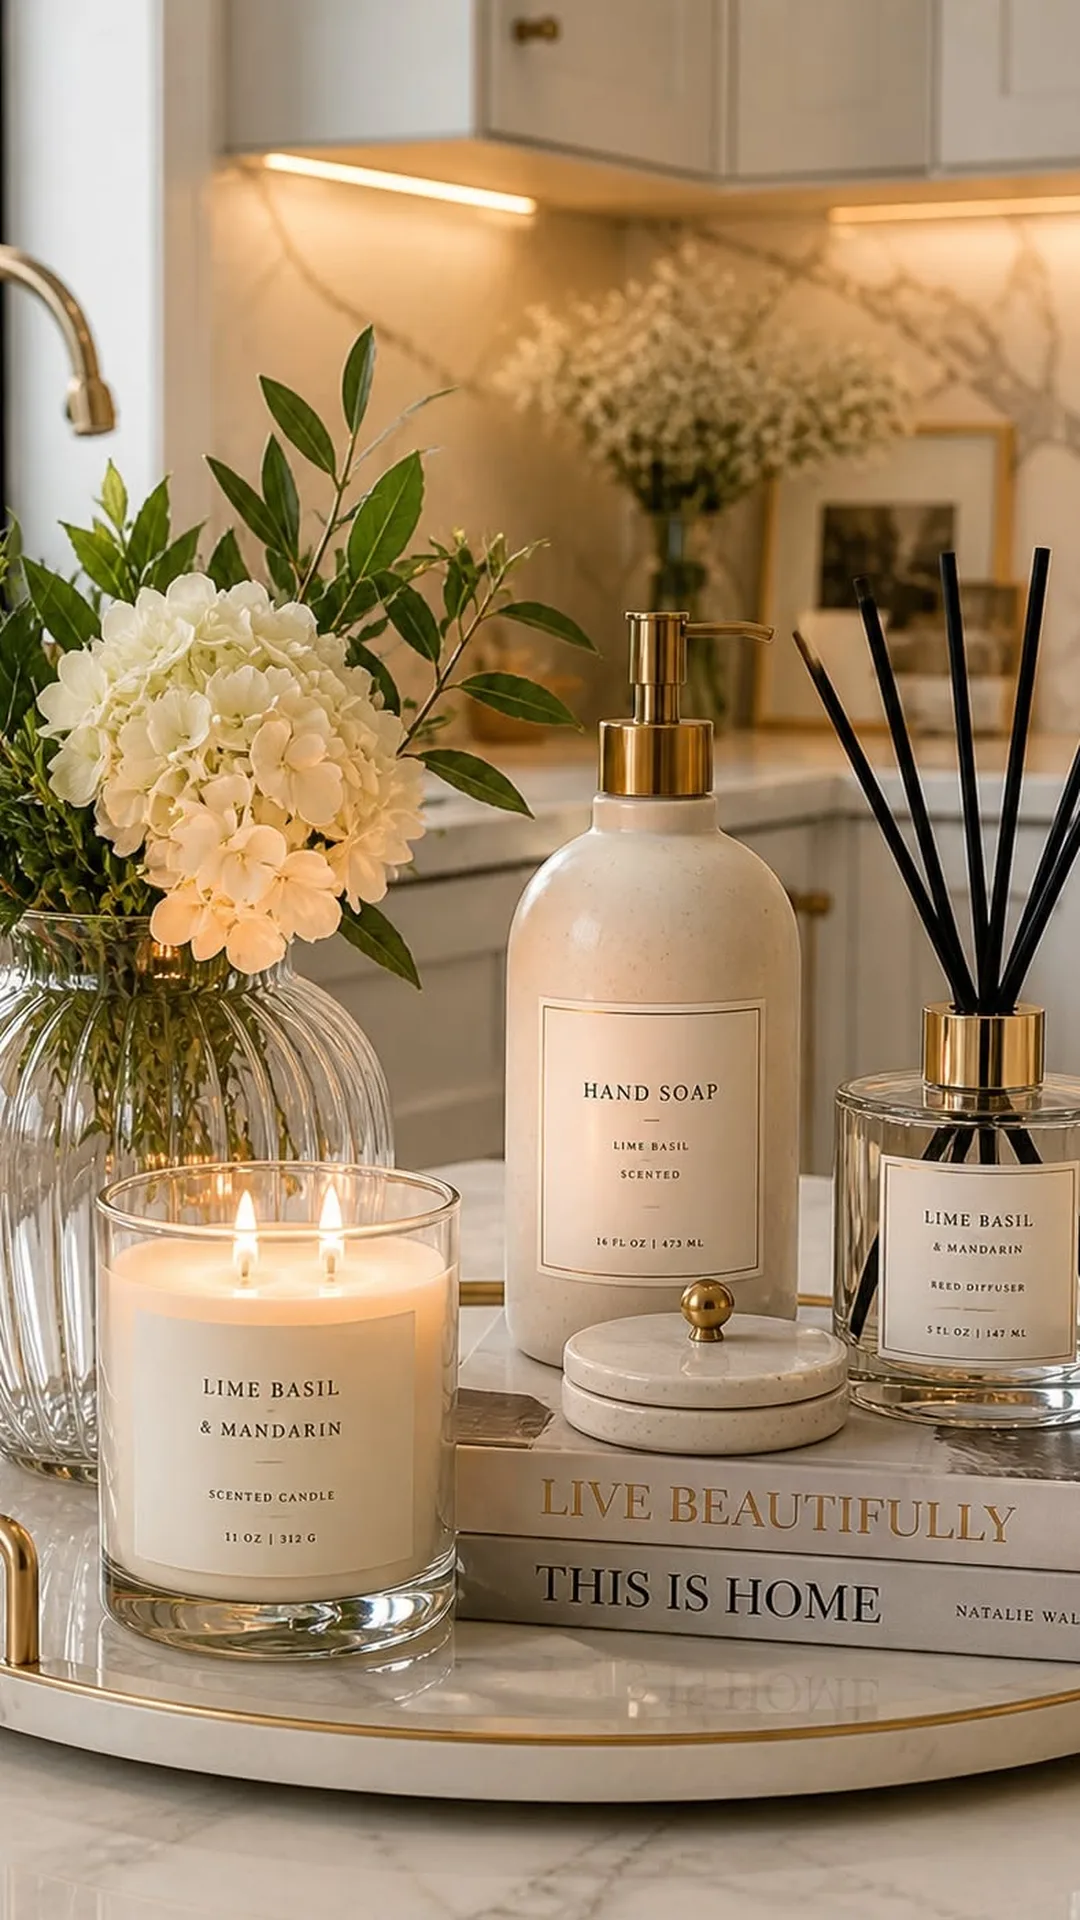
Scent is the finishing step most laundry rooms skip. A small tray on the counter holds the extras and gives the eye a place to land.
Linen spray: a clean fragrance for towels and sheets.
Reed diffuser: steady scent with no flame near lint.
Ceramic dish: holds buttons, coins, and pocket finds.
One small sprig: adds a soft shape.
Keep the tray small so it never crowds your folding space.
💰
Cost
Low
⏱️
Effort
Quick
🌸
Scent
Light and clean
📍
Best spot
Counter corner
26. A Round Mirror Above the Sink Bounces Light Around
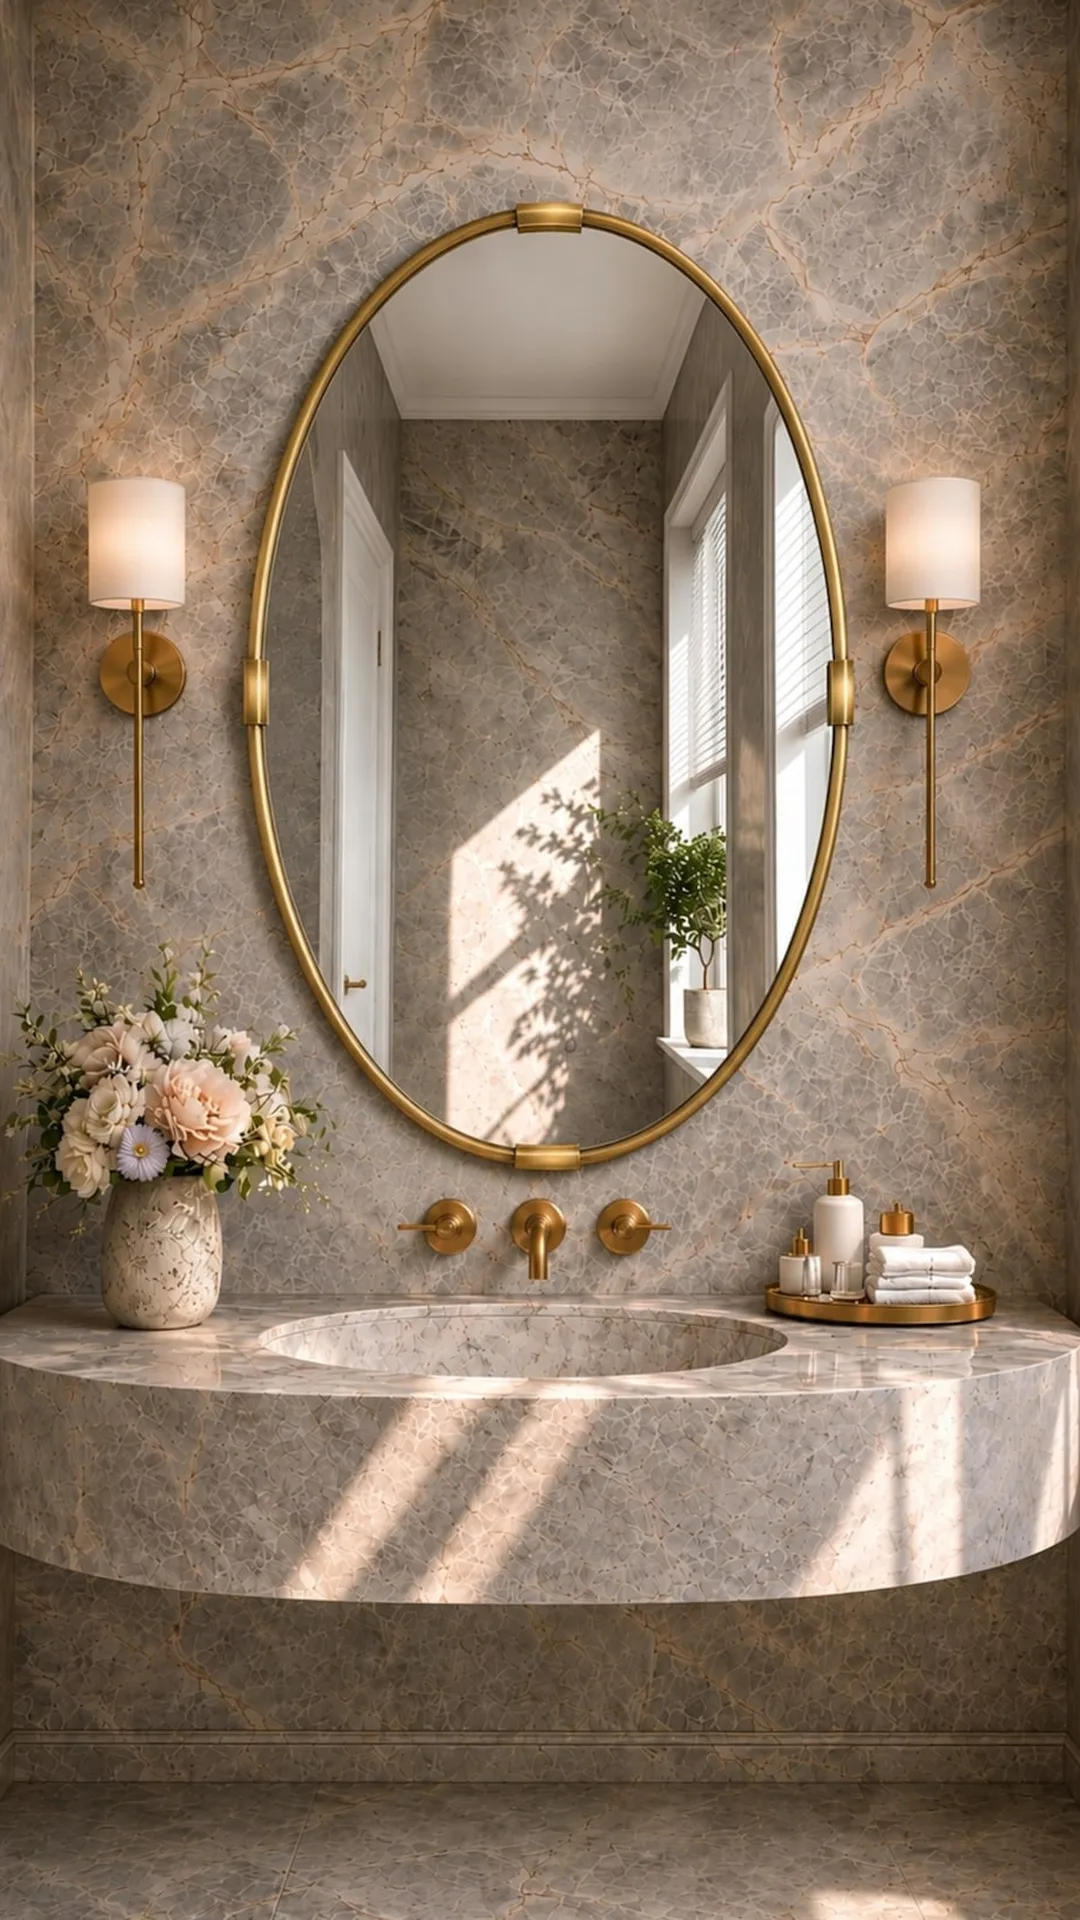
Small rooms feel bigger when light bounces. A round mirror is a cheap way to do it, and the curve softens all the straight lines of machines and cabinets.
Pick the wall that faces a window or lamp, so the mirror reflects light and not clutter.
Choose a thin brass or black frame to match your cabinet pulls.
Hang it on a hook rated for its weight.
Wipe it dry after steamy loads, since moisture leaves spots.
27. Limit the Room to Three Colors and Everything Looks Planned
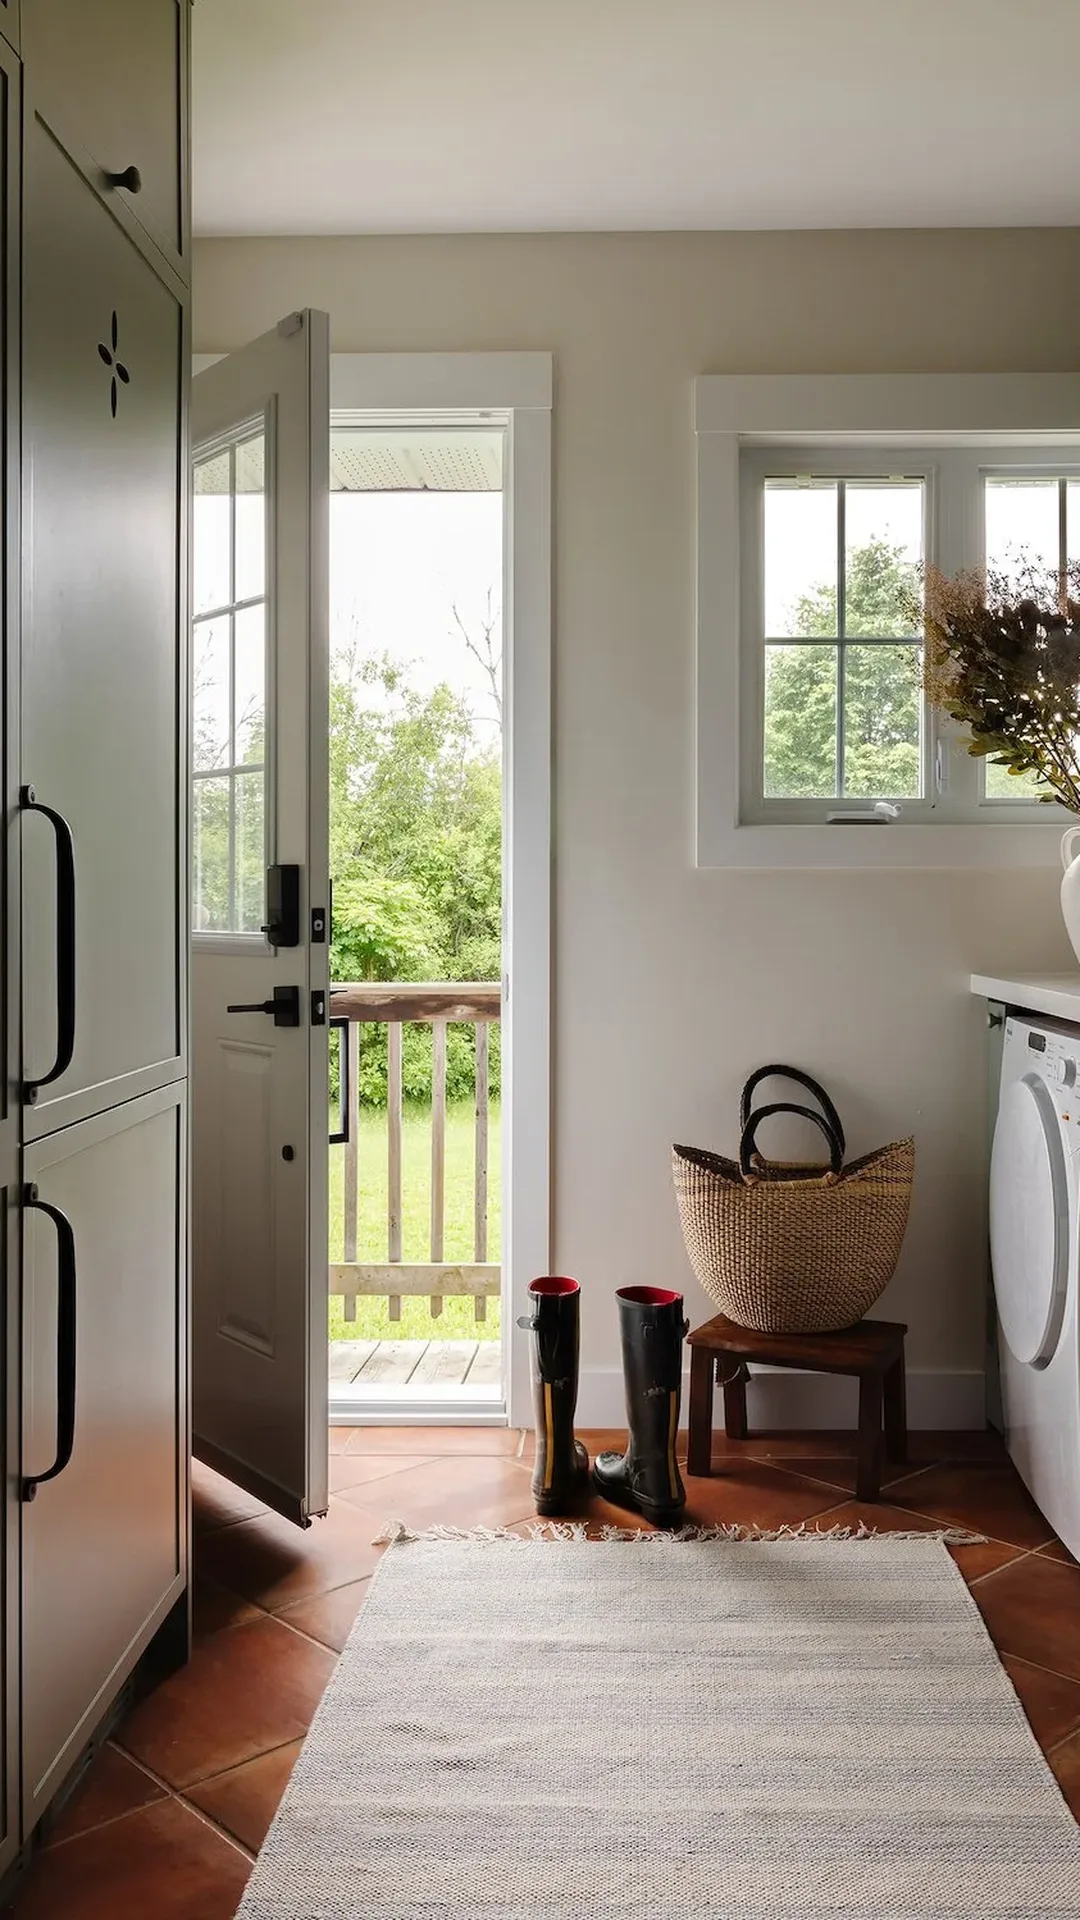
Rooms look expensive when the colors feel chosen. Three is a good number to stick to.
Main: the wall or cabinet paint.
Neutral: cream towels, natural baskets, white jars.
Accent: brass pulls, a terracotta pot, a clay colored hand towel.
Check every item in the room against those three. Anything that clashes goes into a cabinet or gets a new home. Cheap things in matching colors beat pricey things that fight each other.
Key Takeaway
Three colors, repeated around the room, read as a plan and not as a pile.
Conclusion
A laundry room does not have to stay the forgotten corner of the house. A can of paint, a few brackets, and a handful of baskets can change how the room looks and how it works. Laundry room ideas on a budget work best when you take them one step at a time.
Start with the idea that bugs you most, then add one more each weekend. Small changes stack up faster than you expect. If you want to come back to these later, save this post to your Pinterest board, and share your finished laundry room with us.