
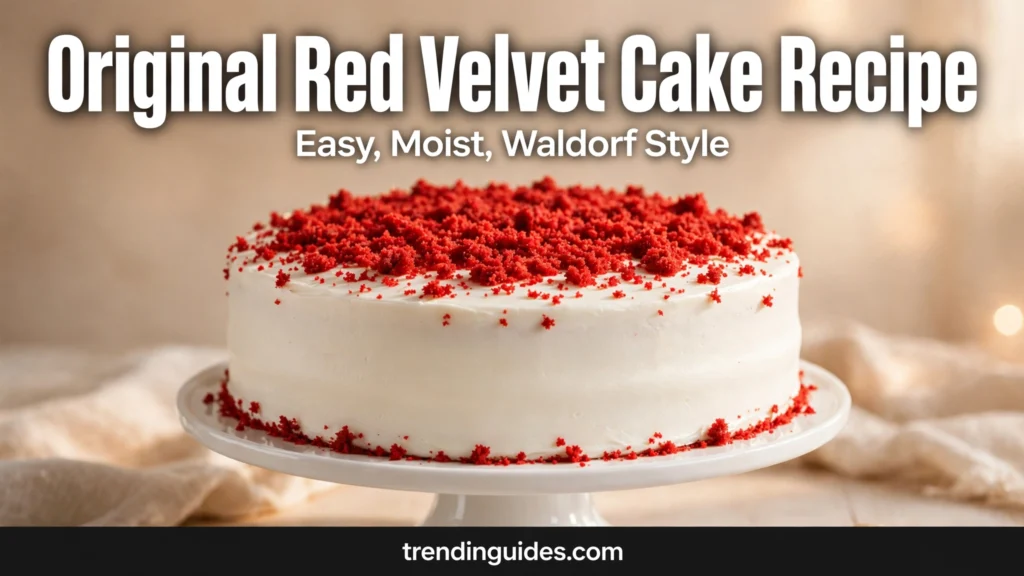

The original red velvet cake recipe is a moist, tender layer cake with a whisper of cocoa, a deep red crumb, and silky ermine frosting, the way the Waldorf Astoria hotel served it nearly a century ago. This is not the heavy chocolate cake with red dye that many bakeries sell today. The true original is lighter and softer, with a fine crumb that bakers once called velvet. It tastes mildly of cocoa with a gentle tang from buttermilk, and it is far less sweet than it looks.
The biggest surprise for most people is the frosting. The original pairing is ermine frosting, a cooked flour frosting that whips up smooth, buttery, and light. Cream cheese frosting came much later and took over mainly because it is faster to make.
In this guide you will learn the full story behind the original red velvet cake recipe, from the Waldorf Astoria dining room to your home kitchen. You will see a side by side comparison of the old style and the modern bakery style, plus a clear frosting decision guide so you can pick your favorite. You will get a simple method that works, a troubleshooting table for every common problem, easy variations, and honest answers to the questions people ask most. Whether you are baking for a birthday or you are simply curious about what made this cake famous, this recipe gives you the real thing with results you can trust.
My first attempt came out brown instead of red because I used Dutch process cocoa. Natural cocoa plus the vinegar reaction is what keeps the color.
What Is Red Velvet Cake?
In the 1800s, bakers used the word velvet to describe cakes with an extra fine, soft crumb. Cocoa powder helped make flour based cakes more tender, so many so called velvet cakes contained a little cocoa. Red velvet grew out of that tradition. It keeps just enough cocoa for flavor, then adds buttermilk and vinegar for tang and lift, plus red color for drama.
So what is red velvet cake exactly? It is a lightly cocoa flavored cake with a tender red crumb and a gentle tang, usually finished with ermine or cream cheese frosting. The red velvet cake ingredients that define it are natural cocoa, buttermilk, vinegar, baking soda, and red coloring, mixed into a soft batter that bakes up light instead of dense.
Do not expect deep chocolate flavor. Chocolate cake is rich and fudgy. Red velvet is lighter, with only a hint of cocoa behind the tang and the frosting. That mild flavor is the point. It lets the tangy crumb and the creamy frosting shine.
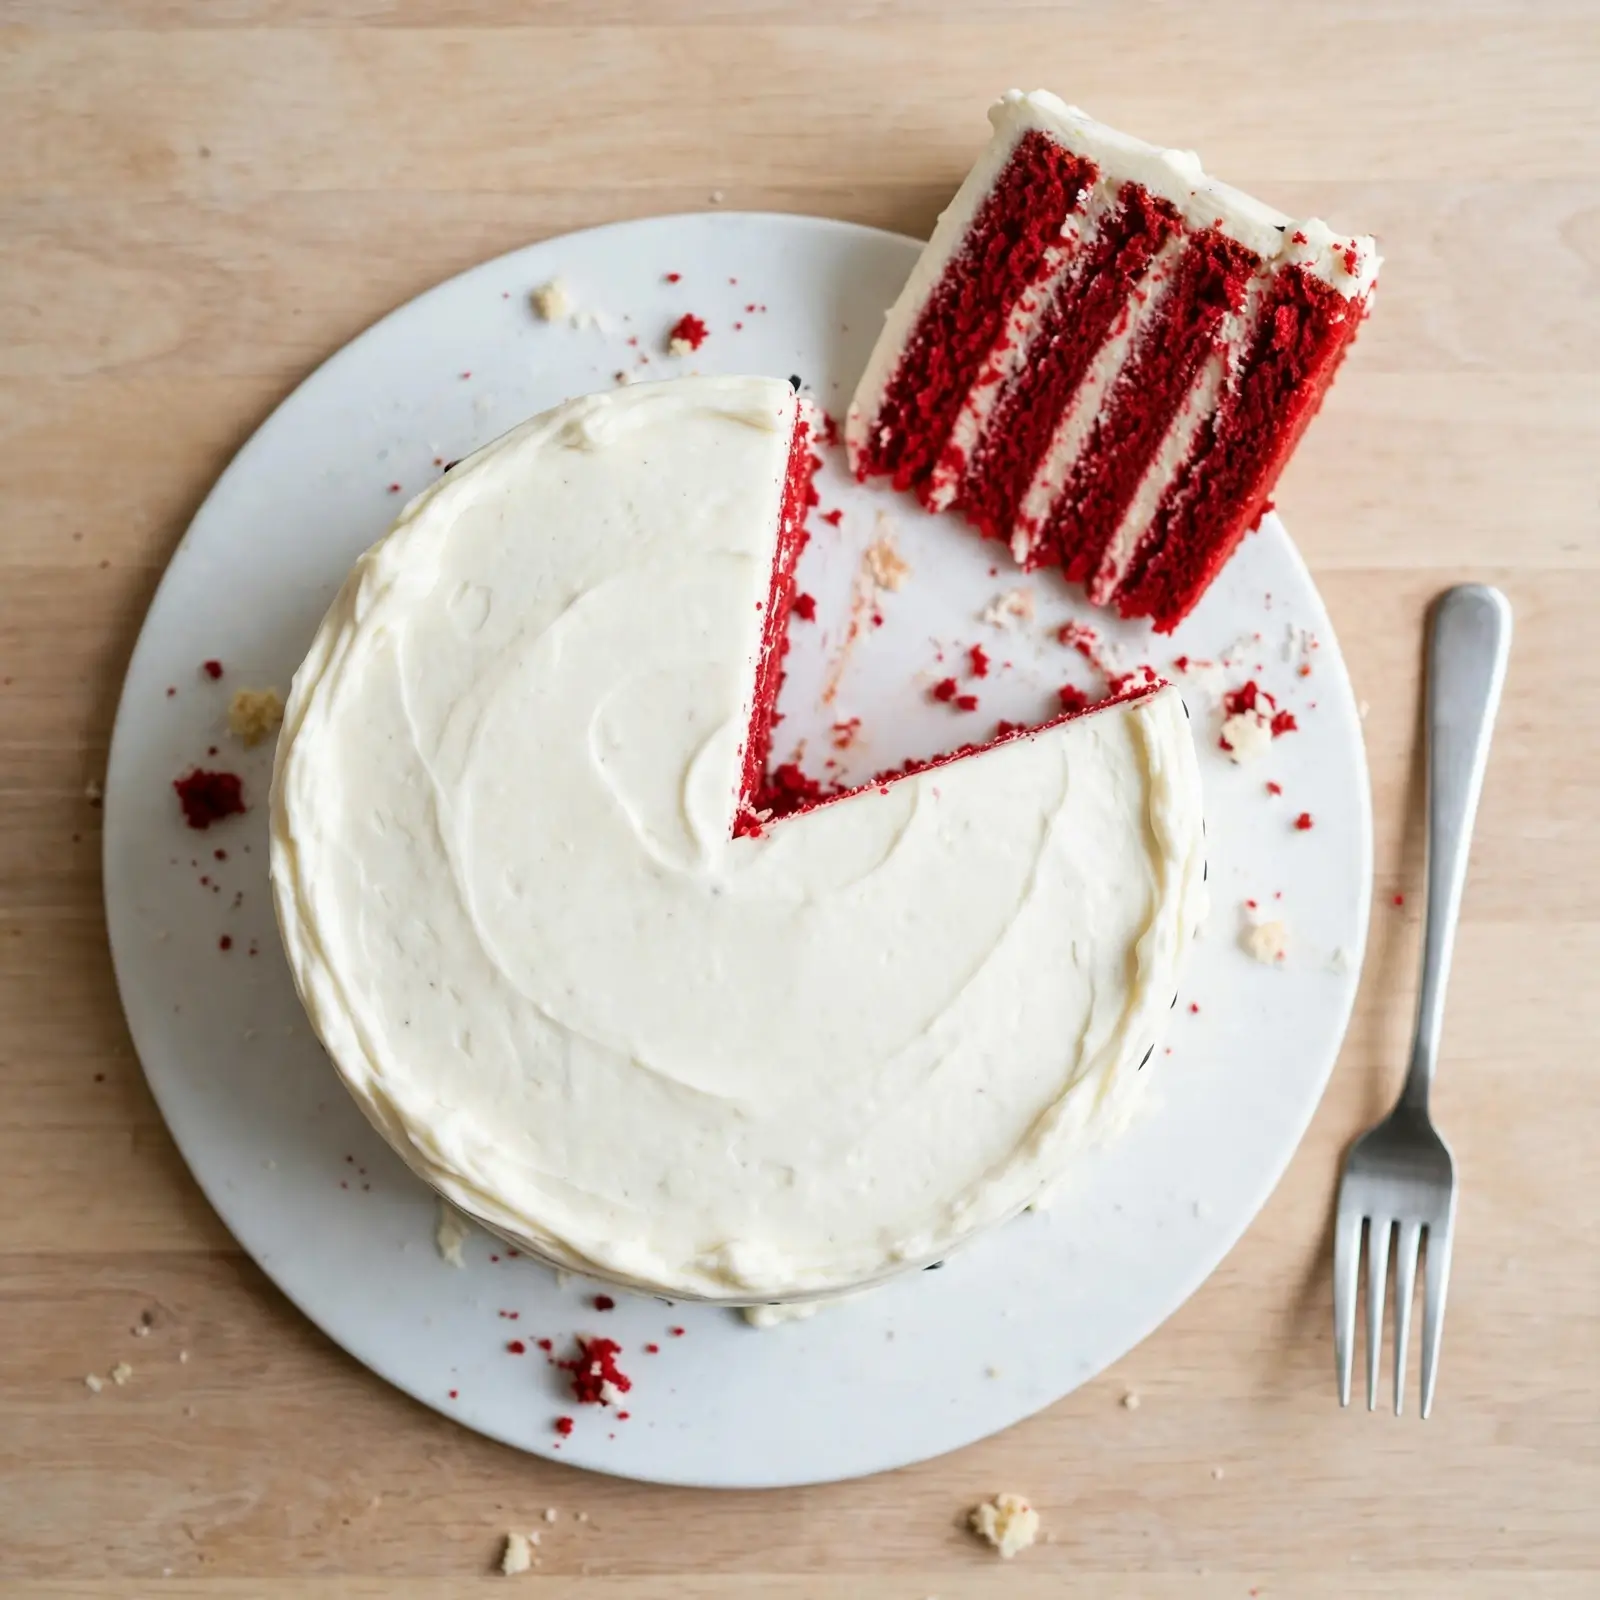
Traditional Red Velvet Cake with Ermine Frosting
Ingredients
Equipment
Method
- Heat the oven to 350°F. Grease two 8 inch round pans and line the bottoms with parchment.
- Whisk the flour, cornstarch, cocoa, baking soda, baking powder, and salt in a bowl. Set aside.
- Beat the butter, oil, and sugar together 2 to 4 minutes until pale and fluffy. Add the eggs one at a time, beating well after each. Mix in the vanilla, vinegar, and red coloring until the batter looks evenly red.
- Add the dry mix in three parts, alternating with the buttermilk, starting and ending with dry. Mix gently and stop as soon as no flour streaks remain.
- Divide between the pans and bake 25 to 28 minutes, until a toothpick comes out clean. Cool in the pans 10 minutes, then turn out onto a rack to cool fully.
- For the ermine frosting, whisk the sugar, flour, and salt in a saucepan, then slowly whisk in the milk until smooth. Cook over medium heat, stirring constantly, until thick like pudding. Cool completely to room temperature.
- Beat the butter until fluffy, then add the cooled milk mixture a spoon at a time, beating until silky. Beat in the vanilla and salt.
- Level the cake layers if domed. Spread frosting between the layers, then cover the top and sides. Decorate with red crumbs if you like. Chill 30 minutes before slicing for clean cuts.
Notes
- Room temperature ingredients mix smoother and trap more air for a tender crumb.
- Natural cocoa (not Dutch processed) keeps the red color bright and reacts properly with the vinegar.
- The ermine base must be fully cool before it meets the butter, or the frosting will turn soupy.
- Do not overmix once the flour goes in; gentle folding keeps the cake soft.
The Original Story: Waldorf Astoria and the Adams Extract Legend
The original red velvet cake recipe is most often linked to the Waldorf Astoria hotel in New York, where a version of the cake became famous in the early 1900s. Guests loved the striking red layers and the silky frosting, and the cake’s fame spread through newspaper clippings and word of mouth.
A popular legend gives credit to the Adams Extract company. The story says the company shared a recipe that used its red food coloring as a key ingredient, and home bakers rushed to try it. Whether or not every detail of the legend is true, it shows how food coloring moved from a novelty to a pantry staple in American baking.
The roots go back even further. In the Victorian era, velvet cakes were luxury cakes with a soft, fine texture that felt rich on the tongue. Cocoa helped create that tenderness, and a chemical reaction between acidic ingredients and natural cocoa could give the crumb a reddish tint long before bright red dye existed.
One fact surprises almost everyone. The first red velvet cakes were not paired with cream cheese frosting. They were paired with ermine frosting, a cooked frosting made from flour, milk, sugar, and butter. Cream cheese frosting only took over later in the 1900s because it is quicker and its tang matches the cake well. Both are delicious today, but if you want the Waldorf Astoria red velvet cake recipe as it was first served, ermine is the authentic choice.
Original Waldorf Style vs Modern Bakery Style
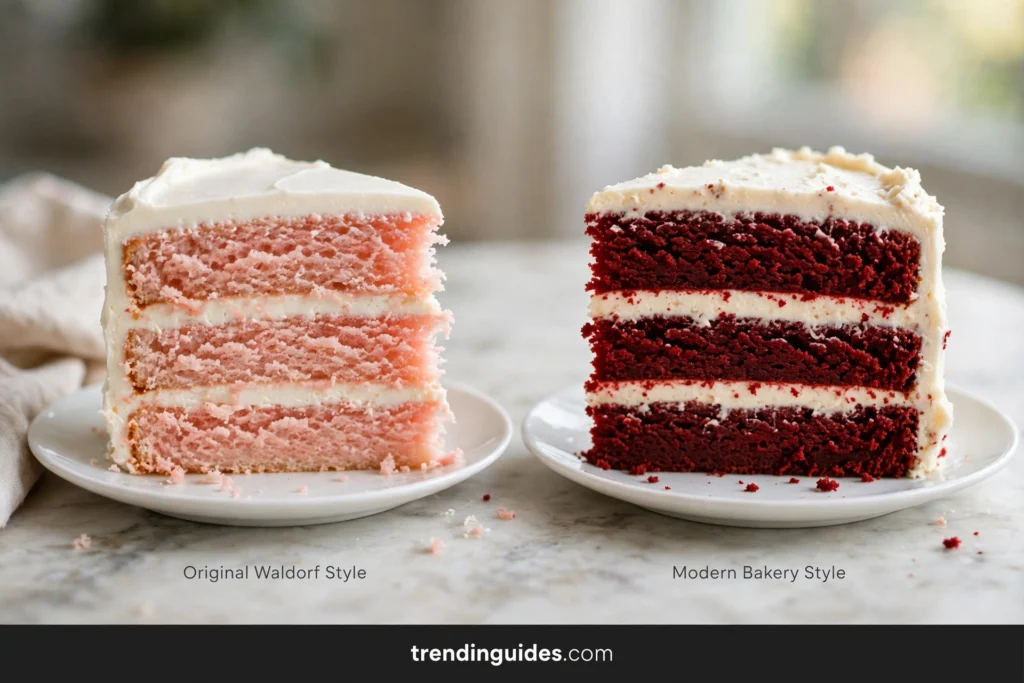
Knowing the differences helps you choose which version to bake. This table puts the old fashioned red velvet cake recipe next to the modern bakery style so you can compare them at a glance.
| Feature | Original Waldorf Style | Modern Bakery Style |
|---|---|---|
| Fat | Shortening, creamed with sugar | Oil, or a butter plus oil blend |
| Frosting | Ermine frosting | Cream cheese frosting |
| Coloring | Liquid red coloring | Gel red coloring |
| Cocoa | About 1 tablespoon | 2 to 3 tablespoons |
| Crumb | Fine, light, delicate | Richer, denser, very moist |
| Sweetness | Mild | Noticeably sweeter |
| Best for | History lovers and light texture fans | Chocolate lovers and quick baking |
The recipe in this guide follows the original spirit with ermine frosting and liquid coloring, but it uses a butter and oil blend and a touch more cocoa so the crumb stays moist and flavorful for days. You get the authentic flavor with a texture that holds up well in a home kitchen.
Red Velvet Cake vs Chocolate Cake
People often ask about red velvet cake vs chocolate cake, and the answer comes down to cocoa. A chocolate cake uses cocoa at 20 to 40 percent of the dry mix, which gives deep, rich flavor and a dark color. Red velvet uses only 2 to 8 percent cocoa, just enough for a whisper of chocolate in the background.
The type of cocoa matters too. Red velvet traditionally uses natural cocoa, which is acidic and light in color. Chocolate cake often uses Dutch process cocoa, which is darker and smoother but neutral in acidity. That acidity is important because it reacts with vinegar and buttermilk to keep the crumb tender and help the red color show.
Then there is the tang. Buttermilk and a touch of vinegar give red velvet a gentle sour note that chocolate cake never has. If you bite into red velvet expecting a fudgy chocolate hit, you will be confused. Expect instead a soft, lightly cocoa flavored cake with a fresh tang and a creamy frosting, and you will taste exactly what made it famous.
Why Is Red Velvet Cake Red?
Why is red velvet cake red has two answers, one old and one new. The old answer is chemistry. In early recipes, vinegar and buttermilk reacted with natural cocoa, which is acidic, and the crumb took on a reddish brown tint. It was never fire engine red, but it had a warm russet tone that looked special next to plain cakes.
The new answer is food coloring. Modern recipes add red coloring for that bold, dramatic red everyone expects. Without it, the cake bakes up pale brown or beige, which surprises first time bakers. Here is the key detail: the type of cocoa decides how red the cake can get. Natural cocoa is acidic and light, so the red shows beautifully. Dutch process cocoa is neutralized and dark, so the same amount of coloring gives a muddy brown red instead. If your cake keeps turning brown, the cocoa is almost always the reason.
Ermine Frosting vs Cream Cheese Frosting
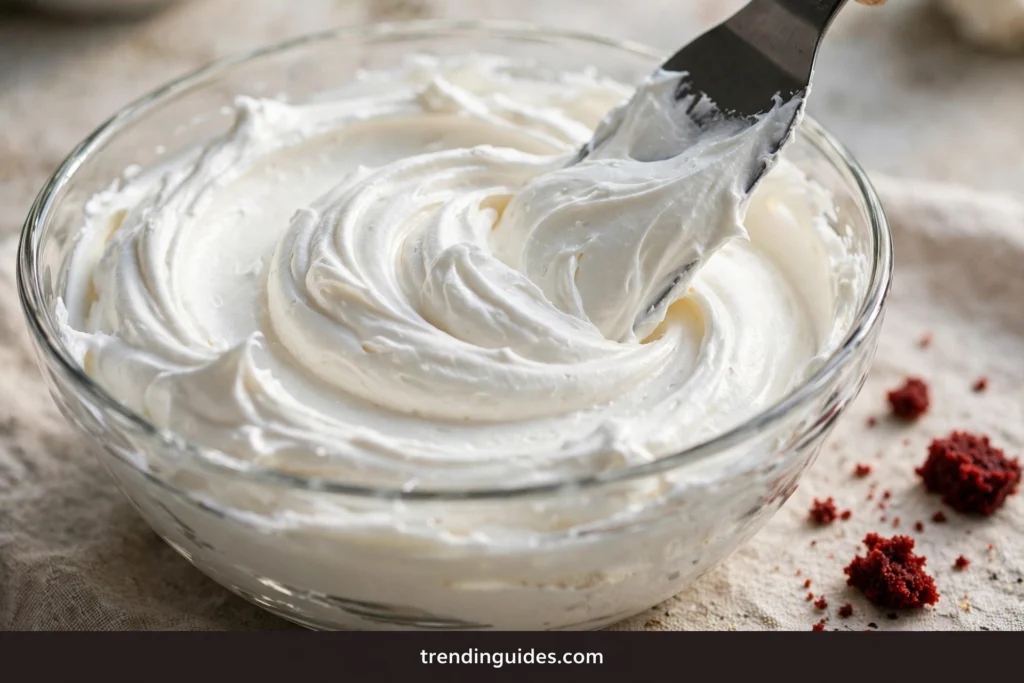
This is the choice that defines your cake. Red velvet cake with ermine frosting is the original pairing: silky, buttery, and only mildly sweet. Red velvet cake with cream cheese frosting is the modern favorite: tangy, rich, and quick to make. Neither is wrong, but they give very different results.
| Feature | Ermine Frosting | Cream Cheese Frosting |
|---|---|---|
| Flavor | Buttery and mild, like whipped cream | Tangy and rich |
| Sweetness | Low | Medium to high |
| Texture | Silky and light | Dense and creamy |
| Heat stability | Holds at room temperature well | Must chill within 2 hours |
| Make ahead | Cooked base can be made the night before | Best made fresh |
| Piping | Pipes cleanly when cool | Soft, better for simple swirls |
| Effort | Cook a base, cool it, then whip | Beat everything together |
Pick ermine when you want the authentic red velvet cake frosting recipe and a cake that is not too sweet. The cooked flour base sounds strange, but it whips into something that tastes like the lightest buttercream you have ever had. Pick cream cheese when you are short on time or you love that tangy contrast. If you go with cream cheese, use full fat cheese and do not overbeat it, or it can turn runny.
Ingredients You Need
Good red velvet starts with the right ingredients, and most of them are probably in your kitchen already. The red velvet cake ingredients below include notes so you know why each one matters and what you can swap.
For the cake you need all purpose flour, cornstarch, natural cocoa powder, baking soda, baking powder, and salt. Use natural cocoa, not Dutch process, or the color will turn brown. You need unsalted butter at room temperature, neutral vegetable oil, granulated sugar, large eggs at room temperature, vanilla extract, white vinegar, red liquid food coloring, and buttermilk at room temperature. The oil keeps the crumb moist for days, while the butter adds flavor.
For the ermine frosting you need granulated sugar, all purpose flour, whole milk, unsalted butter at room temperature, vanilla extract, and a pinch of salt. That is it. No cream cheese, no powdered sugar.
A note on coloring: liquid coloring is the traditional choice and this recipe uses it. Gel coloring is much stronger, so if you swap it in, start with a small amount and add more until the batter looks vivid red. The whole cake costs about $12 to make, which is a rough estimate based on average grocery prices.
How to Make Original Red Velvet Cake Step by Step
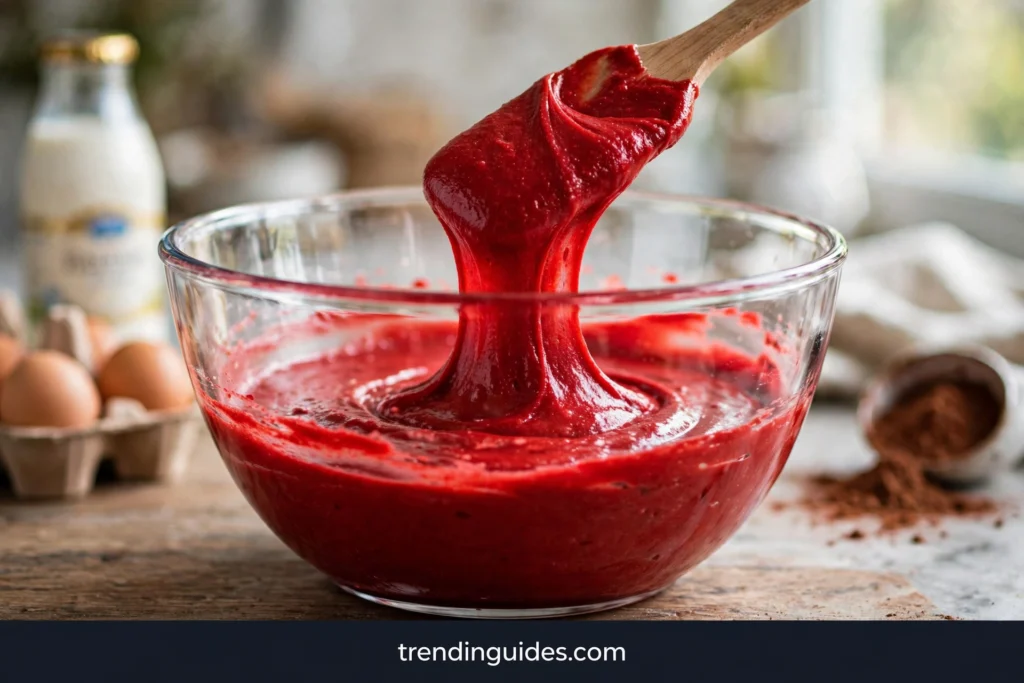
This easy red velvet cake recipe follows the traditional method with a few modern touches for moisture. Read through once before you start so the steps feel familiar. Recipe inspiration: “Super moist, traditional RED VELVET CAKE recipe with ERMINE FROSTING” by Cakes by MK, Super moist, traditional RED VELVET CAKE recipe with ERMINE FROSTING
Make the Batter
Heat the oven to 350 degrees. Grease two 8 inch round pans and line the bottoms with parchment paper. Whisk the flour, cornstarch, cocoa, baking soda, baking powder, and salt in a medium bowl and set it aside.
In a large bowl, beat the soft butter, oil, and sugar for 2 to 4 minutes until pale and fluffy. Add the eggs one at a time, beating well after each one. Beat in the vanilla, vinegar, and red coloring until the mixture looks evenly red with no streaks.
Add the dry ingredients in three parts, alternating with the buttermilk. Start and end with the dry mix. Stir gently and stop as soon as the last flour streaks disappear. Overmixing makes the cake tough, so use a light hand here.
Bake the Layers
Divide the batter evenly between the pans and smooth the tops with a spatula. Bake for 25 to 28 minutes, until a toothpick inserted in the center comes out with a few moist crumbs clinging to it. Cool the layers in their pans for 10 minutes, then turn them out onto a wire rack to cool fully. Warm cake tears easily, so wait until the layers are completely cool before you frost.
Make the Ermine Frosting
Whisk the sugar, flour, and salt in a medium saucepan, then slowly whisk in the milk until smooth. Cook over medium heat, stirring constantly, until the mixture thickens like pudding. Let the base cool completely to room temperature. This step cannot be rushed. If the base is even slightly warm, it will melt the butter and turn the frosting soupy.
Beat the soft butter until fluffy, then add the cooled base one spoon at a time, beating well after each addition. Beat in the vanilla and salt, and keep beating until the frosting looks silky and holds soft peaks. If it looks curdled at first, keep going. It usually comes together with a little patience.
Assemble and Decorate
If the layers have domes, trim them flat with a long serrated knife and save the scraps. Place one layer on a plate or cake stand. Spread a thick layer of frosting on top, then set the second layer in place. Spread a thin crumb coat over the whole cake to trap loose crumbs, then chill for 15 to 30 minutes. Cover with the remaining frosting and smooth it with a spatula. Crumble the saved scraps over the top for the classic red crumb finish. Chill for 30 minutes before slicing for the cleanest cuts.
How to Keep Red Velvet Cake Moist
Dry red velvet is easy to avoid with a few simple habits. This moist red velvet cake recipe stays tender for days when you follow them. First, do not overbake. Start checking a few minutes early and pull the layers when the toothpick shows moist crumbs, not a perfectly clean stick. The cake keeps cooking from residual heat as it cools.
Second, measure your flour correctly. Spoon it into the cup and level it off instead of scooping from the bag, which packs in too much. The oil and buttermilk in this recipe do a lot of the moisture work, and the cornstarch keeps the crumb fine and soft.
Third, wrap the cooled layers tightly in plastic wrap if you are not frosting right away. For extra insurance, you can brush each layer with a spoon of simple syrup before frosting. Once frosted, store the cake covered so the crumb does not dry out. These small habits are how to make red velvet cake moist every single time.
Red Velvet Cake Troubleshooting
Find your issue in this table and fix it fast.
| Problem | Likely Cause | Fix |
|---|---|---|
| Dry crumb | Overbaked or too much flour | Check early with a toothpick, spoon and level flour |
| Brown instead of red | Dutch process cocoa or too little color | Use natural cocoa and enough liquid coloring |
| Domed layers | Oven too hot | Lower the heat slightly and level with a knife |
| Runny frosting | Frosting base was still warm | Cool the base fully, then beat longer |
| Grainy or curdled ermine | Underbeaten or base added too fast | Add base slowly and beat 5 to 7 minutes |
| Lumpy cooked base | Milk added too quickly | Whisk milk into flour slowly before heating |
I once baked a layer five minutes too long. Now I always check at 28 minutes.
Easy Variations
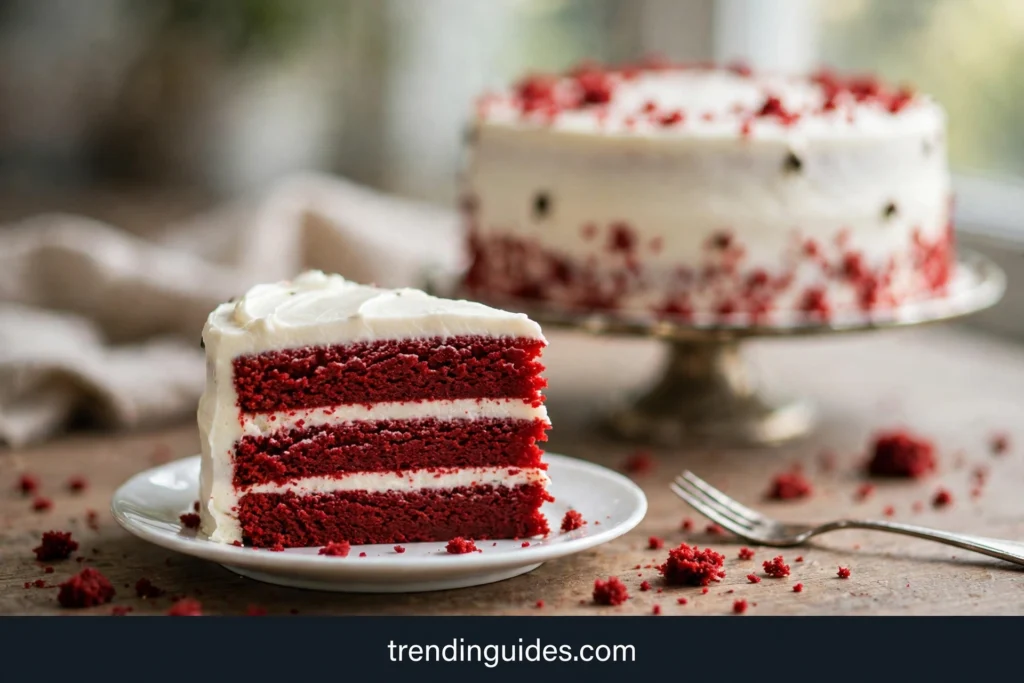
Once you master the classic, these twists keep things interesting. Each one uses the same base method with small changes.
Red Velvet Cupcakes
Red velvet cupcakes recipe fans can use this exact batter. Line a muffin tin with paper liners and fill each two thirds full. Bake at 350 degrees for 18 to 20 minutes. One batch makes about 24 cupcakes. Pipe the ermine frosting on top with a star tip for a bakery look, or spread it with a small spatula for a homemade feel.
Red Velvet Cake Without Food Coloring
You can absolutely make red velvet cake without food coloring. Leave the coloring out and rely on natural cocoa, buttermilk, and vinegar. The result is a pale reddish brown cake with the same tender crumb and tangy flavor. Be honest with yourself about the color: it will look like a light cocoa cake, not a red one. Some bakers add beet powder for a natural blush, but it can add an earthy note, so taste first if you try it.
Southern Style Red Velvet Cake
The southern red velvet cake recipe style leans richer. Use all oil instead of the butter blend, bloom the cocoa in hot coffee before adding it, and pair the layers with cream cheese frosting. The coffee deepens the cocoa flavor without making the cake taste like coffee. This is the version most American bakeries serve today, and it is a great pick when you want maximum moisture and a tangy frosting.
Storage and Make Ahead
An unfrosted layer keeps well. Wrap cooled layers tightly in plastic wrap and keep them at room temperature for 1 day or in the fridge for up to 5 days. For longer storage, wrap the layers in plastic plus foil and freeze for up to 3 months. Thaw overnight in the fridge before frosting.
A frosted cake with ermine frosting can sit covered at cool room temperature for several hours, since ermine holds up better than cream cheese frosting. For longer, refrigerate it airtight for up to 5 days. A cream cheese frosted cake must be refrigerated and should be chilled within 2 hours of frosting. The ermine base can be cooked the night before and kept in the fridge; just bring it to room temperature before whipping it with the butter. Let a chilled cake stand at room temperature for about 30 minutes before serving so the frosting softens.
Red Velvet Cake Calories and Nutrition
Here is an honest look at red velvet cake calories per serving, based on 12 servings. These are estimates, since exact numbers depend on your brands and slice size.
| Version | Calories | Sugar | Fat |
|---|---|---|---|
| With ermine frosting | About 650 | About 45 g | About 38 g |
| With cream cheese frosting | About 700 | About 52 g | About 42 g |
Ermine frosting runs a little lighter because it uses milk and flour instead of cream cheese and powdered sugar. Either way, this is a celebration cake, so enjoy a reasonable slice and share the rest.
Frequently Asked Questions
What makes red velvet cake different from chocolate cake?
Red velvet uses far less cocoa, only 2 to 8 percent of the dry mix compared to 20 to 40 percent in chocolate cake. It also has buttermilk and vinegar for tang and tenderness, plus red coloring. The result is a light, tangy crumb with a whisper of cocoa instead of deep chocolate flavor.
What is the original red velvet cake recipe?
The original style is the Waldorf Astoria version from the early 1900s: a lightly cocoa flavored layer cake with liquid red coloring, buttermilk, and vinegar, paired with ermine frosting. Cream cheese frosting is a later addition. For the authentic taste, choose ermine.
What frosting goes on red velvet cake?
Traditionally, ermine frosting, which is silky, buttery, and not too sweet. Today most bakeries use cream cheese frosting, which is tangy and quicker to make. Both work well. Use the decision guide above to pick based on flavor, stability, and effort.
Why is red velvet cake red?
Modern red velvet gets its bold color from red food coloring. Historically, a reaction between acidic ingredients like vinegar and buttermilk with natural cocoa gave the crumb a reddish brown tint. Natural cocoa keeps the red bright, while Dutch process cocoa turns it brown.
Can you make red velvet cake without food coloring?
Yes. Leave the coloring out and you will get a pale reddish brown cake with the same tender crumb and tangy flavor. It will not look red, so set expectations accordingly. Beet powder can add a natural blush but may add an earthy taste.
Why do you put vinegar in red velvet cake?
Vinegar reacts with baking soda to give the cake lift, and its acidity keeps the crumb tender by limiting gluten. It also lowers the batter pH, which helps the red color show instead of baking to brown. You cannot taste it in the finished cake.
What does red velvet cake taste like?
It tastes mildly of cocoa with a gentle tang from buttermilk, plus buttery sweetness from the frosting. It is much lighter than chocolate cake and less sweet than it looks, especially with ermine frosting. Think soft, fresh, and creamy rather than rich and fudgy.
How do you keep red velvet cake moist?
Use oil in the batter, do not overbake, measure flour by spooning and leveling, and wrap cooled layers tightly. A thin brush of simple syrup before frosting adds insurance. Store the frosted cake covered so the crumb does not dry out.
Final Thoughts
The original red velvet cake recipe is worth baking exactly once the traditional way, with ermine frosting and a light hand on the cocoa. You will understand why this cake became a legend: not because it is the richest or the sweetest, but because the tender red crumb and silky frosting feel special in a way few cakes match.
If you are short on time, the southern style version with cream cheese frosting is a fine shortcut, and the cupcake variation makes sharing easy. Whatever you choose, remember the three rules that matter most: use natural cocoa for the brightest color, cool the ermine base fully before whipping, and pull the layers before they overbake.
Bake it for a birthday, a holiday table, or simply a quiet weekend. Then slice it, share it, and enjoy the cake that started it all.